Looks good. A laser would have to be close to the top of my wish list. Importing one would be a major hassle though. 
There was no need to cut the rod. It was already the length I needed.
The rod is already an 8mm diameter. So the included 8mm pulley already fits.
I used the anti-back lash Delrin nut from Open Builds.
I also added a lock collar at the bottom underneath the flange bearing.
Laser update:
Prototype circuit with a N-CHANNEL POWER MOSFET works great. Simple and easy.

Turning it off and on via M8 / M9 works so far!
Time to design and build a circuit board with some safety switches and power IO.
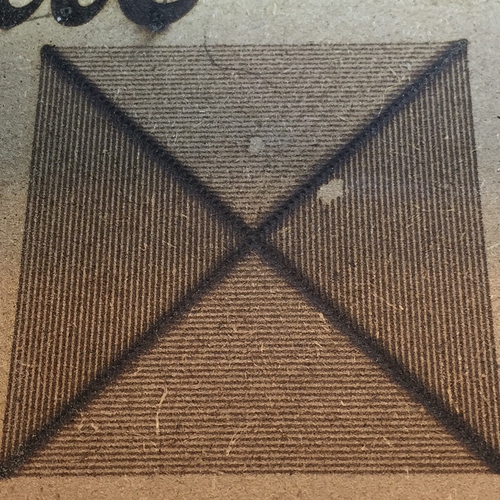
Also need to work on proper focus and height, and maybe GRBL acceleration… That will fix the X mark. Basically the machine cant turn hard square corners fast enough! Realistically this will be less of a problem with real world designs.
Retired server tech copy high end machine the photoelectric sensor has high paper dust on them will stop or cut out lock up wood dust . not safe will kept running lock up.
Please keep this coming, I’m anxious to see more.
Thank you for sharing
Change of plans people!
I will be making one giant PCB board which will connect to a Raspberry Pi, for controlling all the things!
Spindle AUTO (default), OFF, ON - Tied to X- Controller’s Spindle
Laser Enable ON, OFF (default)
Laser AUTO (default), OFF, ON - Tied to X- Controller’s M8
Vacuum AUTO (default), OFF, ON - Tied to X-Controller’s Spindle
LED lights ON (default), OFF
Limit Switches will be tied into the Pi’s IO for troubleshooting and display…
I may even wire in the GRBL’s Output to the Pi’s IO for added flexibility.
The GUI will be a mobile webapp via my smartphone or a dedicated tablet!
Kinda similar to this thread: Hacking the X-Controller
However I will have much more hardware IO.
FYI There is no plans for “pendant” or GCODE control - All this will still be done by my host CNC computer; for now ![]()
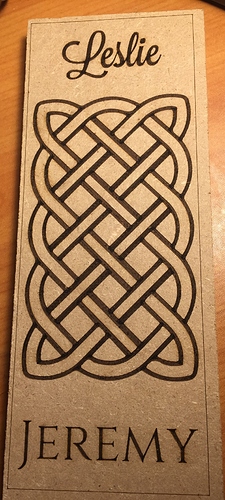
The laser is working great.
Quick demo:
Tool diameter was 0.01".
Feed rate was 80 IPM.
Took 21 minutes to burn.
Looks great.
My wiring tools:
Great work Jeremy, keep it coming…
Not exactly CNC related, but I added more outlets to my CNC workspace:
I really like the look of the steel boxes and metallic wire: 12/2 AWG Wire
Home Depot also sells it wit the ends already attached; quick and easy!
Just a quick example of how I resurface my waste board and add a laser grid:
An example of reusing my SO2 Y axis plates and using them on my X-Carve’s Y axis as mid span supports.
https://www.instagram.com/p/BInVEa6B-3s/?hl=en
I love having a CNC!
I needed a spacer to go between monitor and the mount I wanted to use.
10 minutes later, BAM! I nice new spacer.
https://www.instagram.com/p/BI0nHL1BZJ3/?hl=en
A work in progress:
A badge for a friend:
https://www.instagram.com/p/BJqYTCOhHQ4/?taken-by=jeremy.s.johnstone&hl=en
Tech details:
- Material: Cast aluminum (from an old removable hard drive sled) ~0.1" thick
- Feed: 15 IPM, Plunge: 5 IPM, DOC: 0.01",
- Total cut time: ~30 minutes
- Endmill was a 30 degree V bit 1/8" shank - I set Easel’s cutting diameter to 1/32"
Those look incredible.
Here it is mounted.
https://instagram.com/p/BJsMrxphGuo/
Could use a tad more polish and wax but it’s the best I can do. My friend will still like it.


