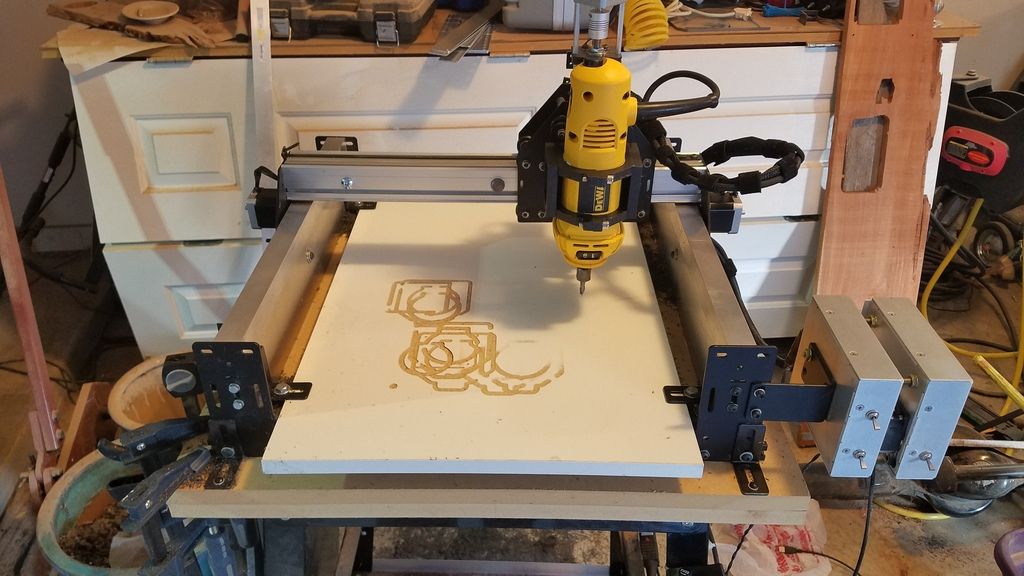
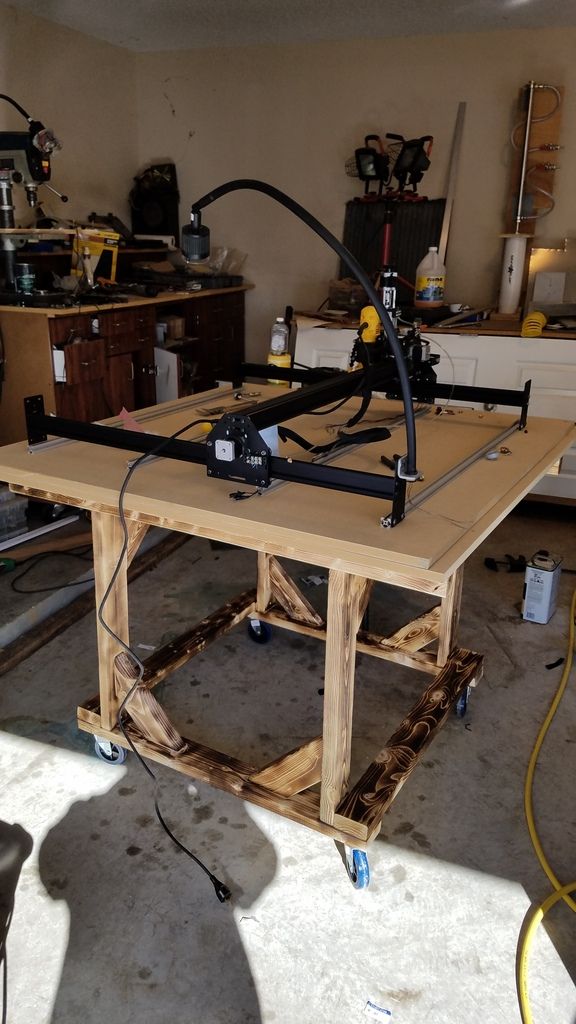
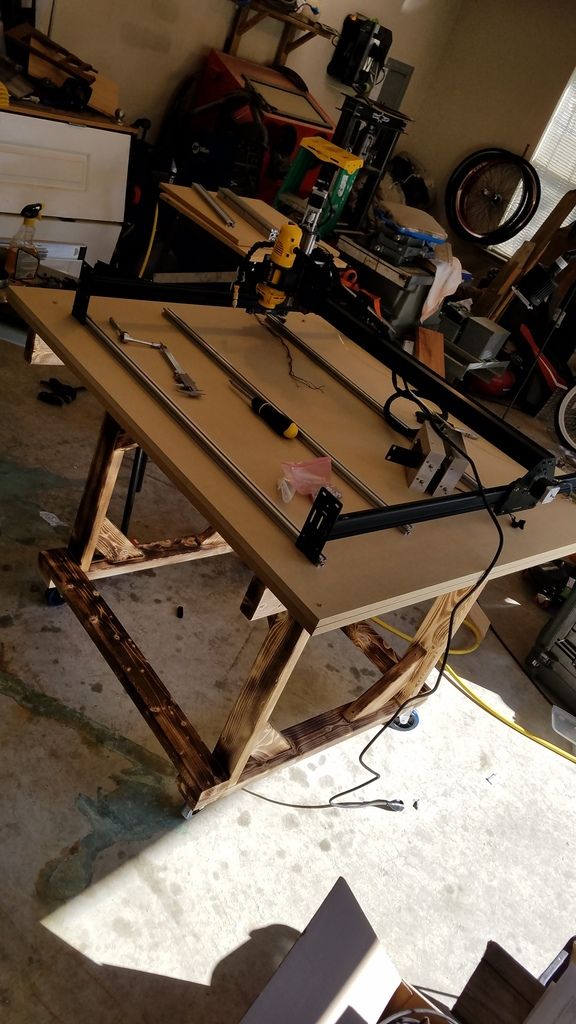
I wanted to make a thread to show my Shapeoko and things I have done with it. I have had the machine for about two and a half years, but because of bugs, it mostly just sat in the garage. I recently regained interest and started working through the bugs and trying to stiffen it. I also recently replaced the HF trim router I was using with a Dewalt DW660- mainly because it was only $52 on Amazon. And I had a lot of run out on the HF unit.
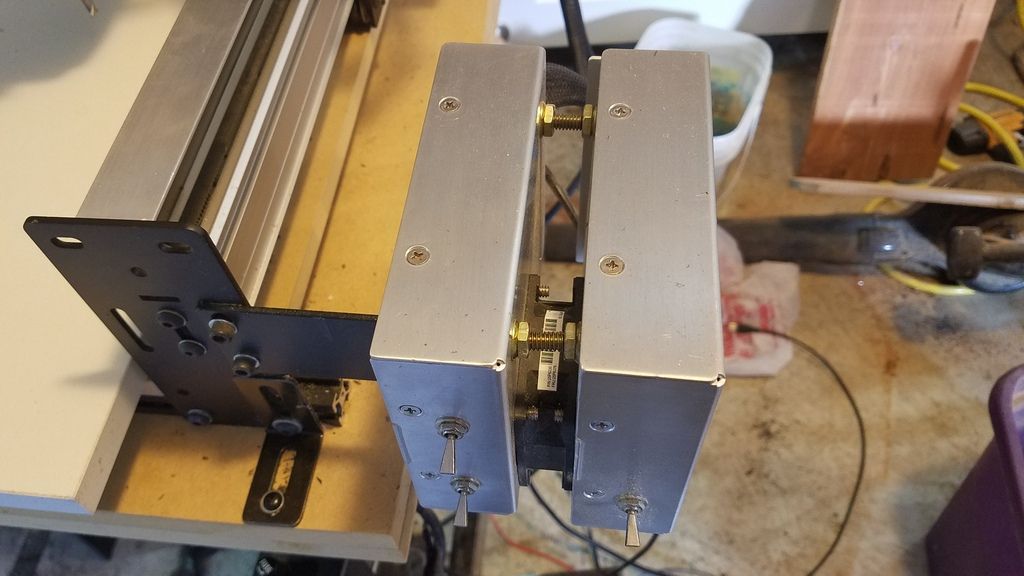
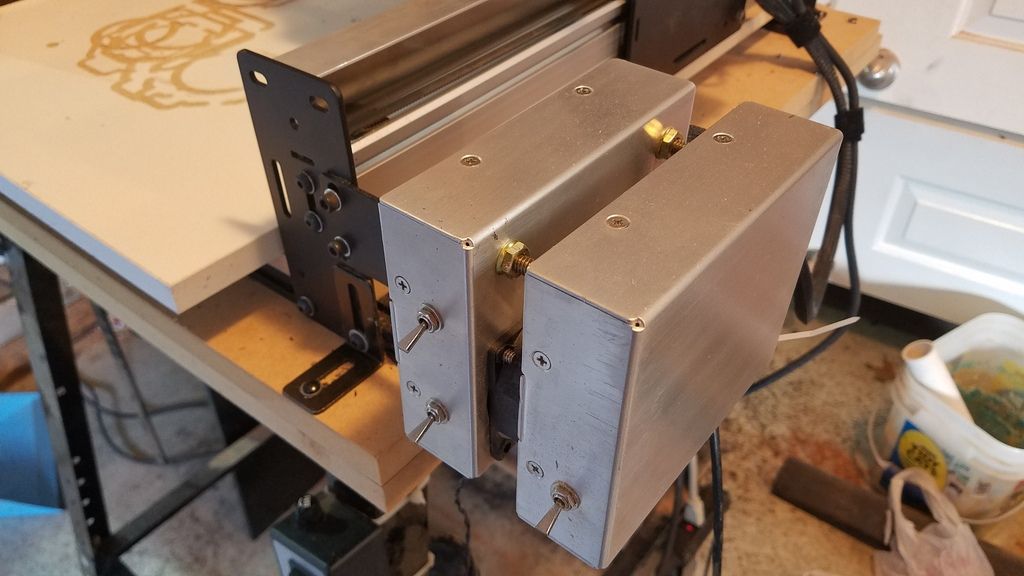
My electronics enclosure. The one on the left has all of the electronics. There is a fan connecting the two boxes, with the one on the right serving as a filter.
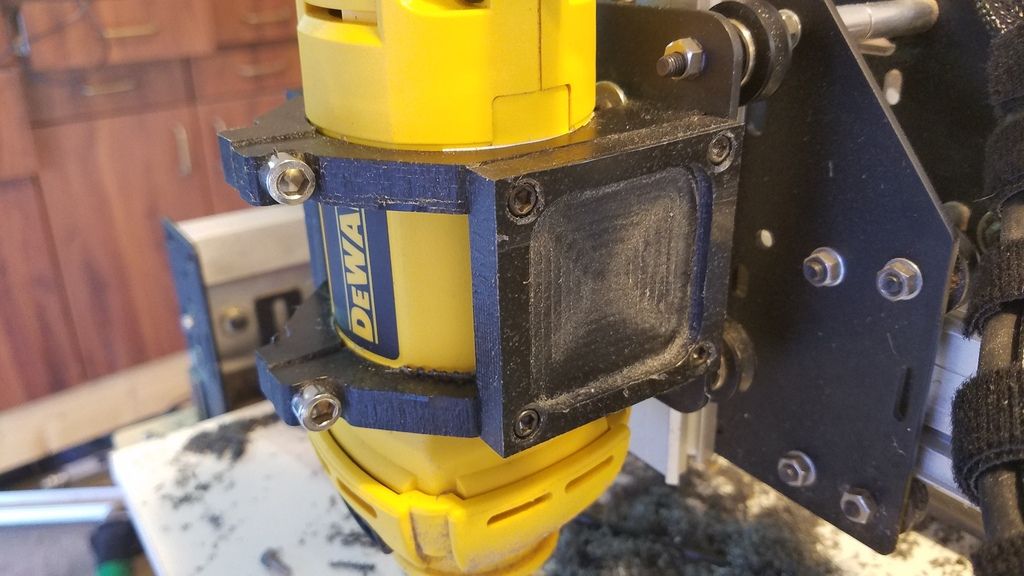
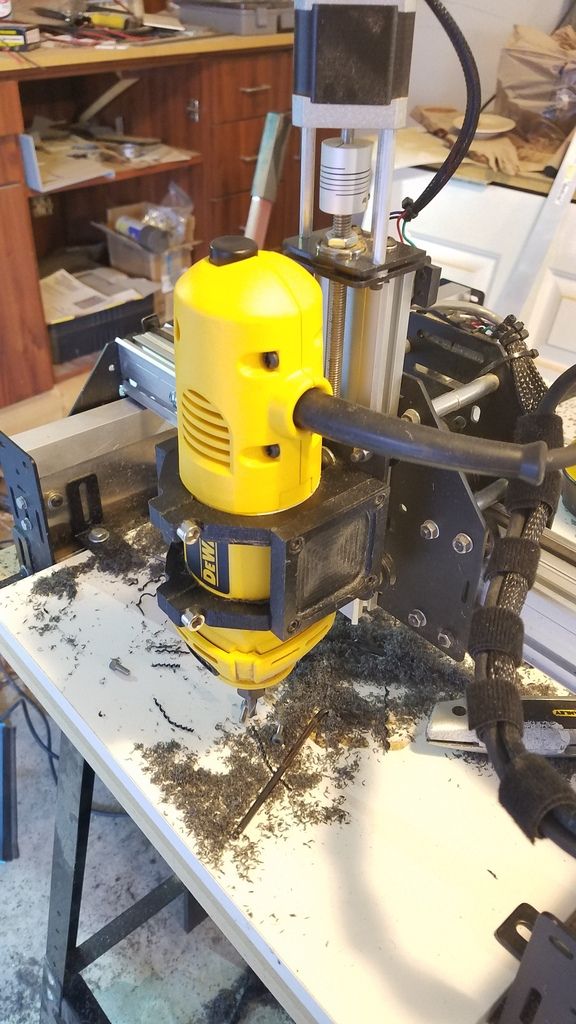
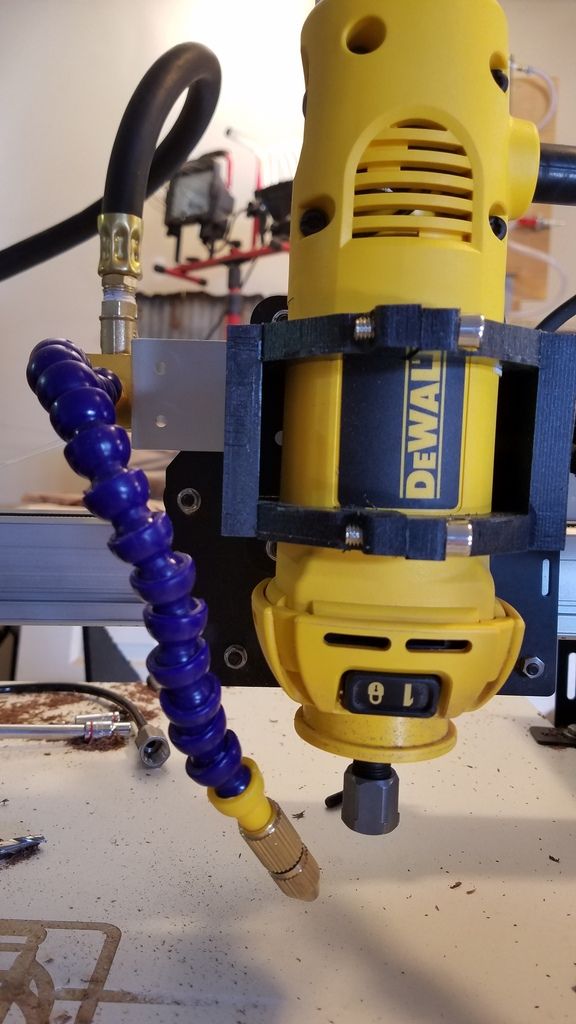
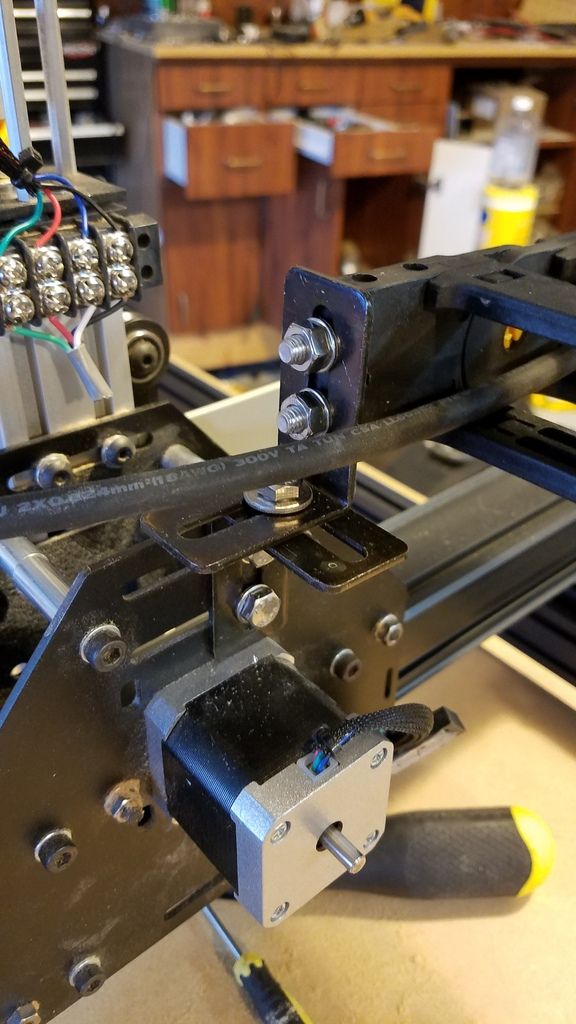
My new spindle mount. I took one shared with me on here, and added the two side plates for rigidity.
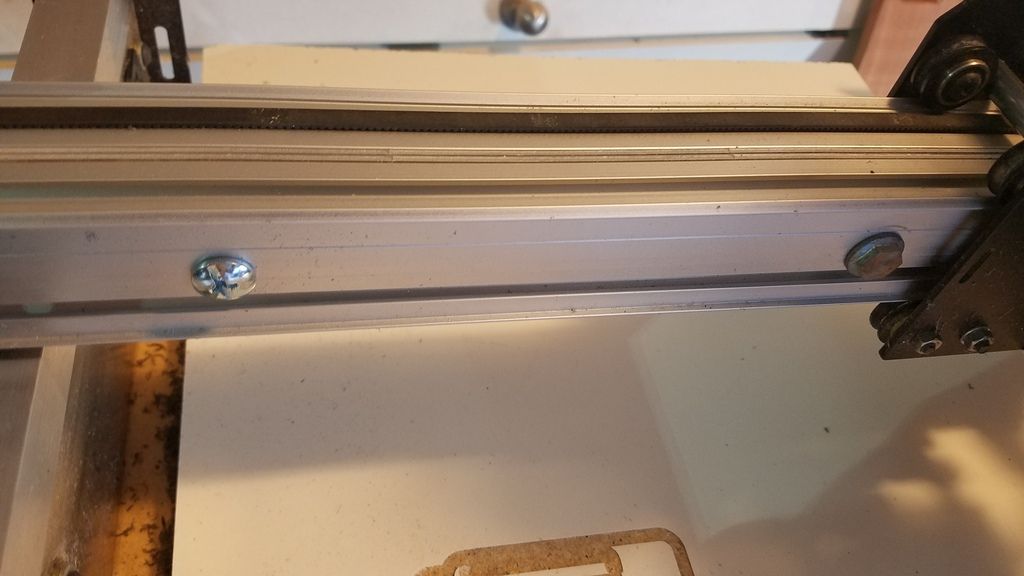
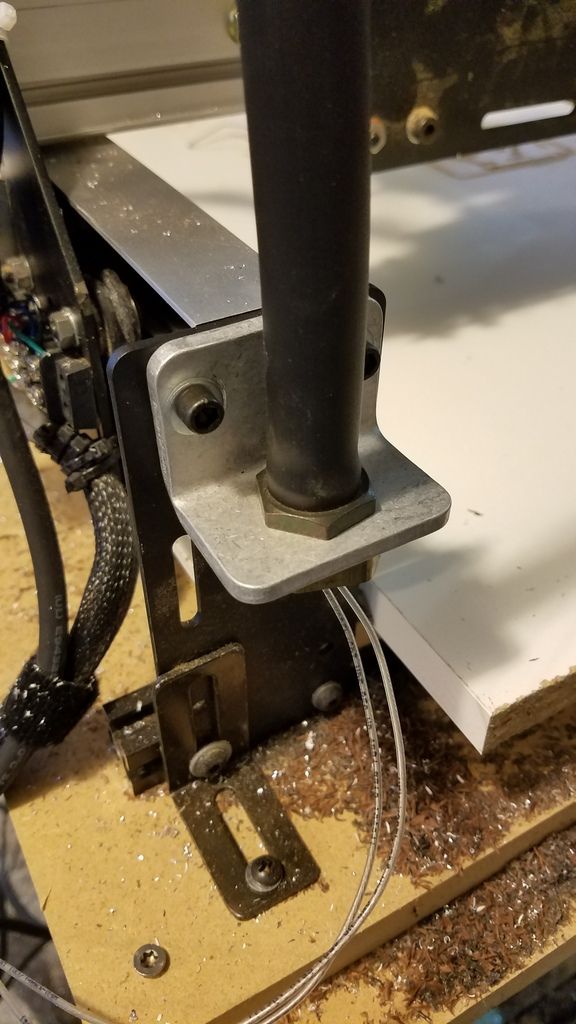
reinforced x axis. These two pieces of aluminum I had around equaled the .15" I needed. I used three bolts to tie it all together.
Here you can see the Y axis dust shields. They are stainless steel topped with angle aluminum. THese also act to strengthen the rails.
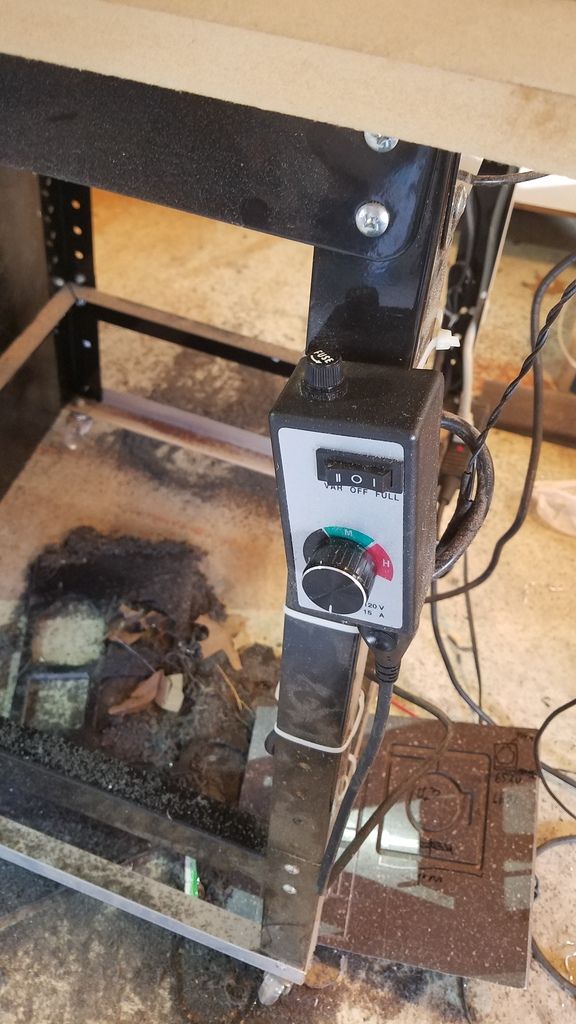
My crappy speed controller, but it works.
I got my blower installed. I decided to just install a quick connect instead of using a dedicated compressor.
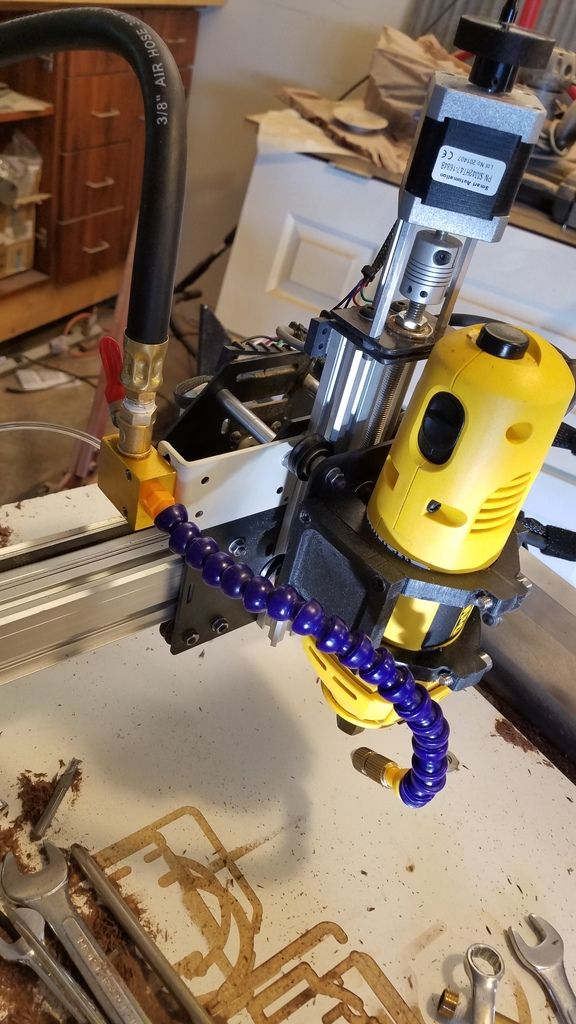

I added a flex light from a decommissioned piece of equipment from work. I converted it to LED too…


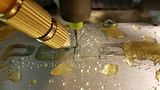
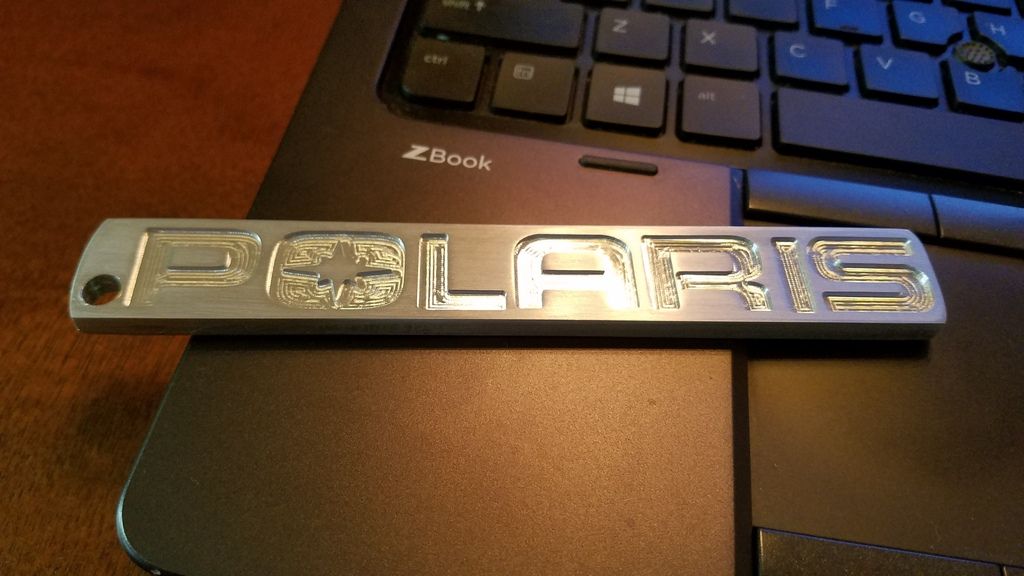
And a little aluminum cutting for friends.

4 Likes
I am planning to upgrade to at least 1000x1000; does the 40x40 one piece rail have the right spacing for a Shapeoko 2, or do I have to upgrade to the X-carve carriage? I believe they are different spacing judging by the thickness of metal people use to put between two makerslides on the X-carve vs. Shapeoko 2.
1 Like
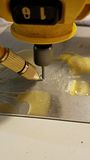
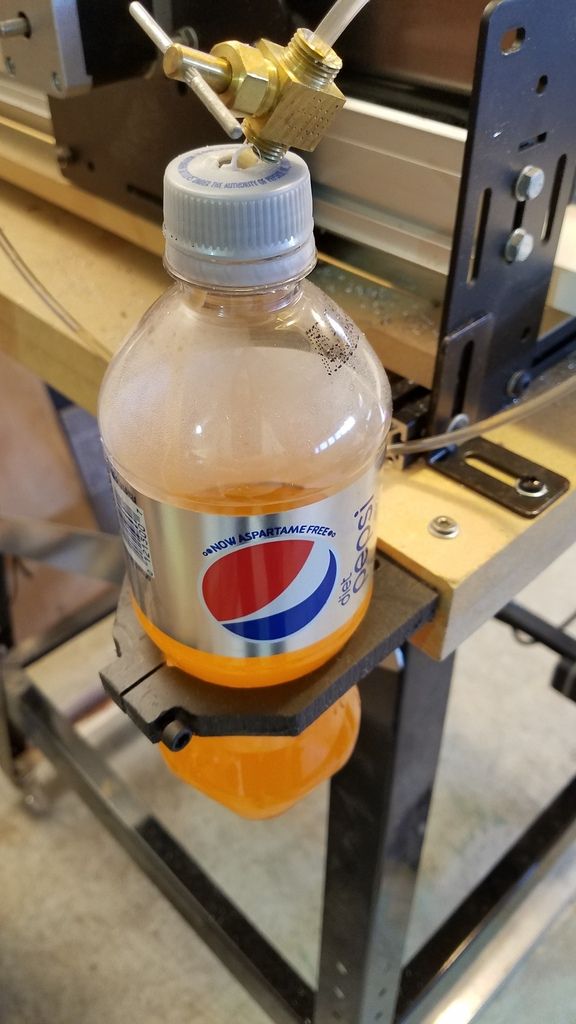
I’ve been using a pepsi bottle for coolant. With the flow turned down, it doesn’t use a lot. So I used one of my failed router brackets to hold it.
1 Like
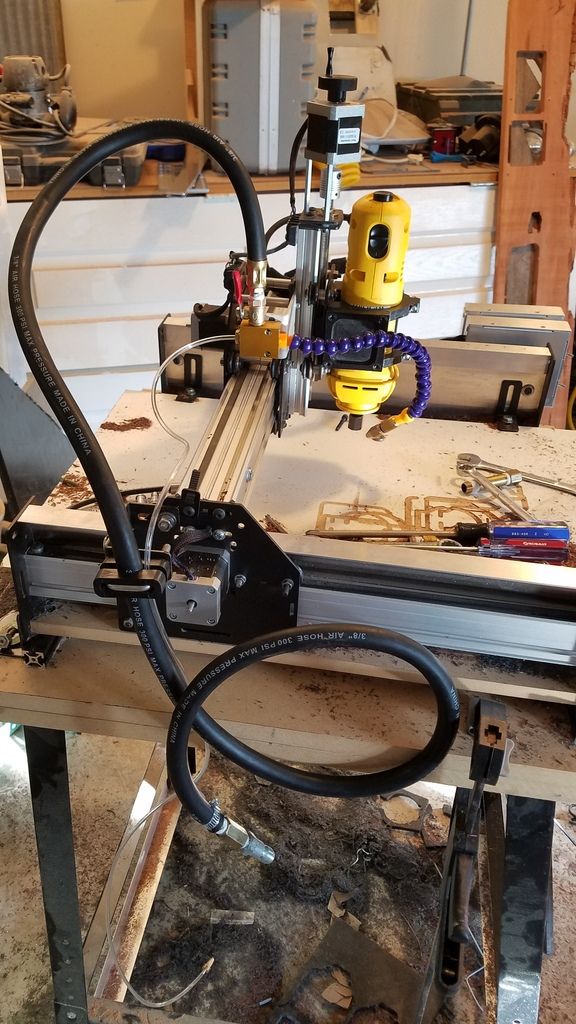
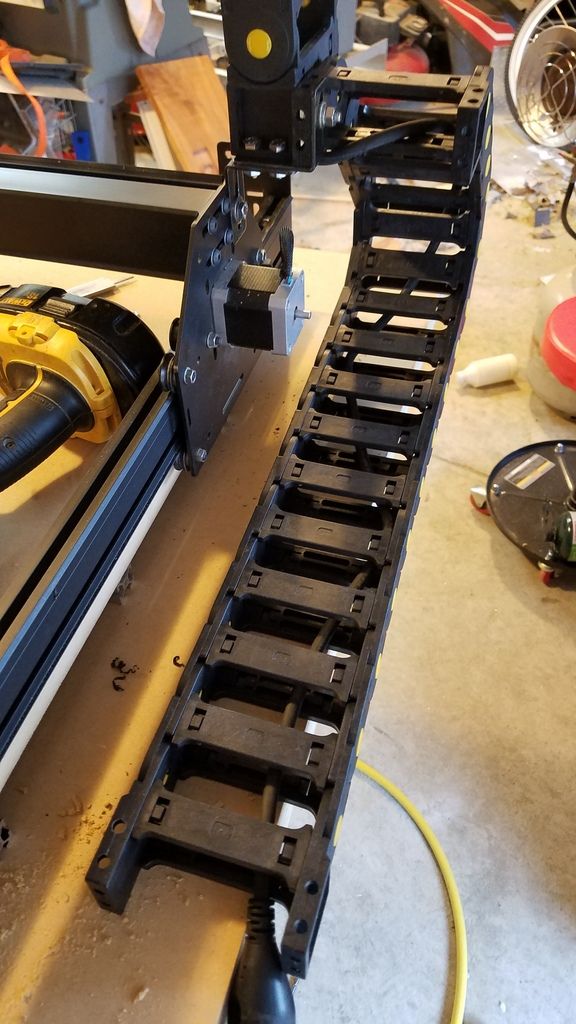
I bought these big drag chains because I am going to run my air and coolant lines in them too:
https://www.amazon.com/gp/product/B01LZA0663/ref=oh_aui_detailpage_o01_s01?ie=UTF8&psc=1
Forgive the mess in my shop…
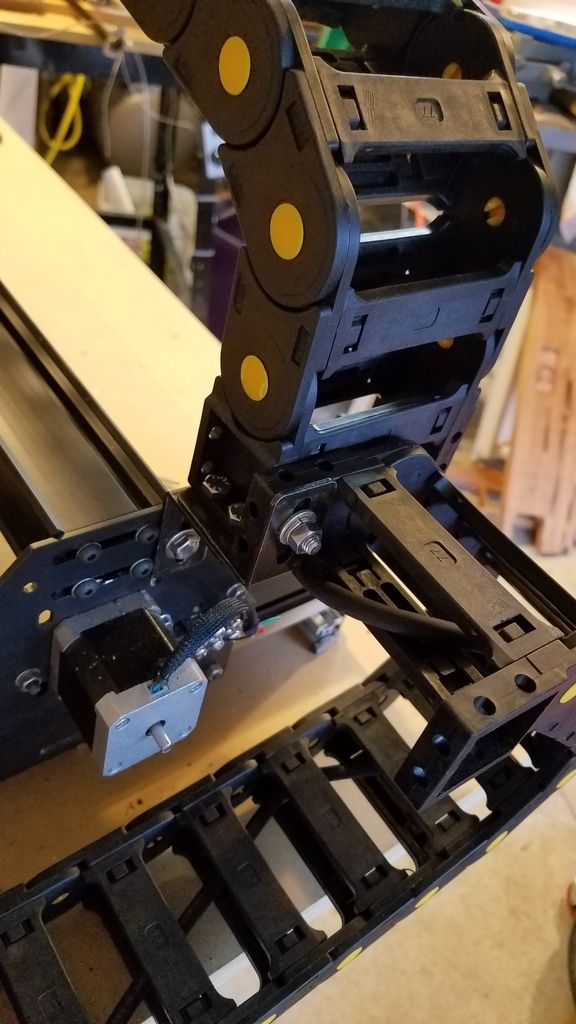
drag chains are installed and operational! Thank goodness I had enough random hardware to make them work. I had to take some links out of the side one to make the gantry chain long enough. Not a big deal though as my cables will be fed from midway down the table anyway.
1 Like
It moves under its own power! I have everything square but tram is way off. I guess did a poor job drilling the holes on the mount. And the fact that the DW660 has a tapered case. I can fix the front to back with shims in the mount. But I am not sure how I’ll adjust it side to side.
1 Like
I used pieces of belt to shim the router in the mount. Tram is pretty on point now.
1 Like
You’ve been busy. Can’t beat getting the passion back for something that faded away
I wanted to make sure I could easily run the air and coolant line in it. And I plan to add some lighting too.
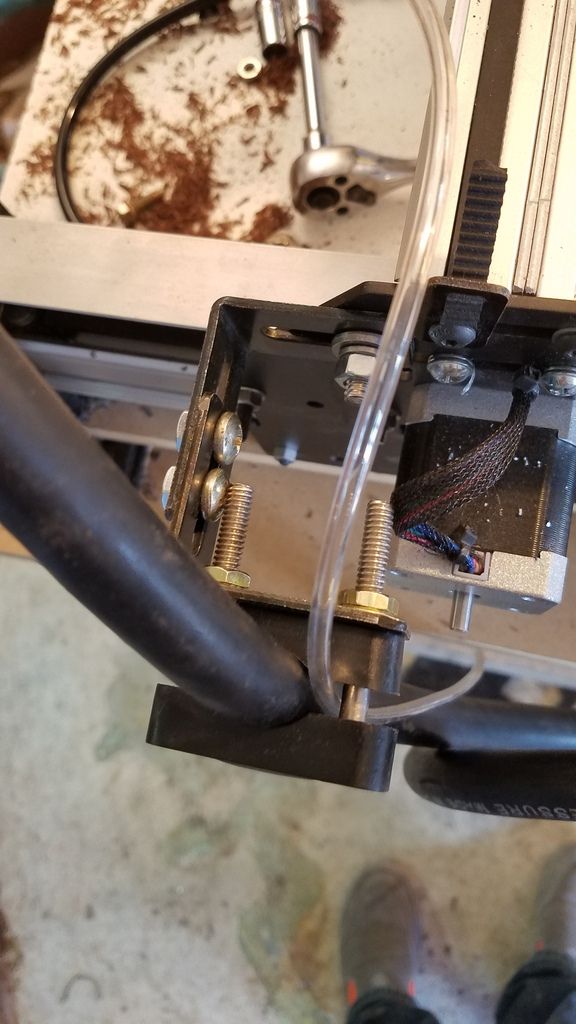
Air and coolant lines installed. I bought some 5/16 line to completely replace the short coolant hose.
I am using the power supply that came with my original Skapeoko 2. Does this need to be upgraded? After reading about the current needs of my steppers I think an upgrade would help.
That 16A power supply can run the quiet cut spindle too though, right? This was the standard for Shapeoko 2 with NEMA 17 steppers. How large of a power supply do I need? And should I up it to 30v instead of 24v?
I found a 15a power supply on Amazon for $26 and ordered it.
These 3.5x.75 angles came in today. Perfect for side rail guards.
1 Like
I may extend the tops a little they don’t quite cover the v wheels.


