@ChrisWundram, @MikeMerzke, @AllenMassey: I’ve given each of you early access to test and provide feedback on Easel’s Roughing/Detail feature. If anyone else wants access, just let us know, and we’ll hook you up.
Here’s a little guide to how to test this early access feature. Keep in mind we are looking for feedback as to how we can make this feature better. It has a few rough spots right now in the workflow.
How to test the feature:
-
By default, Easel will act just like it did before
-
If you click the “+” sign in the toolbar above the 3D preview, you can add an additional bit. The original bit will be treated as the larger “roughing” bit, and the new bit will be treated as the smaller “detail” bit:

-
When using 2 bits, 2 things will be different:
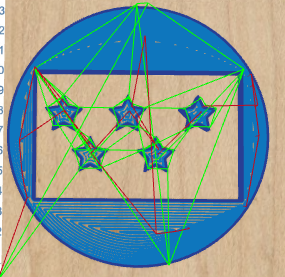
(1) Easel will generate 2 sets of toolpaths every time you click the Show Toolpaths button. Areas that can be cut with the roughing bit will be shown in light blue. Areas that can only be reached with the detail bit will be shown in dark purple.

(2) Every time you go through the walkthrough Easel will ask if you want to run a roughing pass or a detail pass.
-
If you select a roughing pass in the walkthrough, Easel will ask you to confirm your larger bit size, and then it will proceed to cut only the areas of the design that are reachable with that bit size. It will also skip all “outline” elements, which it will save for cutting on the detail pass.
-
If you select a detail pass in the walkthrough, Easel will ask you to confirm your smaller bit size, and then it will proceed to cut only the areas that the smaller bit can reach but that the larger bit could not reach. It will also cut all outline shapes.
-
After you’re finished with the roughing passes, you’ll need to change your bit. This is main the part of the feature that we have not finalized yet, which is why it’s still in early access. The current process is pretty much left up to the user. What I usually do is try very carefully not to move the spindle in the X/Y direction by making sure the motors are locked before changing the bit (if your motors are not always locked, you can lock them by using the machine controls on the right side of the walkthrough window). If you need to raise the Z axis to change bits, you can also use the jogging controls to do this. After you’ve changed bits, ideally without moving X/Y, you will need to jog the spindle to the original Z zero. I usually use the jogging controls to do this. Then you can start the detail run as described above, making sure to set a new zero point.


