
Do you guys sleep? It’s 11:30pm EST! Thanks!
How can we sleep? There is too much 3D carving to do.
1 Like
I carved a star for a friends Christmas tree…but I already gave it away so I have no evidence to post.
I just wanted to leave some feedback on the two stage cut feature I took advantage of this weekend.
I have to say I’m very impressed with the simplicity of the feature. I’ve never done CNC work up until about a month ago, and Easel has made it fairly easy. It took me minutes to set my file up to use a 1/8" bit to remove the bulk of the material and then a 1/16" bit to finish the details. Seeing the color-coded tool paths that are generated gives you a very clear picture of what each bit will do.
The very first test I did came out almost perfect. I say almost because the 1/8" ball end bit left lines on the surface, so I set the 1/16" bit to go back over it at 100% DOC and smooth out the surface, which worked great. I ended up using a 1/4" bit for roughing after the initial test, which worked out better because it removed more material faster, and it had a flat bottom. The material left for the 1/16" bit wasn’t too much at all.
The only issue I had was that even with the motors locked, I find it difficult not to move the X-carriage when changing bits. Maybe I’m cranking down on the 611 lock nut too hard, but I seem to move it a little bit each time. I end up having to reset the home position anyway though due to the different length of the bits, so it’s not a big deal.
One request I have, which I think has been mentioned, is to be able to select which bit to use for the full depth cutout. By default it chooses the detail bit, and since my 1/16" bit only has a 1/4" cutting length, I was forced to set up another file for the cutout using the 1/4" bit.
I really don’t see how I could have completed the job in time using just a 1/16" bit, so I’m glad I got access to the feature and plan on utilizing it frequently.
Thanks Inventables!
Using the grbl setting of $1=255 keeps the motors powered and essentially locked while the machine is on. If you use the nema 23 motors, changing a bit with the dewalt should not be a problem at all with the motors powered.
I would love to have access to the two stage cut feature. Also if I want to cut a square with holes inside, is there a way to cut the holes first then cut out the square?
You got it!
could I get access to this as well? seems like a great add on
Would love access to this if possible!
One thing I would like to know is where can I lay my hands on those plastic stop collars.
It would make changing bits so much easier not having to reset Z zero which I have not yet found a way to do that in easel without resetting all three axis.
Or did I miss something and there is a way to set each separately?
What spindle do you have?
My Makita has a hole (see picture), that in theory can be used to create a known depth of tool, which then can be use based off of the tool length, and “zero’d” that way. Place a pin the same diameter as that hole, insert tool till it stop.
Unfortunately even I haven’t bothered to really follow this procedure!
It only works with “mental” discipline and longer length bits.
I find it easier to place the tool and Z zero.
Maybe I will try it someday and let everyone know how it works.
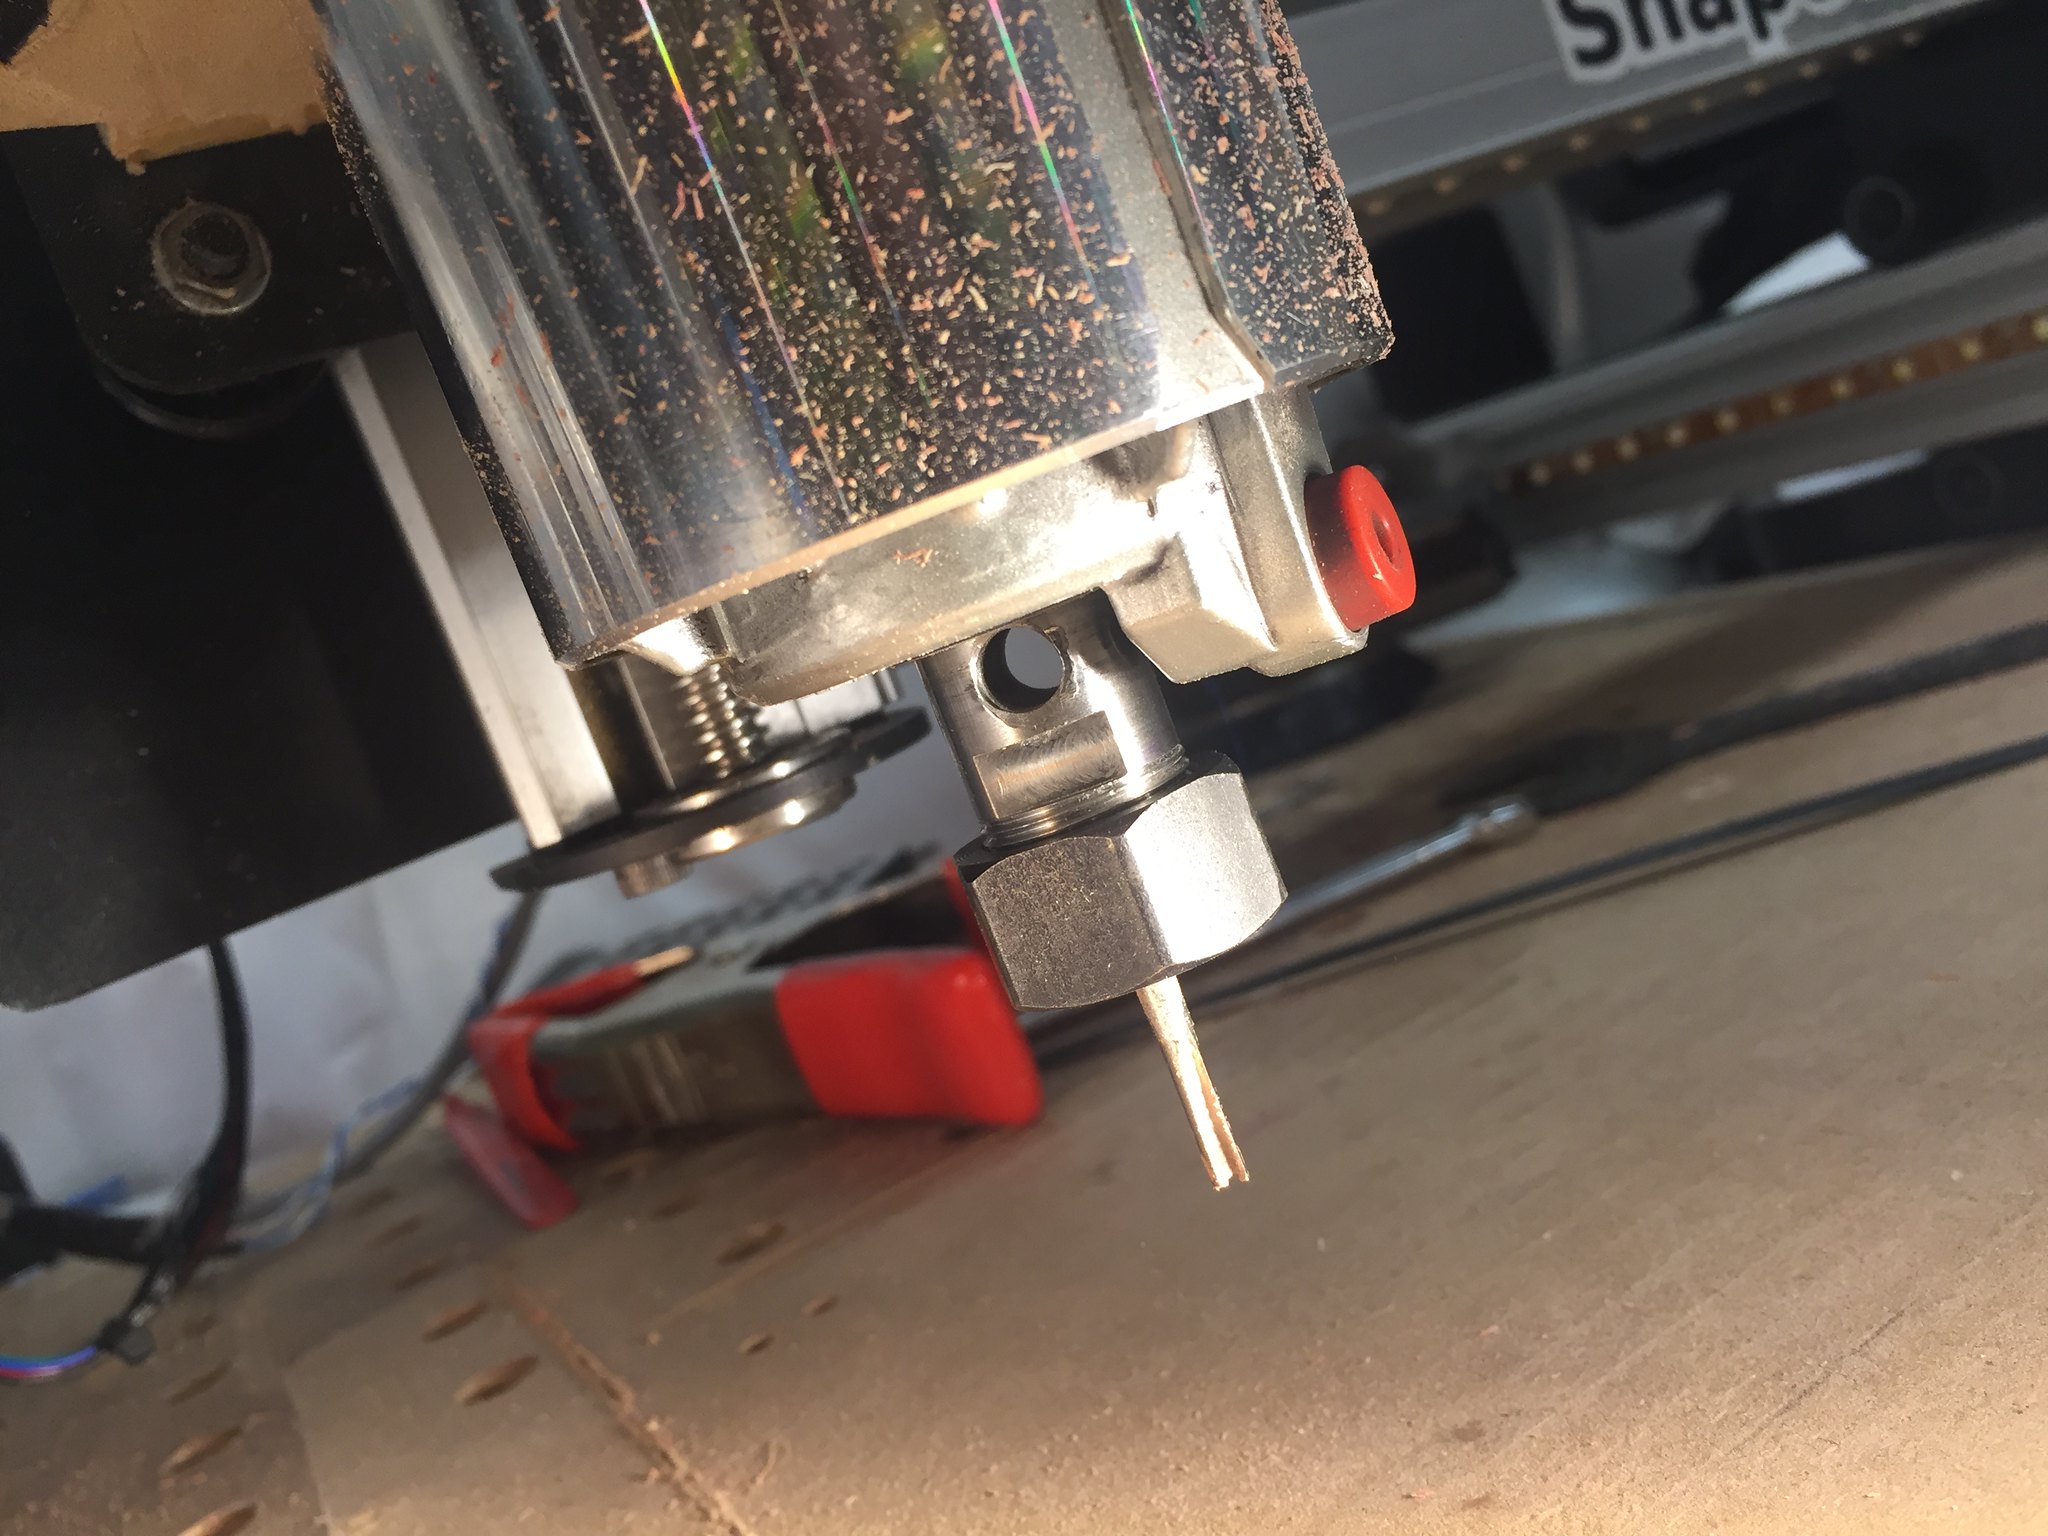 Makita tool depth by Jeremy, on Flickr
2 Likes
The stop collars usually come with the bits themselves. They are very difficult to slide up and down to adjust their offset, so it isn’t a very easy (or frankly reliable) way to hold an offset.
There is no way to set each axis individually unless you go into the machine inspector (Machine → Advanced → Machine Inspector) and type in the gcode command manually to set the zero on that axis.
Setting Z-zero shouldn’t be that difficult though. At the end of the roughing phase, the bit returns to X0 Y0, so you just need to change the bit then lower to the new Z0 and hit “home”. This can cause issues though, like “what happens if you carve the area around X0 Y0 in the roughing pass?”.
Thanks for the feedback, I’ll add it to the list of improvements ![]()
Pressing them on isn’t that big a deal for me. So I will continue to look for them, if I find them I will post where.
As for going to z0x0 and settings the z doesn’t work because when you move x and y and set z then x and y need to be reset also. Back to square one.
I have the DeWalt 611. Haven’t look to see if it has or not.
Wheels don’t typically spin at 20k+ RPM, so I’m not sure how those would hold up during a cut. You could probably use them just to measure then remove before turning the spindle on. Seems a bit dangerous to leave them on though.
The issue I can see right off is balance because the spindle is spinning <10000 it may cause vibration but I have not yet tried those.
If they are perfectly centered and the set screw is very close to the weight of the removed material it should work.
12 for $5 is a good deal.
I like the wood idea though, simple and as close as anything I have seen yet.
Could I also have this feature?
is there still testing available for 2 stage cutting? if so iit would be greatly appreciated to be able to try it out. Thanks guys for everything. easel is amazing!