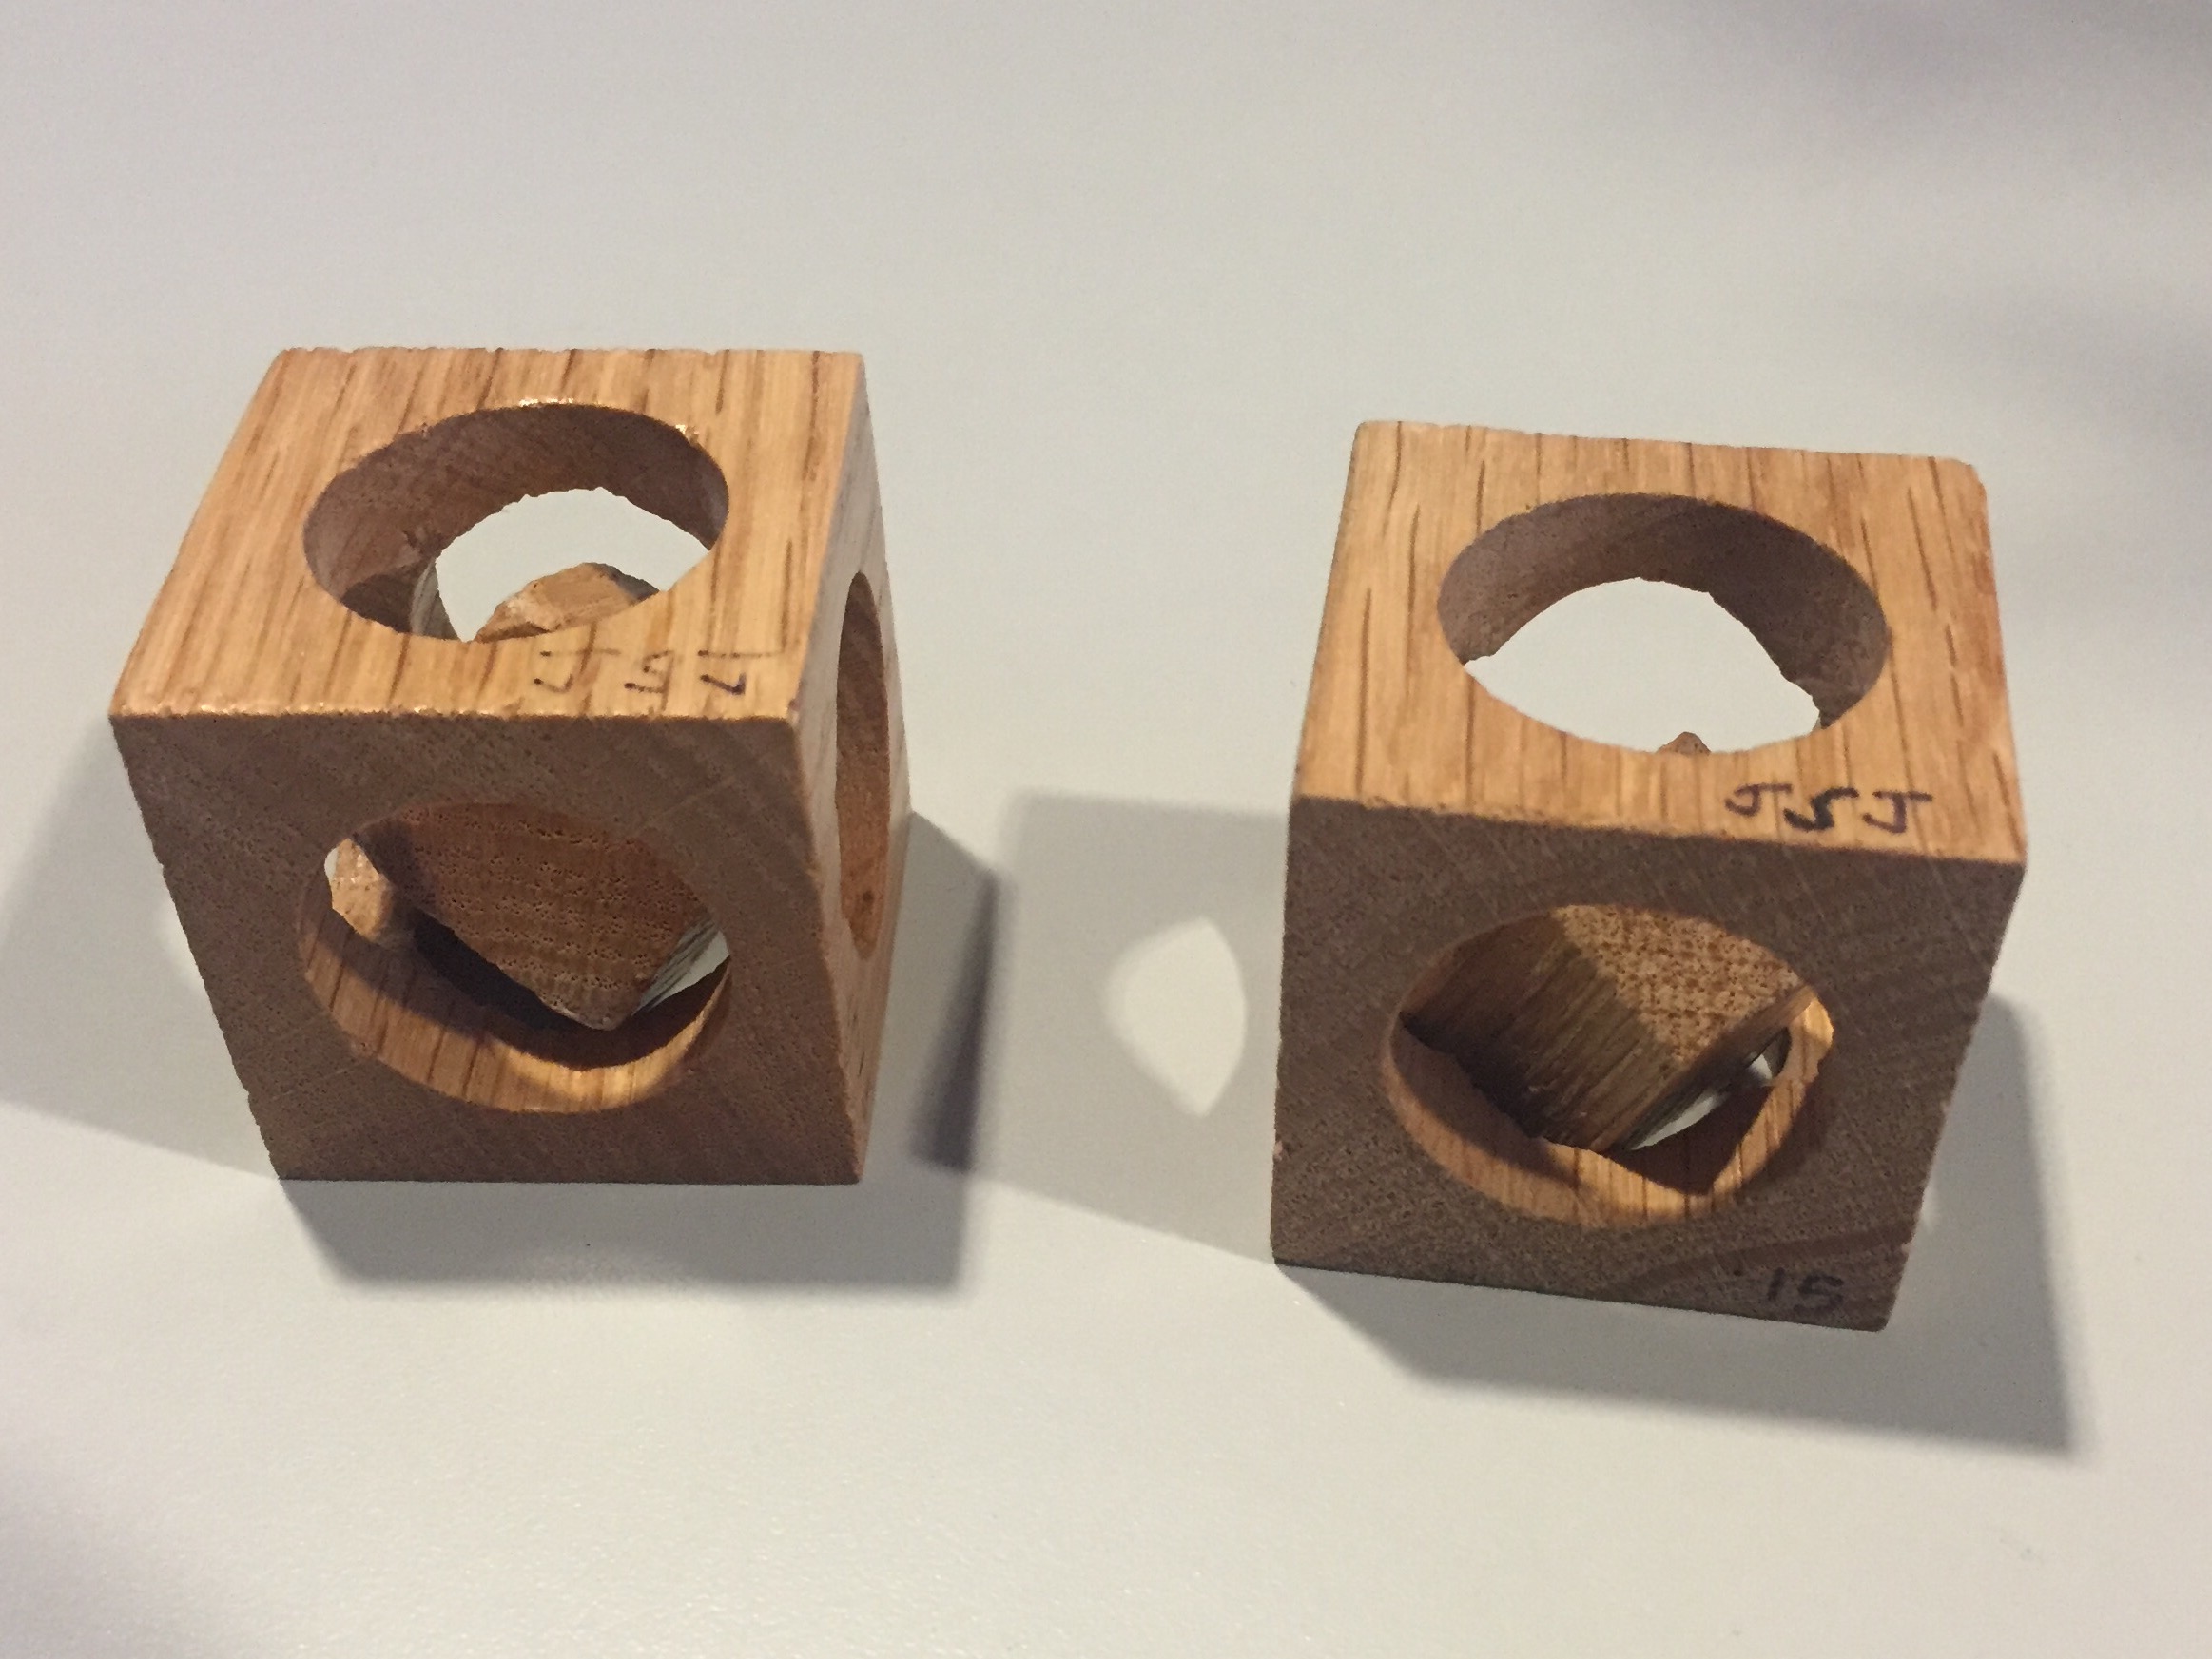
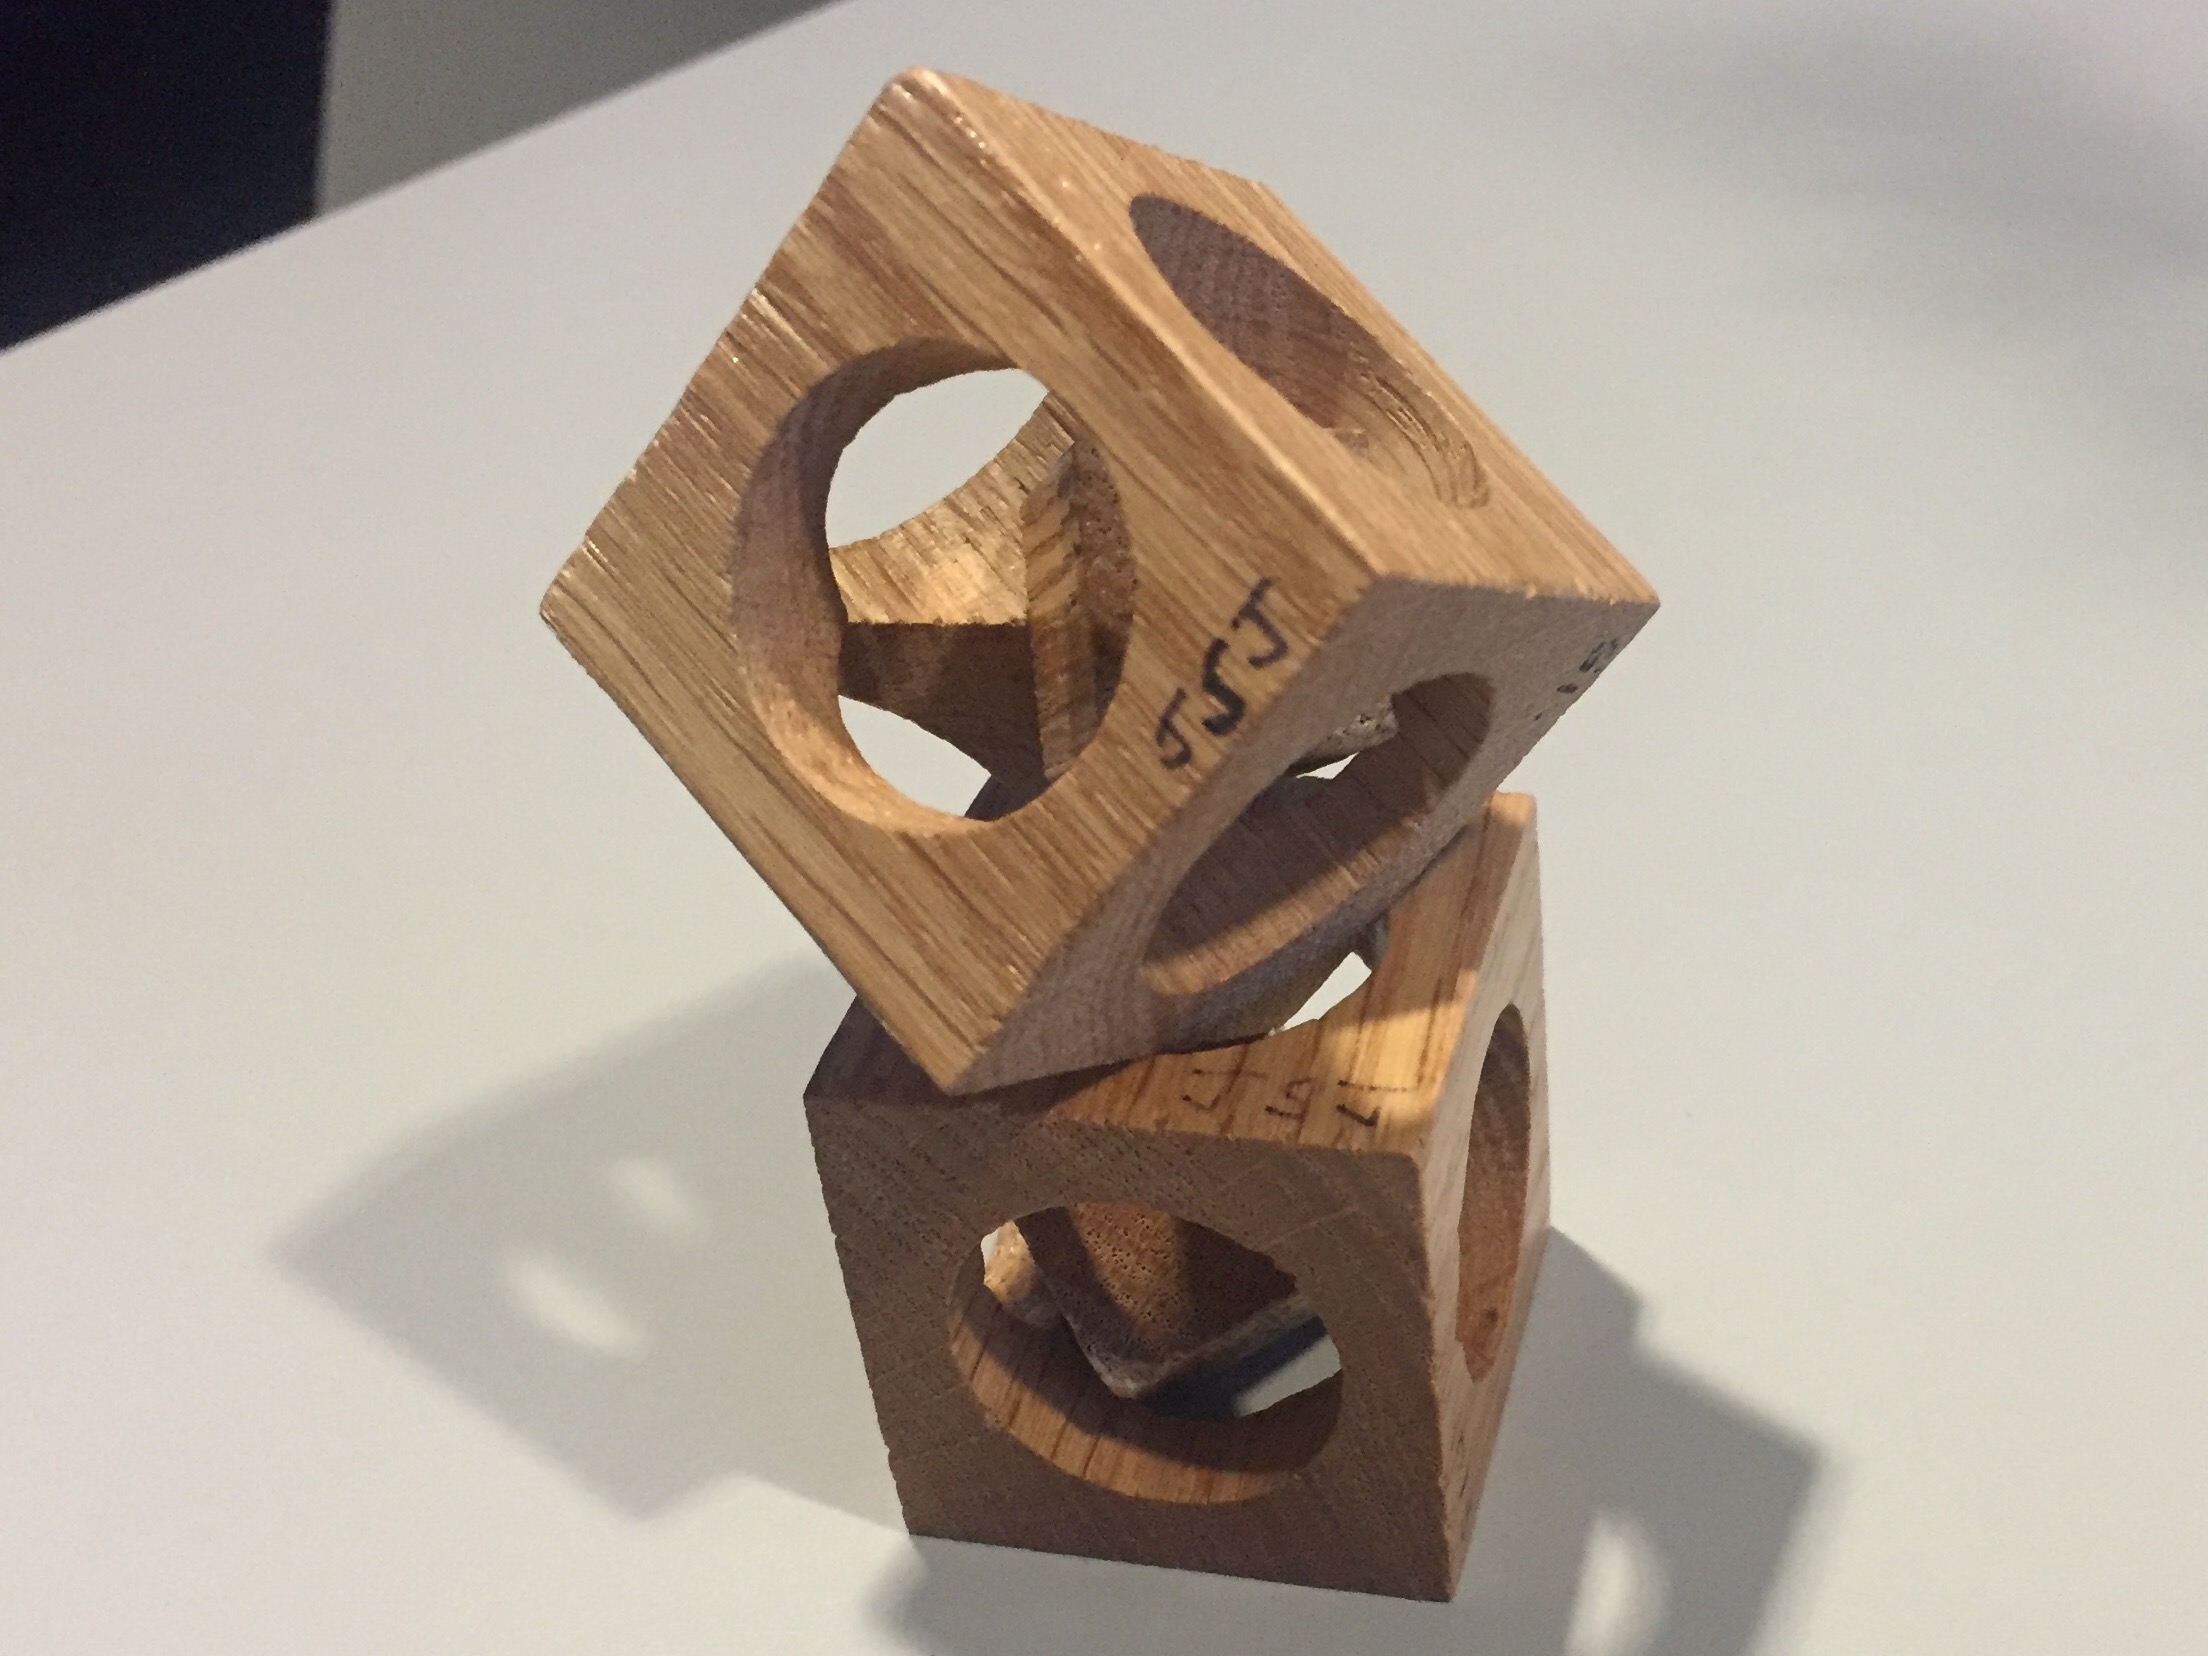
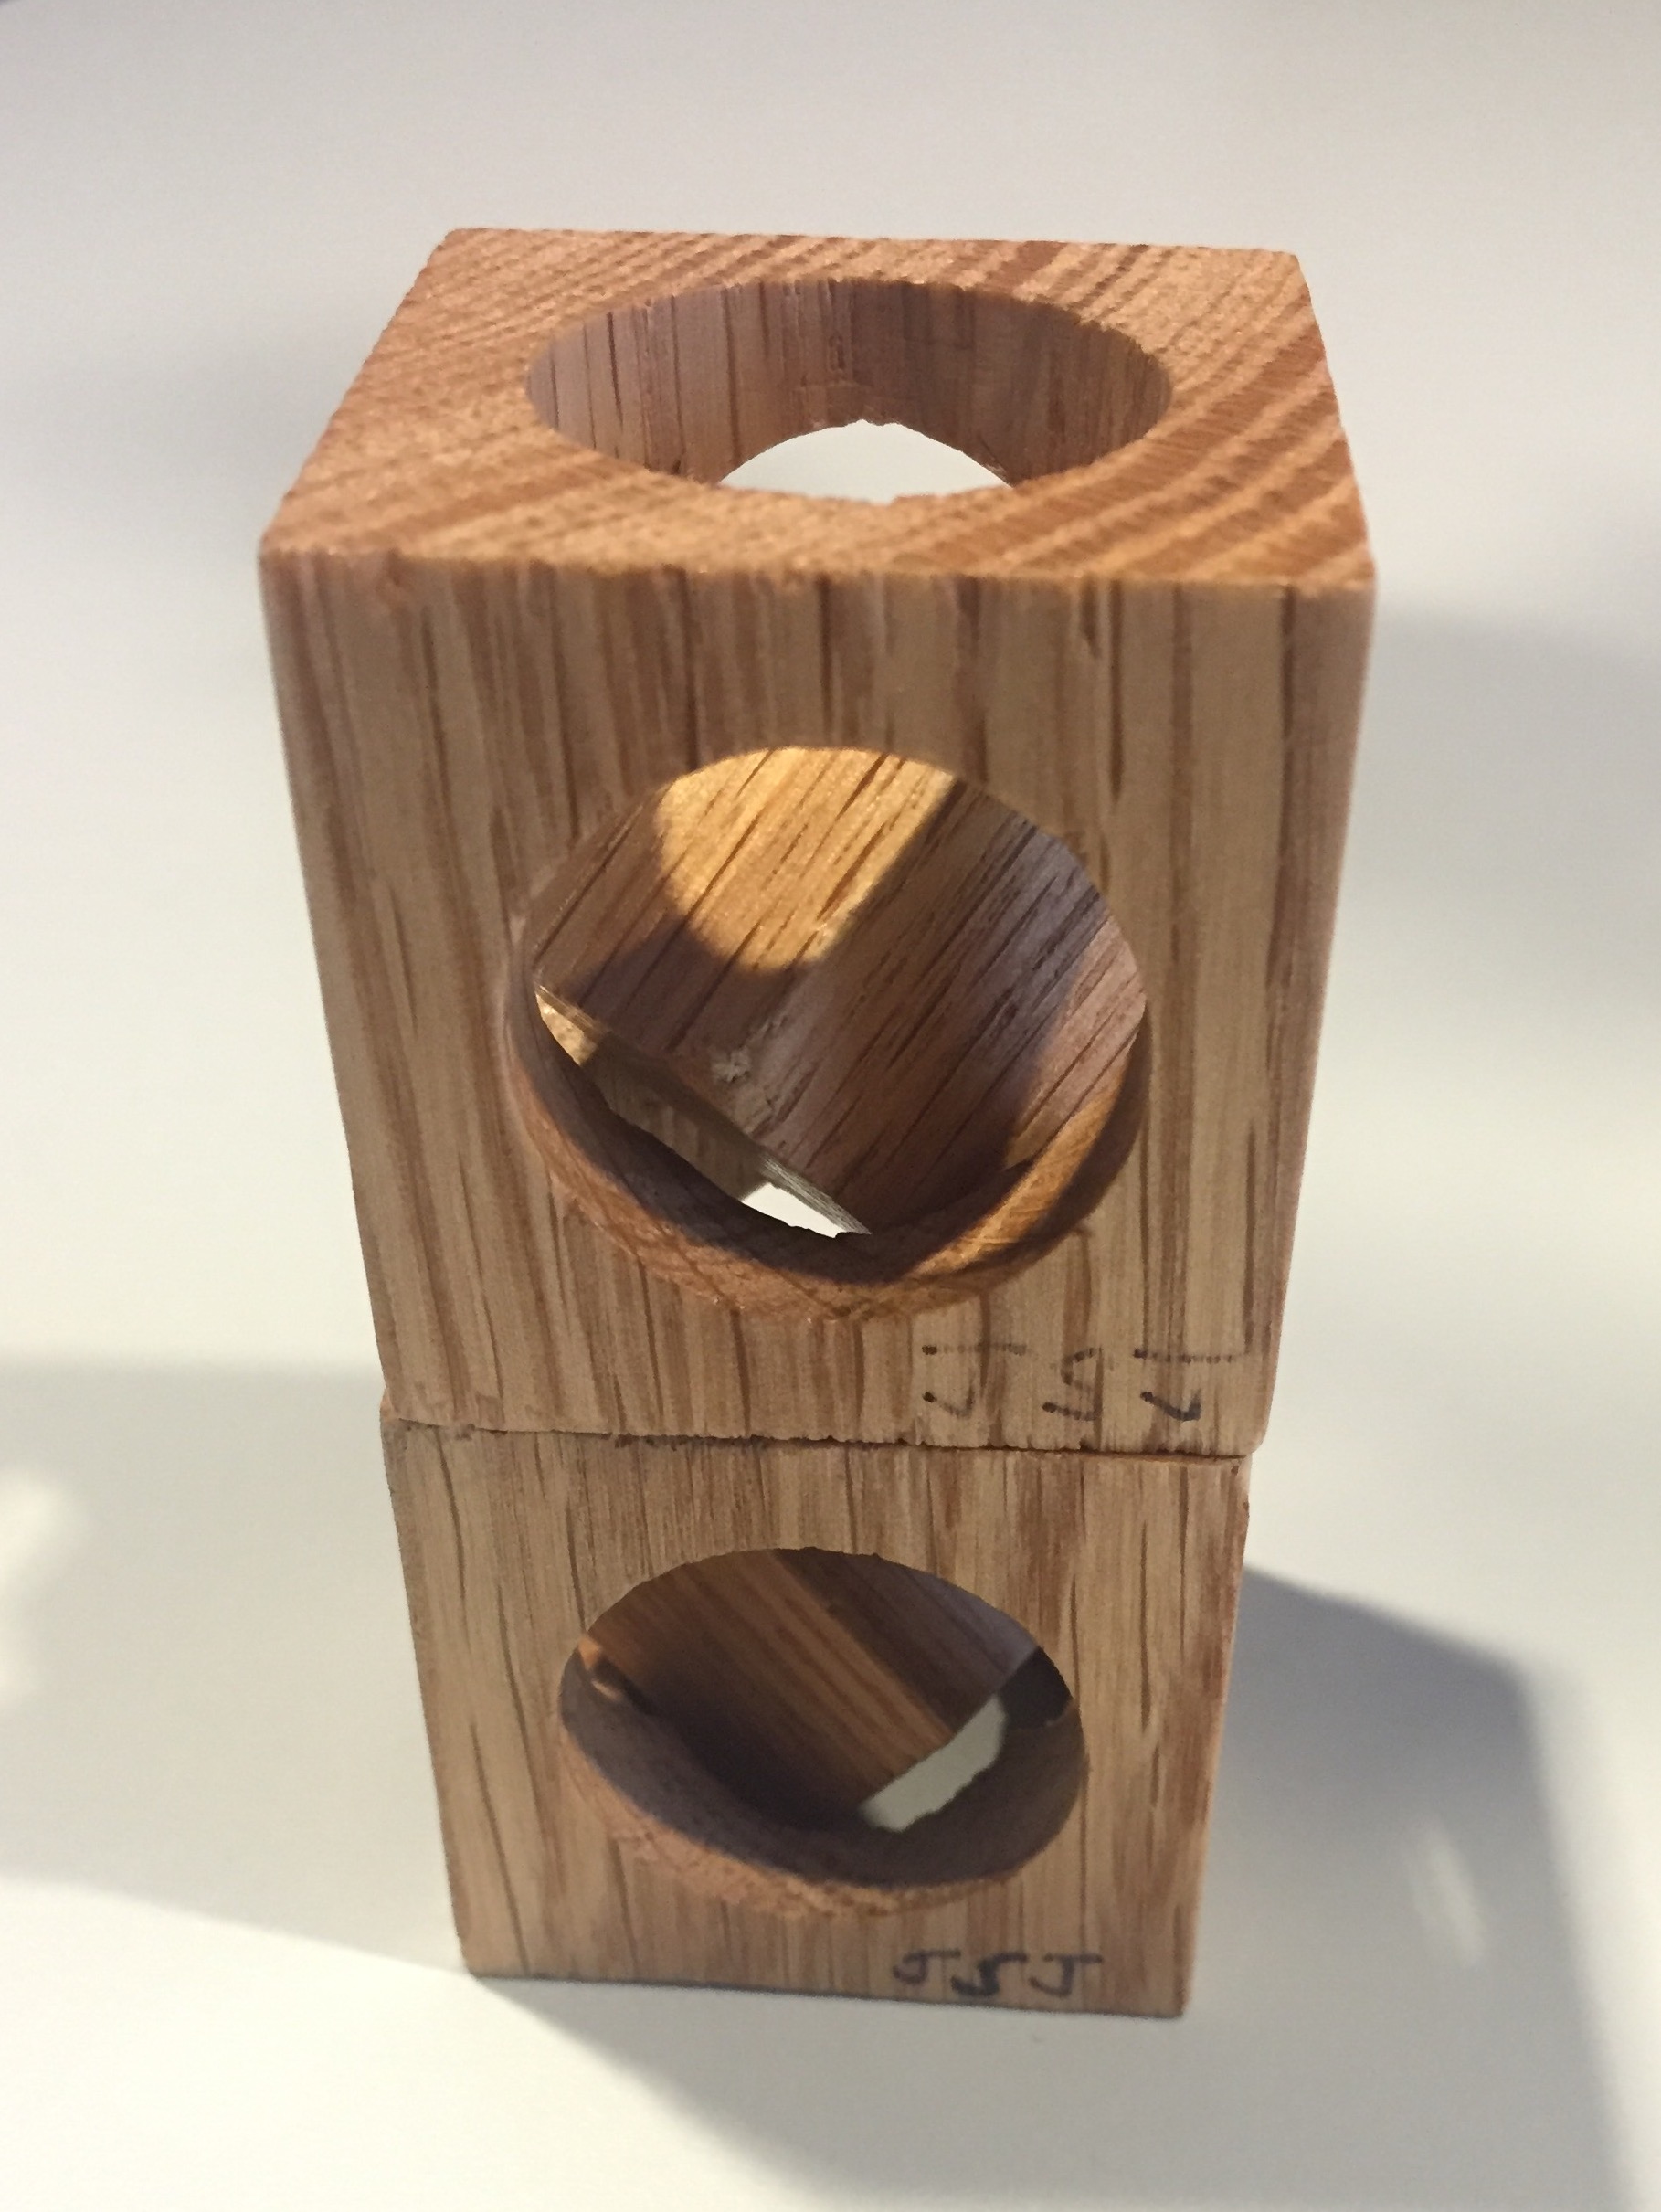
Here is a small and simple Cube inside a Cube.
The Easel Project:
I cut the cubes to size first; table saw, mitre saw, etc…
I set the home to be the center of one face, and set up a simple jig of blocks to always hold and reference the same corner (top left). I then ran the job six times, rotating between jobs.
The only critical measurement is the depth of the circle. The depth is calculated using the small square in the upper right corner. Set the circle’s depth to the square’s length. Normally this is where the square and the circle intersect.
However, if you make it too deep, the inner cube will be too small and will escape the circle. Which is why the square is smaller, to leave some material.
Make the depth small enough so that only a small amount of wood remains on the inside cube corners. Then chisel it free by hand.
It there is interest in the project, I will make it a “Project”, include showing the jig and clamping methods.
6 Likes
I made one of these on the drill press once, but I’d love to see an official project with it. I bet you could even make a cube in a cube in a cube. You could also make it a lot more exact with a thin cut across the top to ensure the height is exact. With 611 and 1/8" bit, slight differences of .030" or so would be super-easy to correct.
1 Like
Definitely.
Facing the surface at the beginning of the job would make it more exact.
Between that, and demonstrating the use of jigs, it would make a CNC good lesson.
Show it with, and without that step.
Maybe its time I broke out the camera and start recording! 
2 Likes
Another vote for making this a project with clamping methods and other useful instructions. The community will definitely be better for it. Nice job in any case! 
I will try and do a video:
New Topics to cover that I haven’t seen in this forum or other tutorials:
- Clamping (block) from the side: Tricky for several reasons. You want your part to be parallel to your machine via butted against the block. If you did NOT mill your own waste board, I.E. bought a predrilled waste board, IMHO your holes are not guaranteed to be in parallel with your gantry; hence the block will NOT be parallel. Fortunately, even this has a workaround, which I will cover.
- Keyhole bit: Use this for a true cube inside cube. This cannot be done via Easel’s CAD/CAM. Will require manual jogging / gcode. I will show off Easel’s new GCode sending feature for this.
2 Likes
