Calculating Your Cut Settings: Basic Feeds and Speeds Information – Inventables (zendesk.com)
Calculating Your Cut Settings: Basic Feeds and Speeds Information
Follow
What are cut settings (feeds and speeds)?
Cut settings dictate to how your machine moves when it carves out a project. There are a few basic feeds and speeds terms to know:
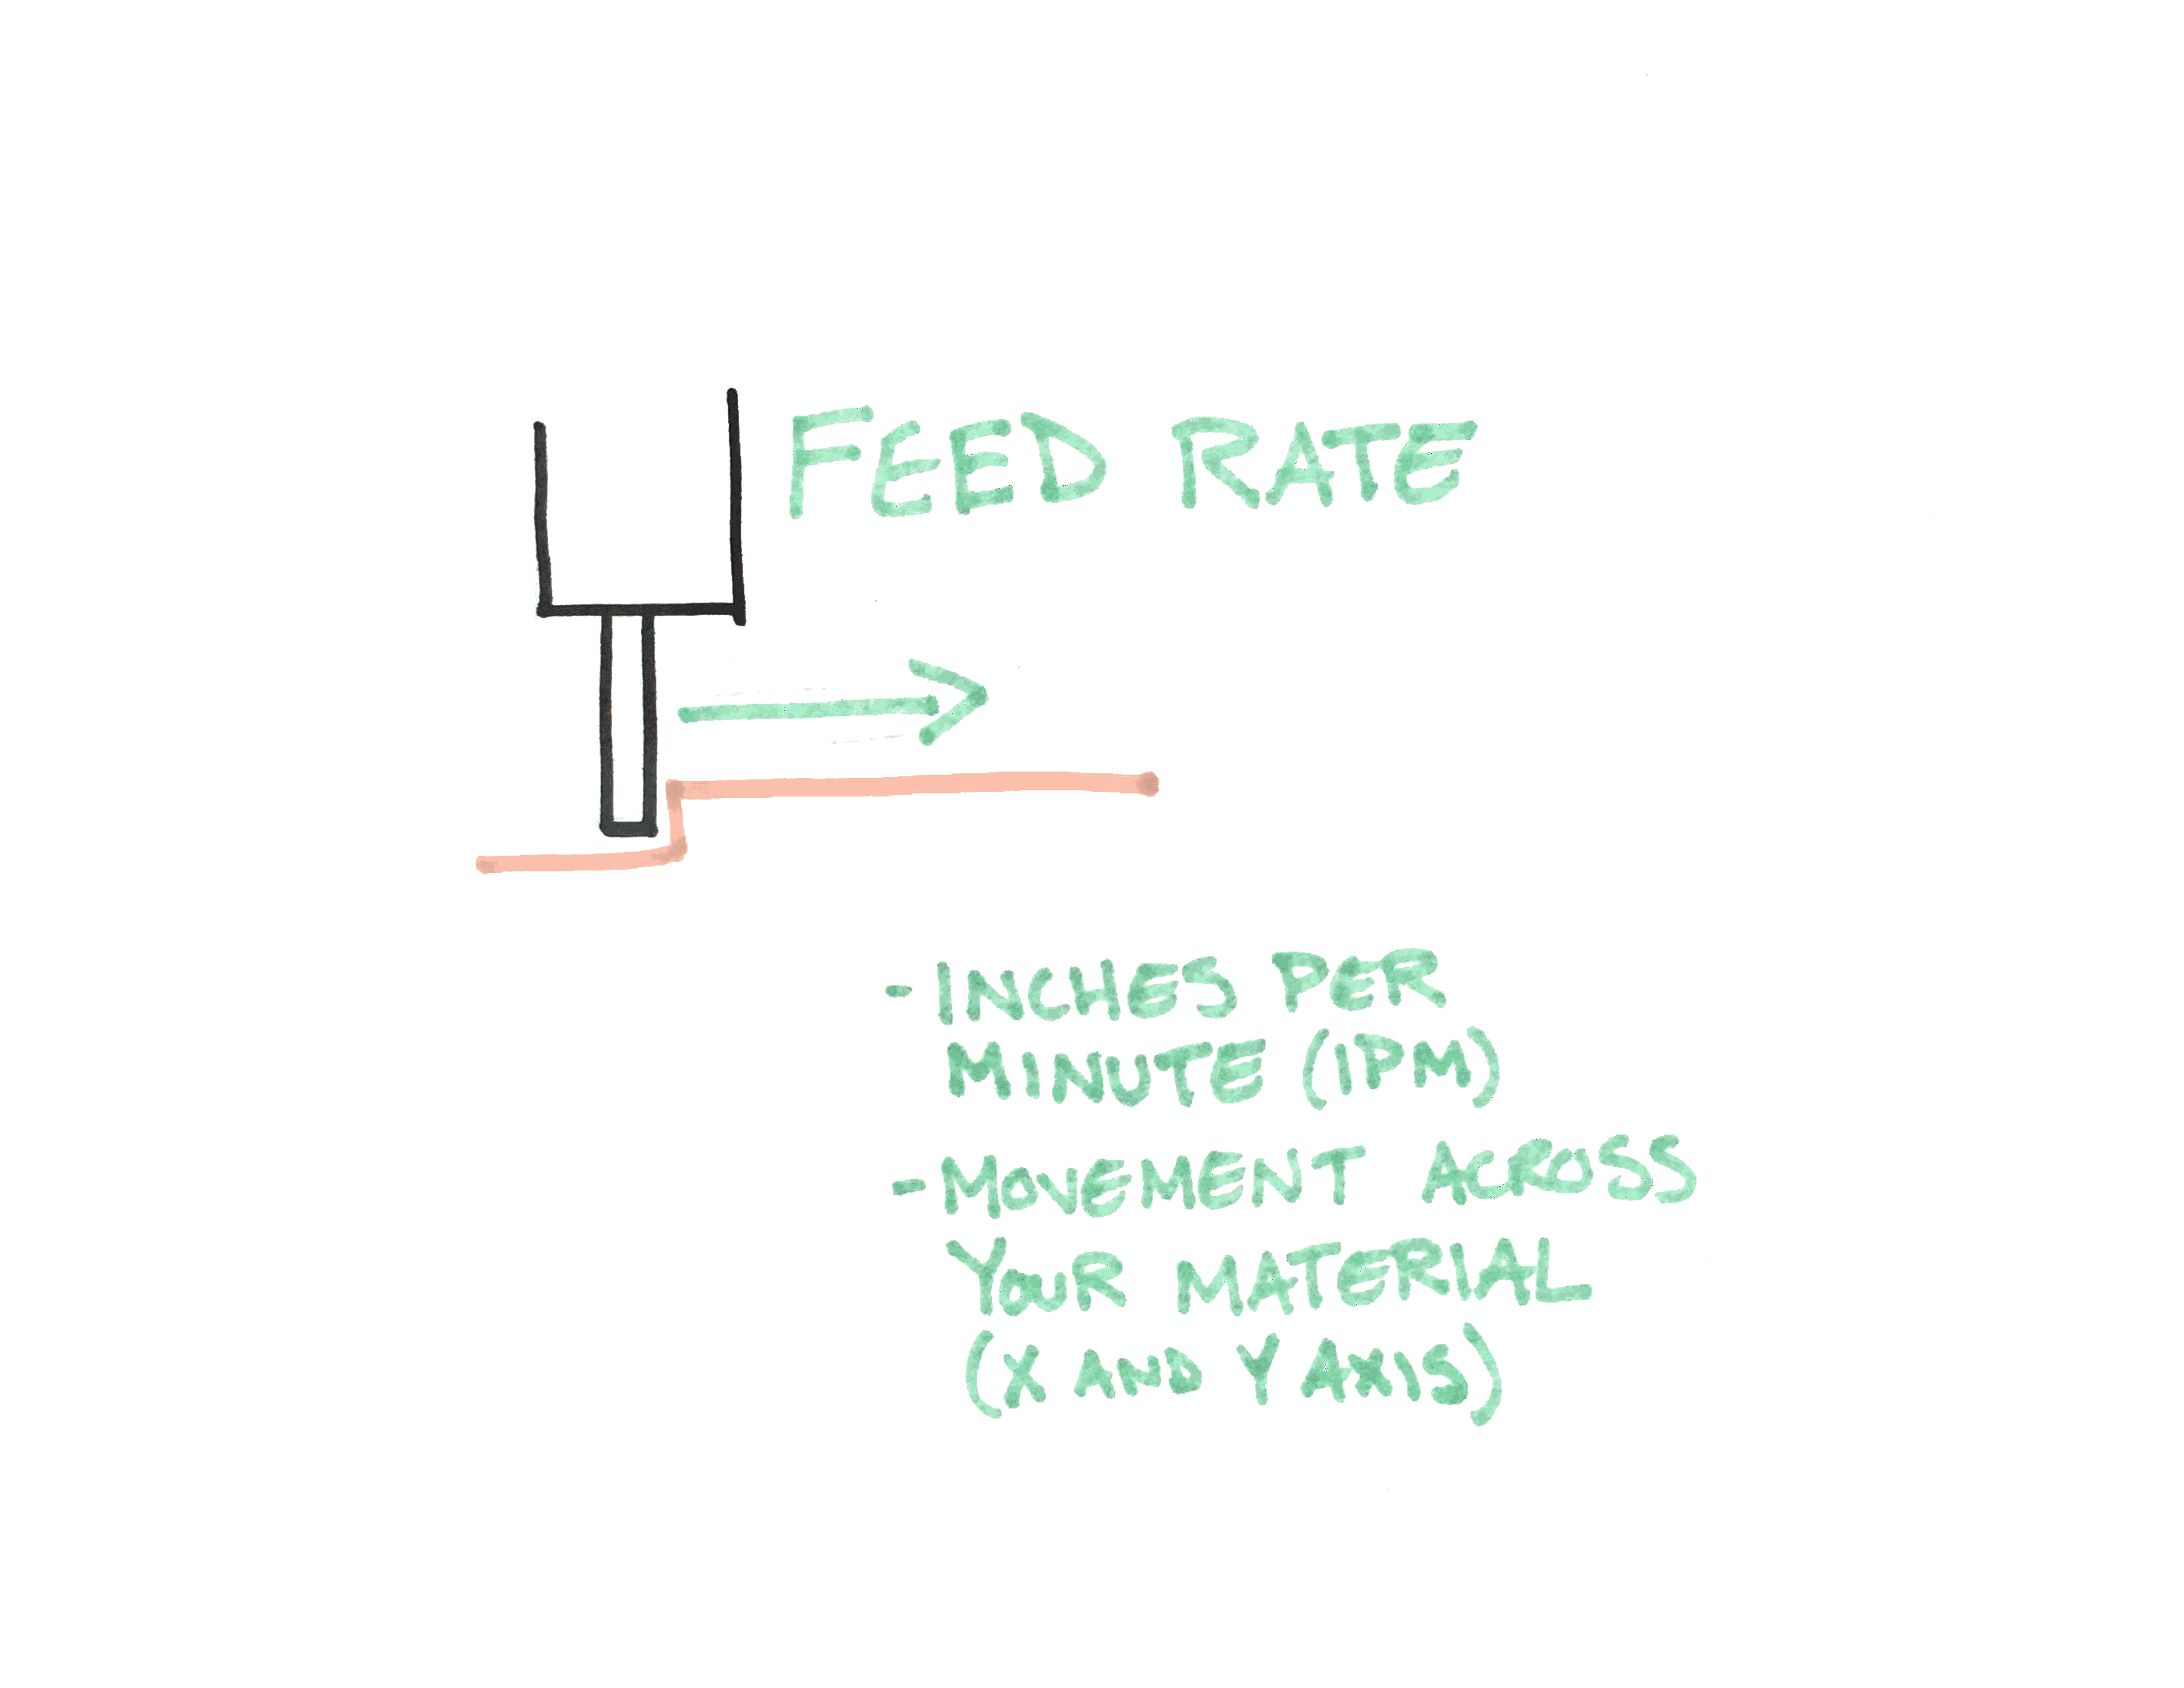
 Feed Rate
Feed rate is the rate at which your machine advances along carve your project. For X-Carve and Carvey, the feed is measured in inches per minute (IPM). Another way to think about feed rate is the distance your bit moves through your project in one minute.
When using Easel with X-Carve and Carvey, feed rate is an independently-controlled motion that will not change if you increase or decrease the rotation per minute (RPM) of your router bit. For example, a feed rate of 20 IPM means your machine advances 20 inches along the x- and y-axis in the course of one minute, regardless of how fast your bit is rotating.
Feed rate does not impact your z-axis. Z-axis movements are determined by plunge rate (inches) and depth per pass.
If you’re interested, you can learn more about Easel’s feed rate override feature.
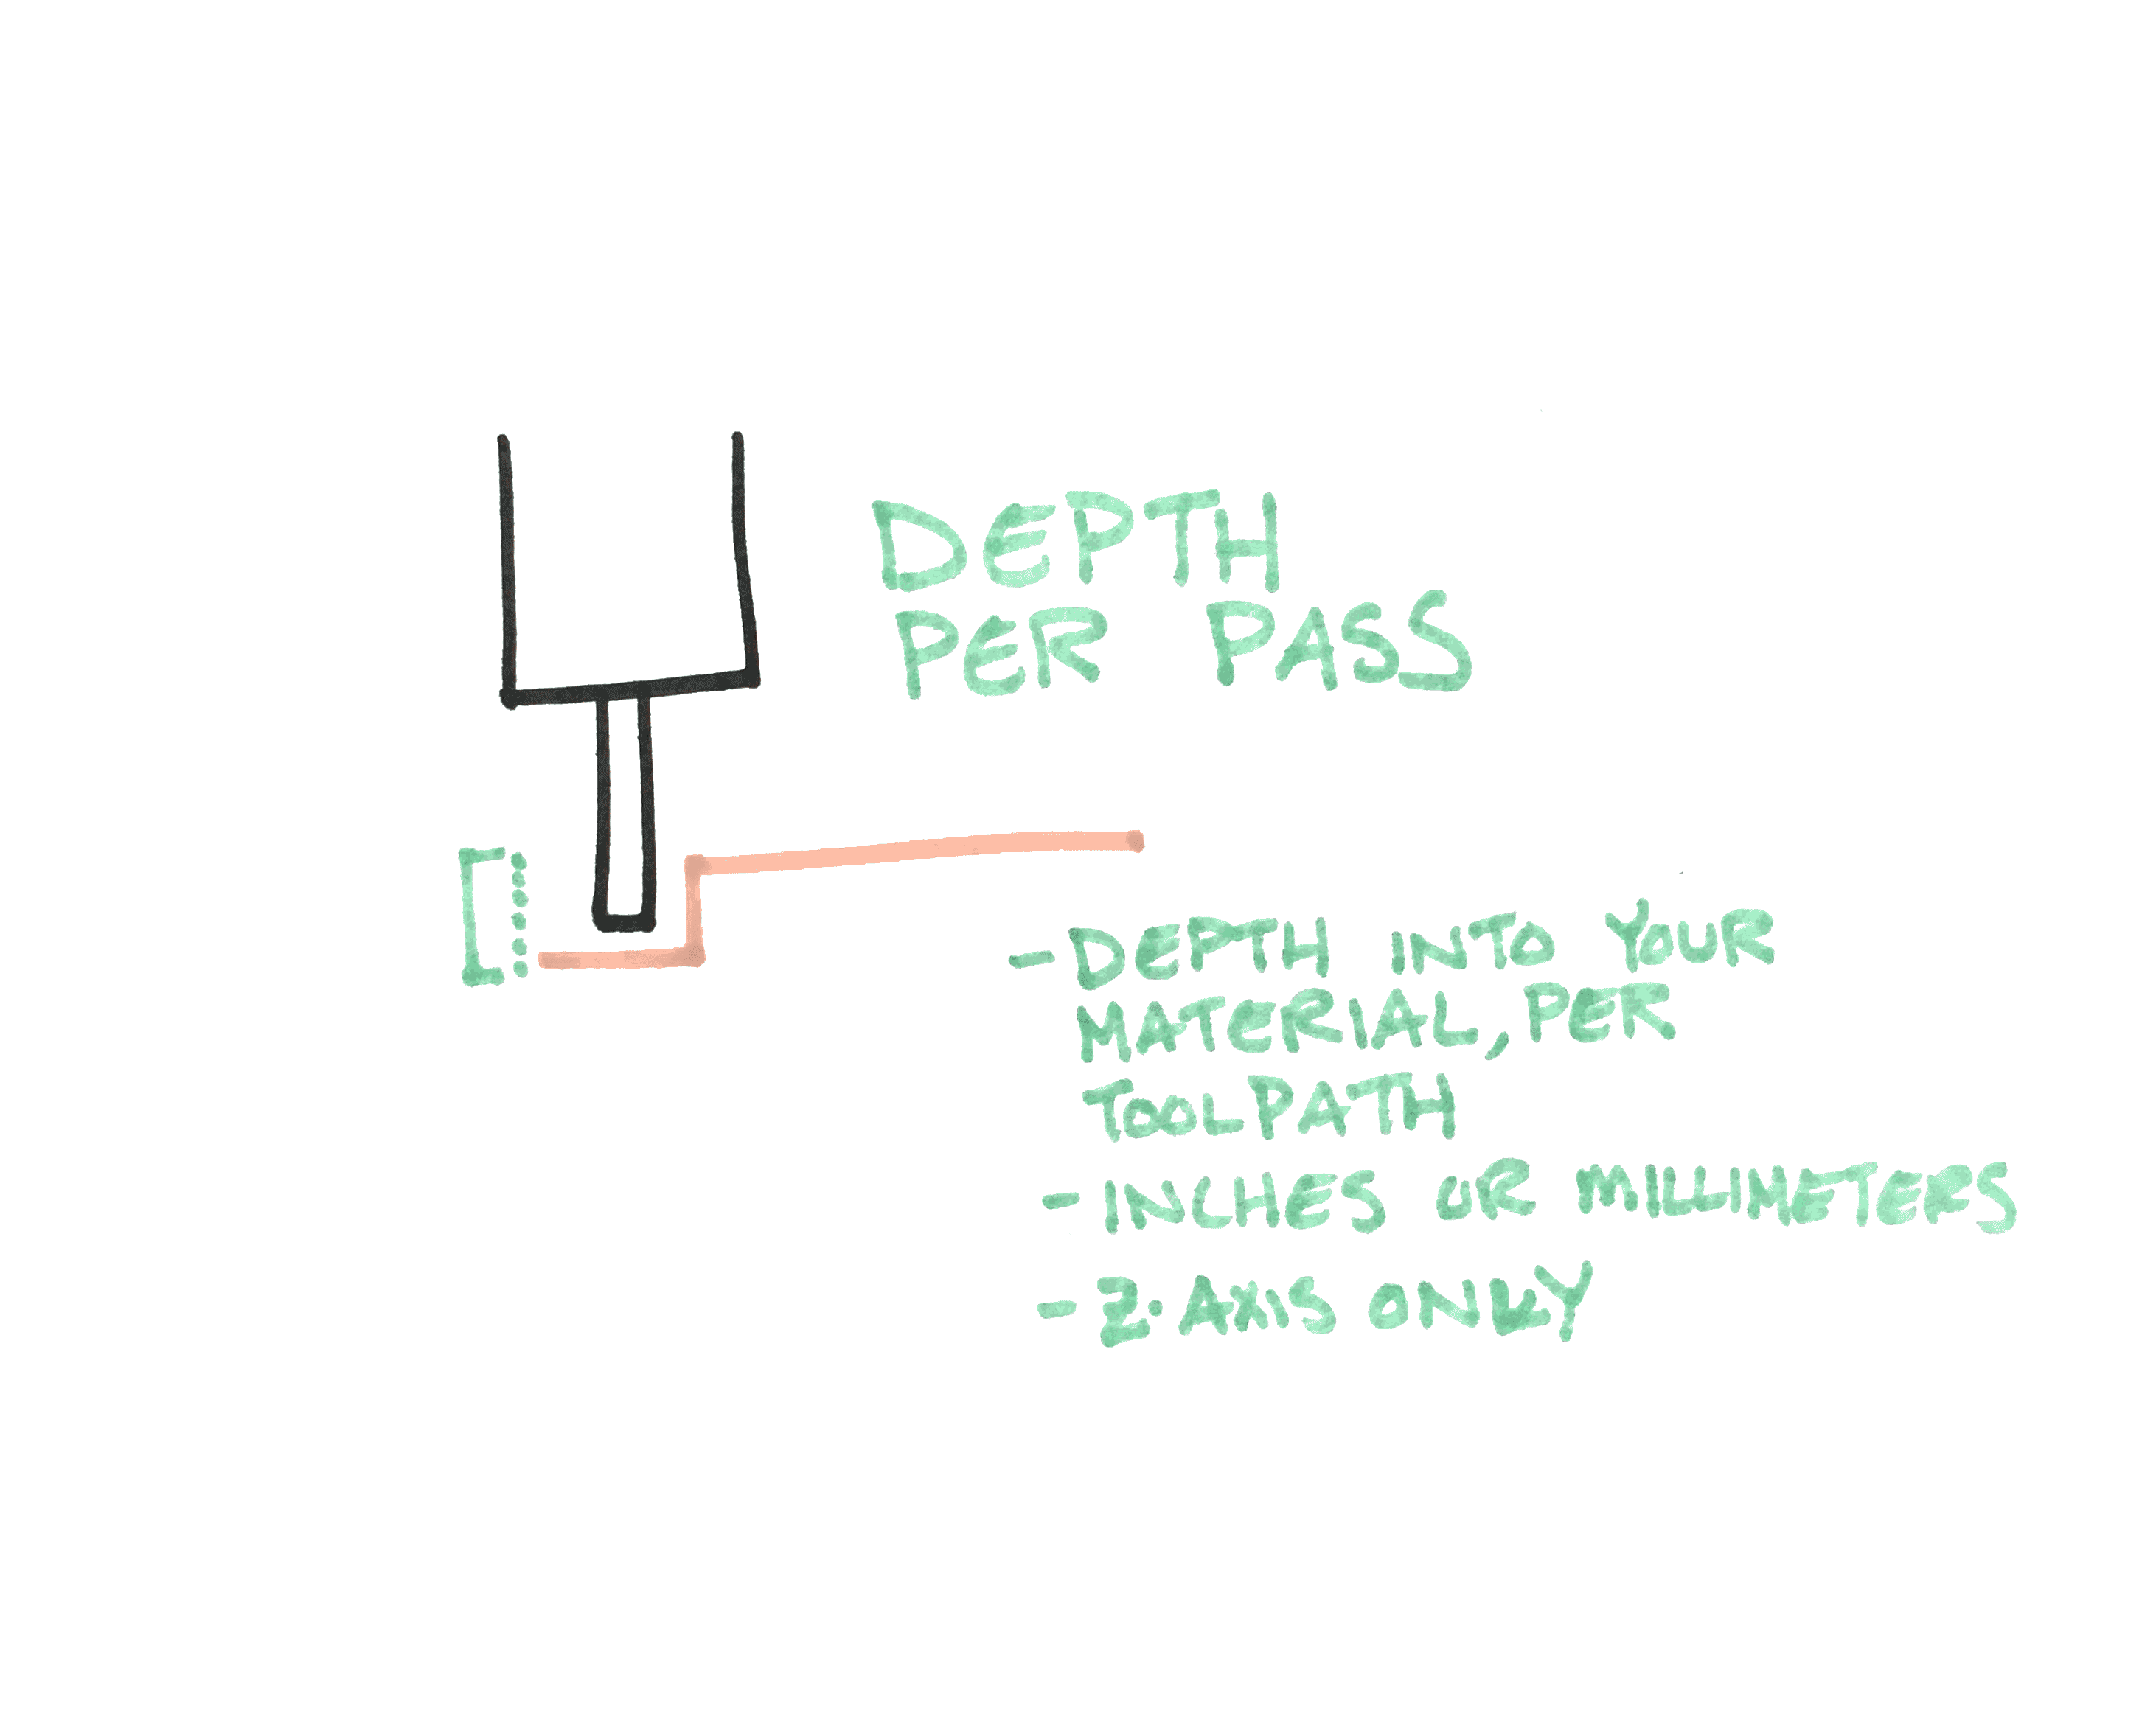
Depth Per Pass
Depth per pass (sometimes referred to as depth per cut) is how deeply your bit goes into your material every time it starts a new toolpath. Depth per pass is commonly measured in inches or millimeters.
For example, a depth per pass of .125” means that your bit will carve .125” deep each time it starts a new tool path. If you are clearing a pocket that is 1” deep, your machine will make a total of 8 passes:
(1” total depth) / (.125” per pass) = 8 total passes
As a general rule, we do not recommend using a depth per pass that is greater than half the cutting diameter of your bit. This means that if you are using a bit with a 1/4” cutting diameter, your depth per pass should be no greater than 1/8”; for a bit with a 1/8” cutting diameter, your depth per pass should not exceed .0625”; etc. This guideline represents the maximum depth per pass for a bit size: most depth per pass settings are much more conservative than these values.

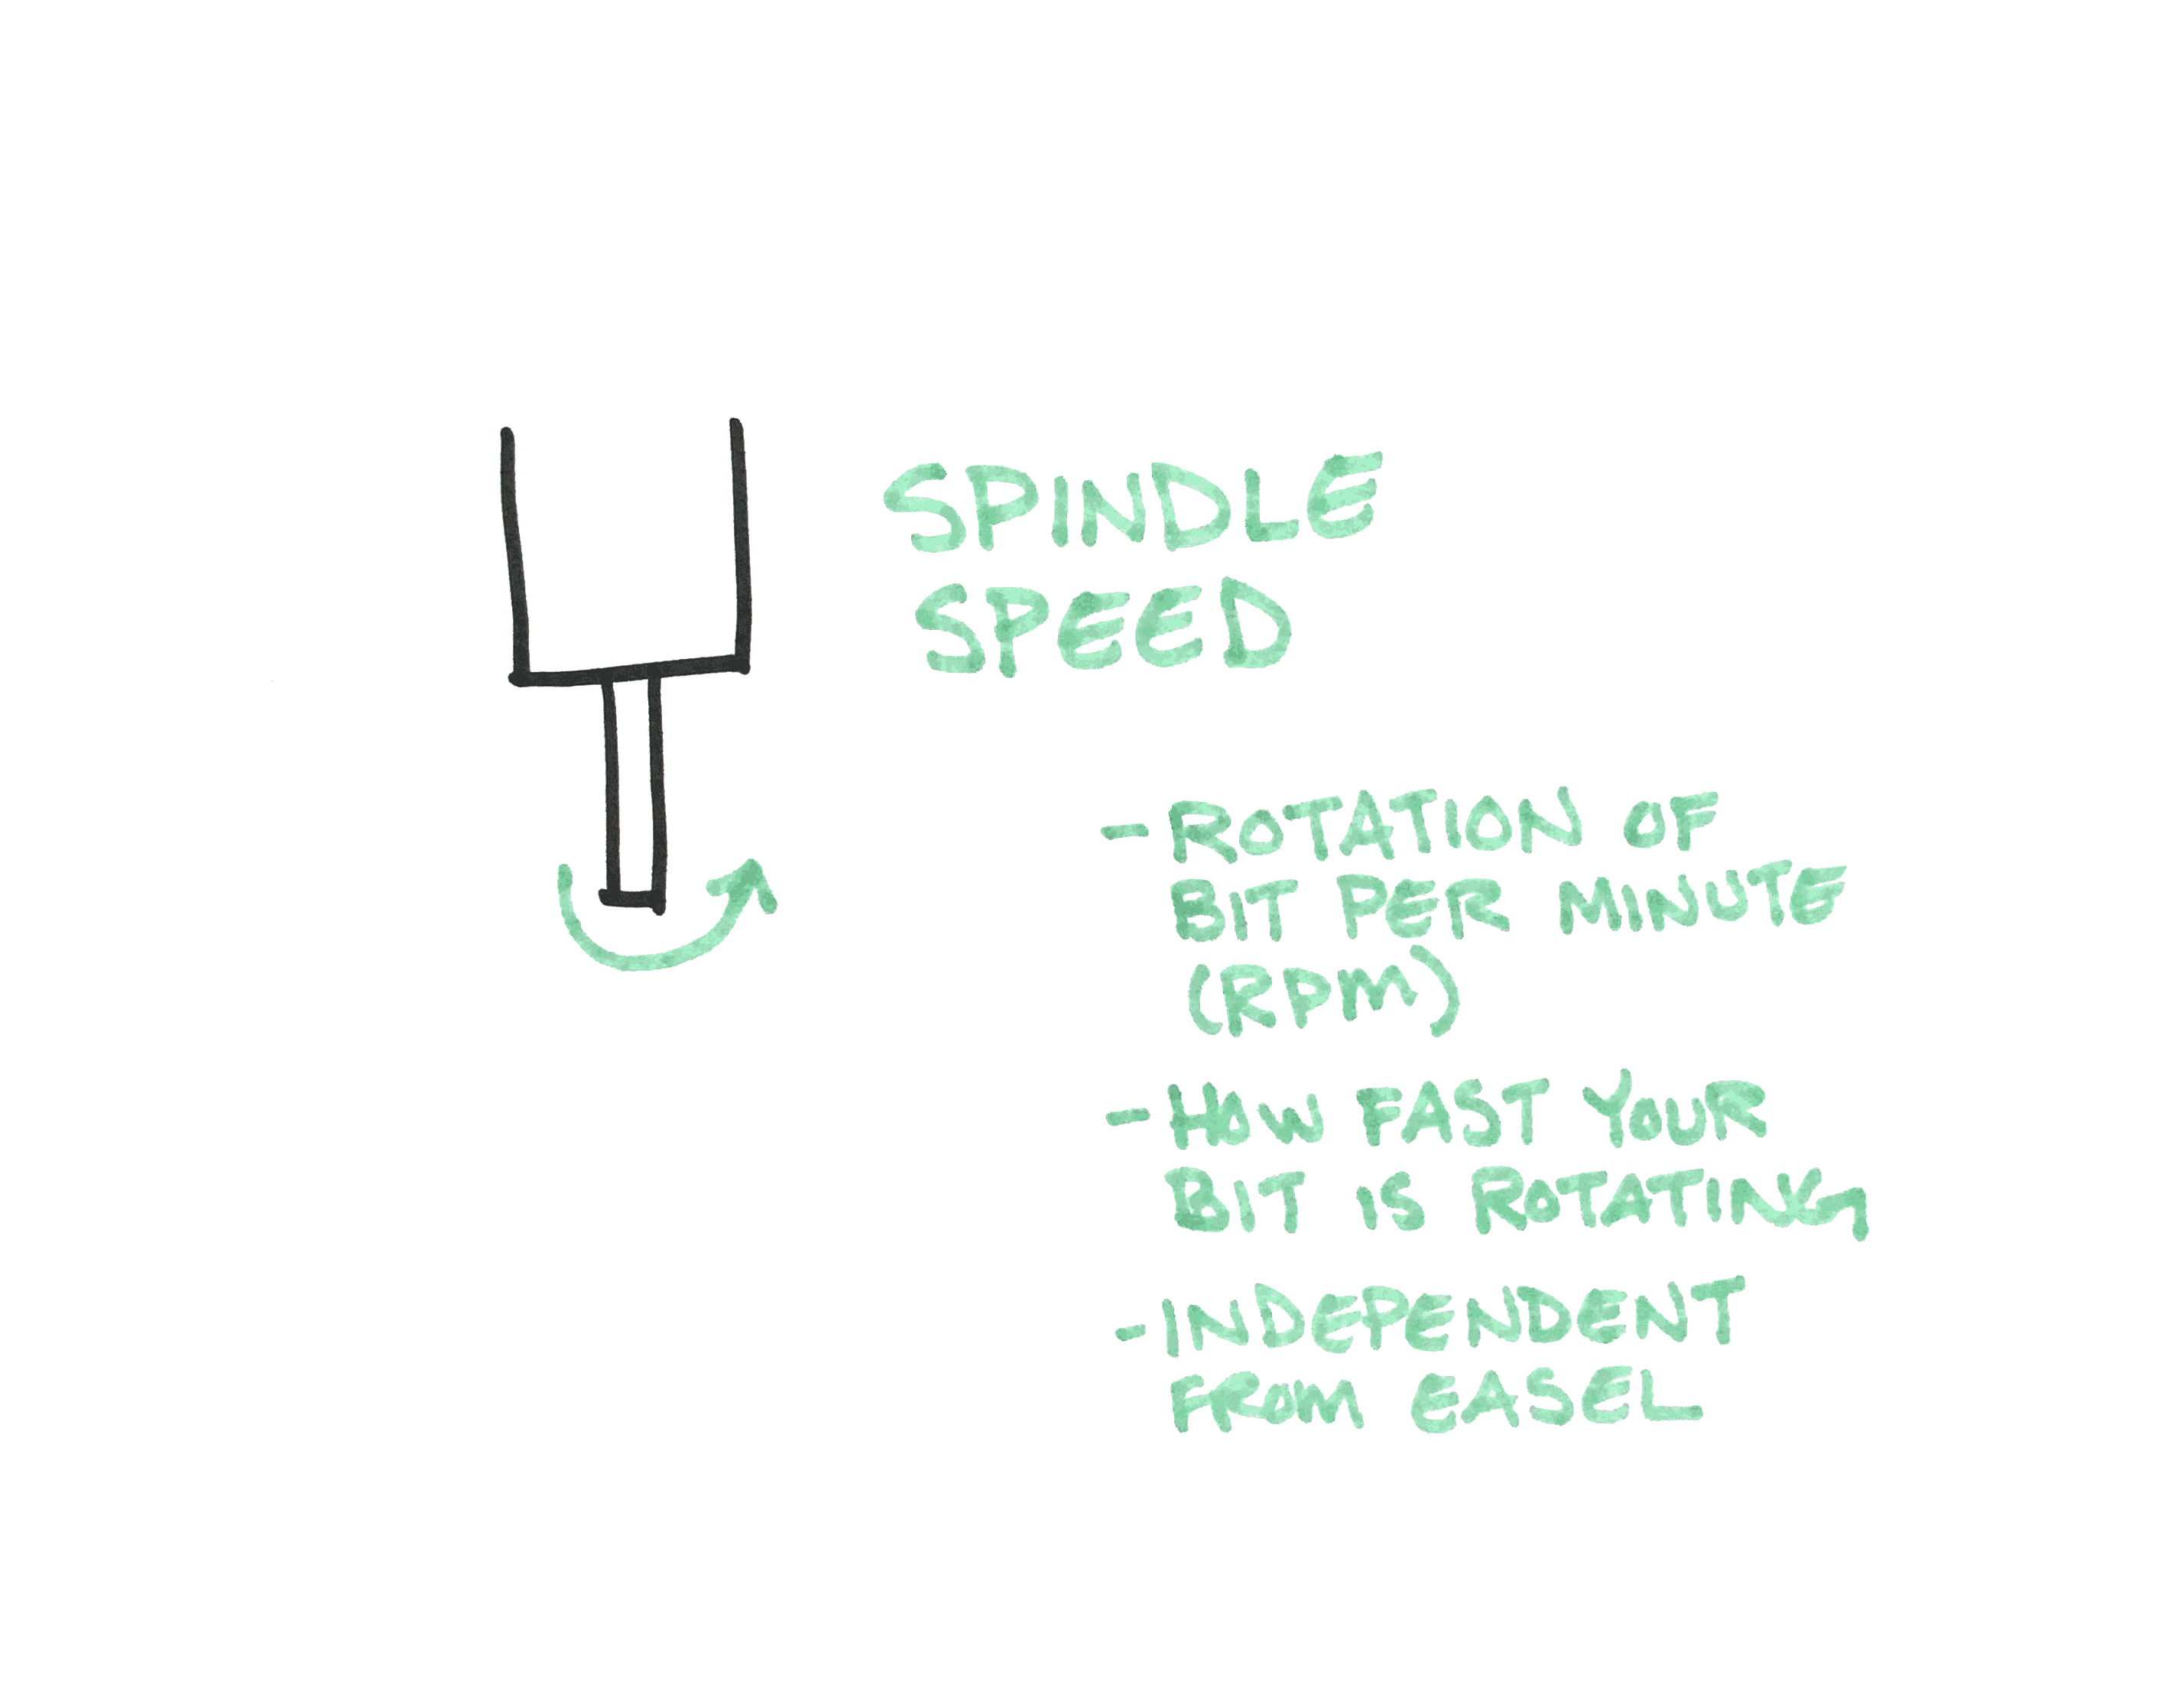
Spindle Speed
Spindle speed is the rotational speed of your bit, measured in revolutions per minute (RPM).
If you are using the DeWalt 611 (110v) or 660 (220v) router that comes with your X-Carve, the spindle speed varies from 16,000 RPM at the lowest setting (1) up to 27,000 RPM at the highest setting (6). We recommend staying between the first and second settings for most projects.
Carvey’s spindle speed is 12,000 RPM.
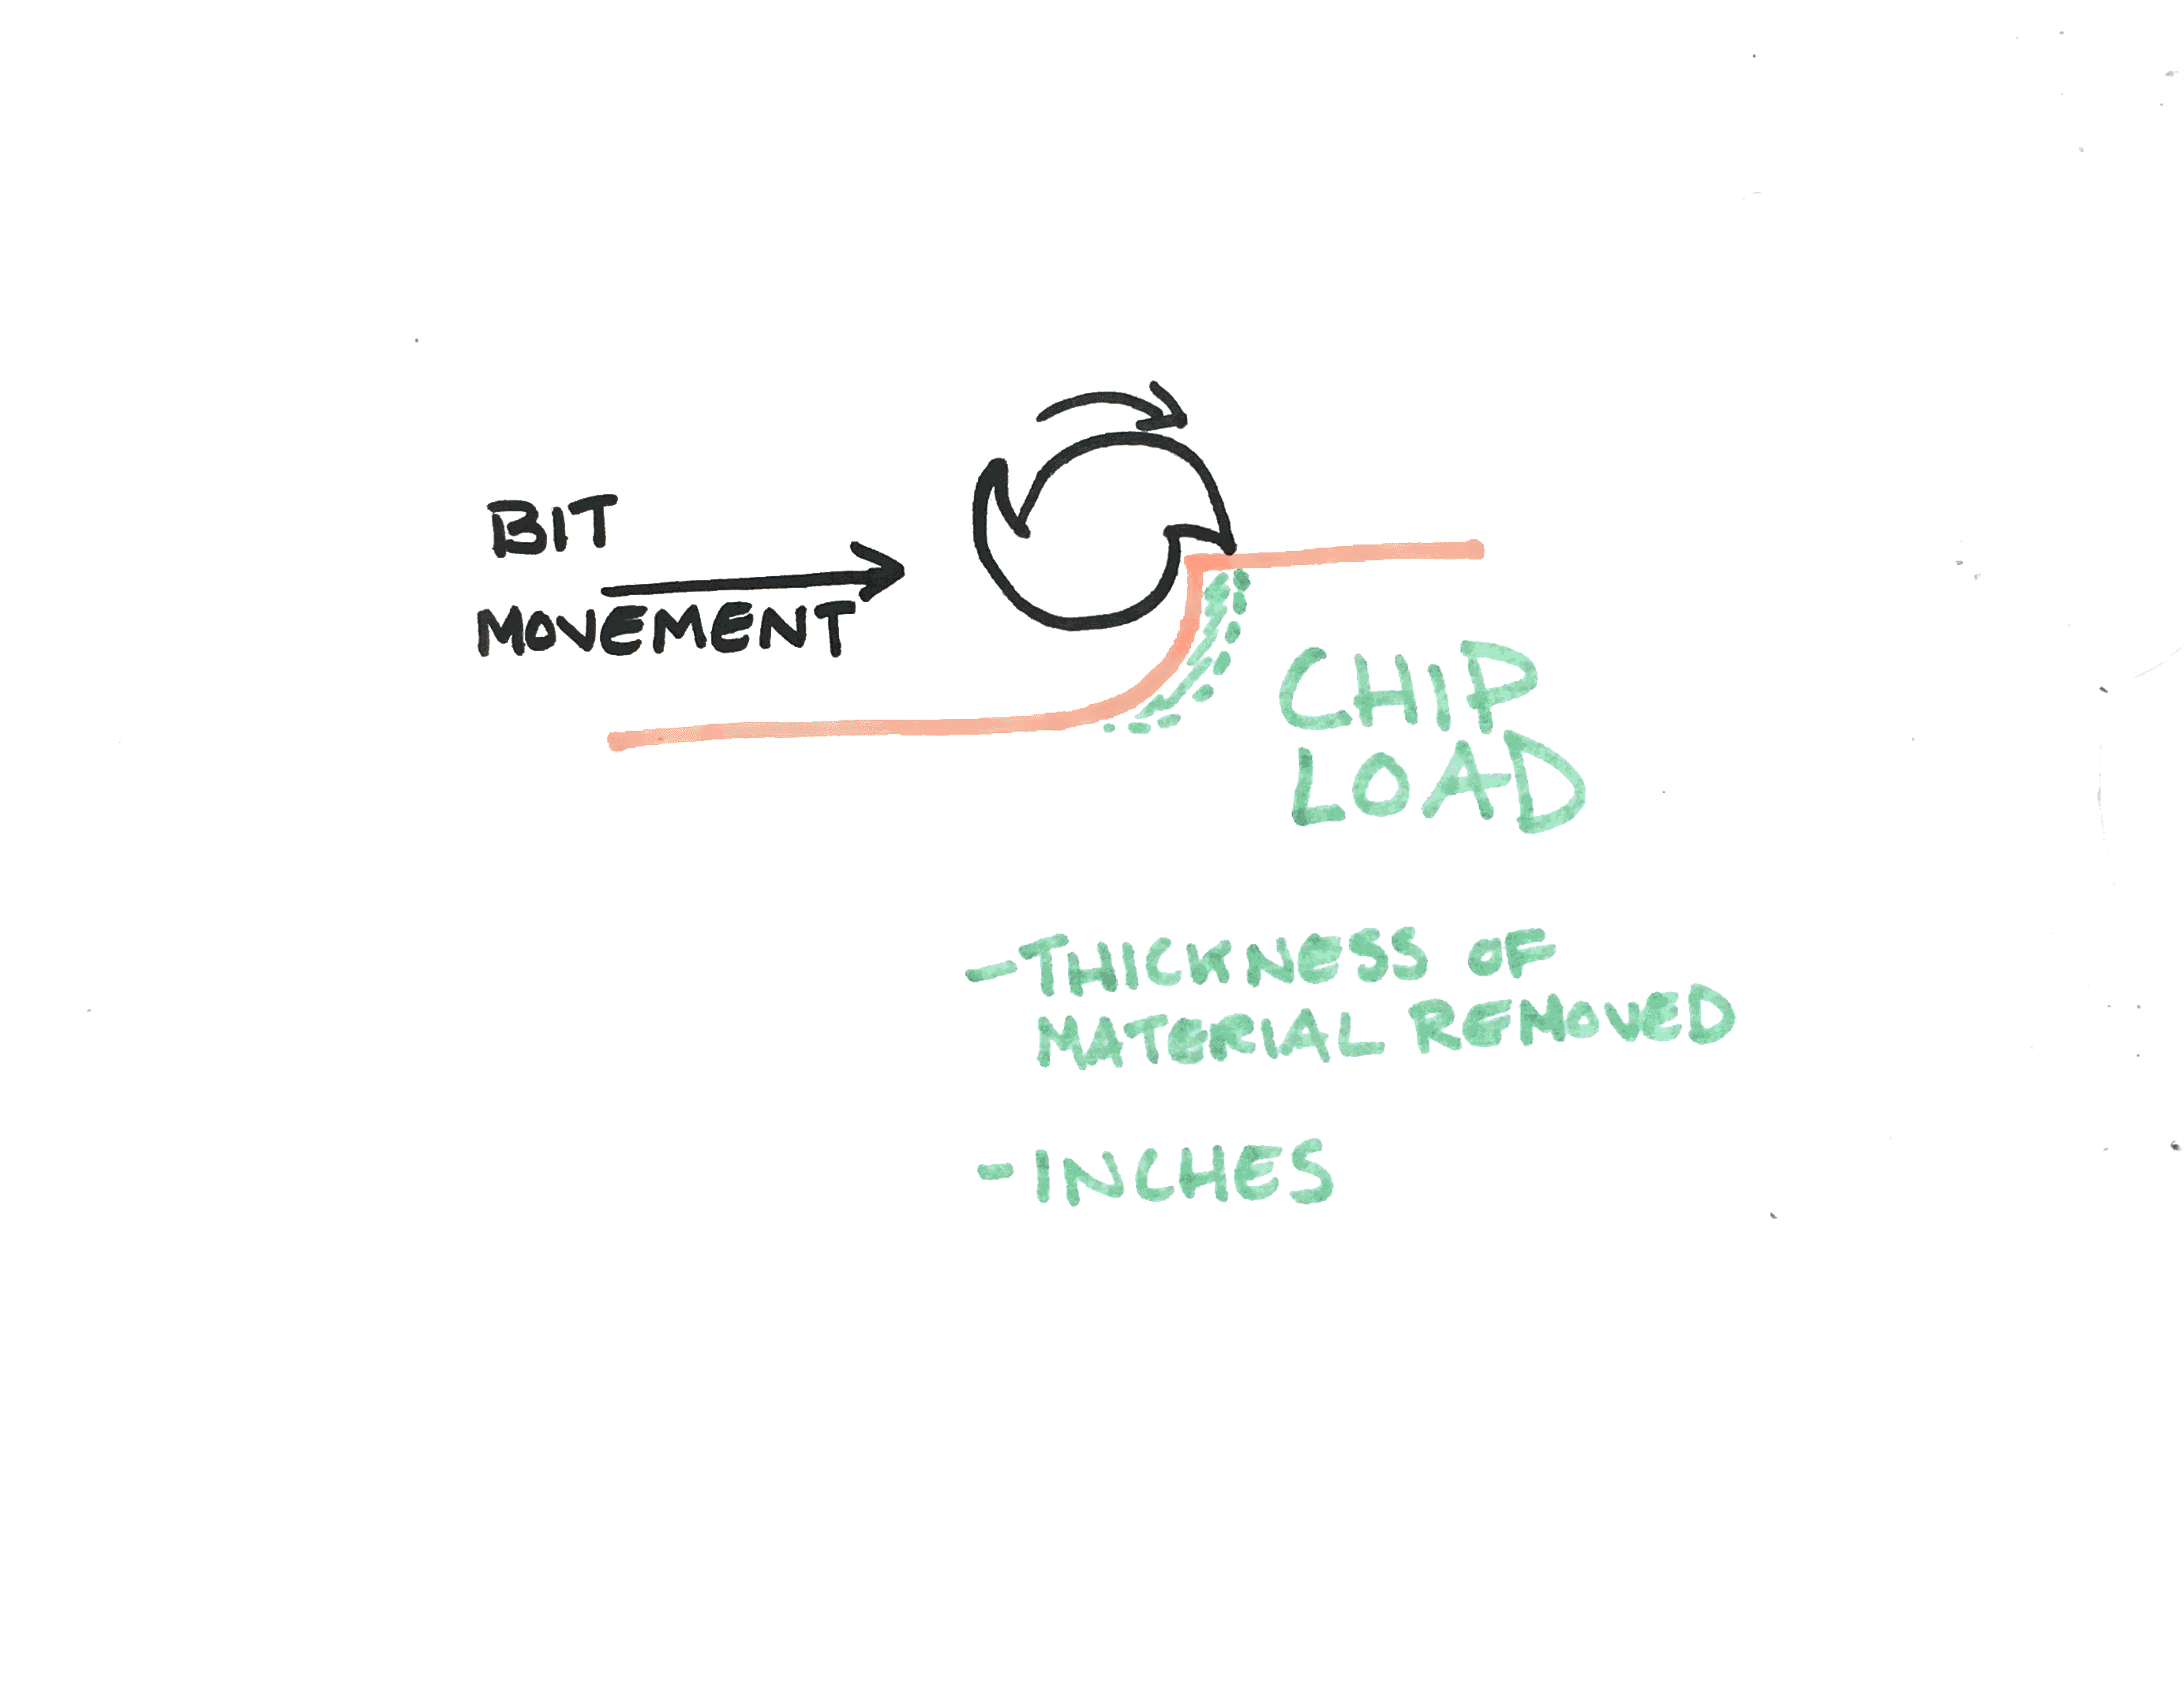

Chip Load
Chip load is the amount of material removed by each flute (or tooth) on the bit. This is commonly measured in feed per tooth.
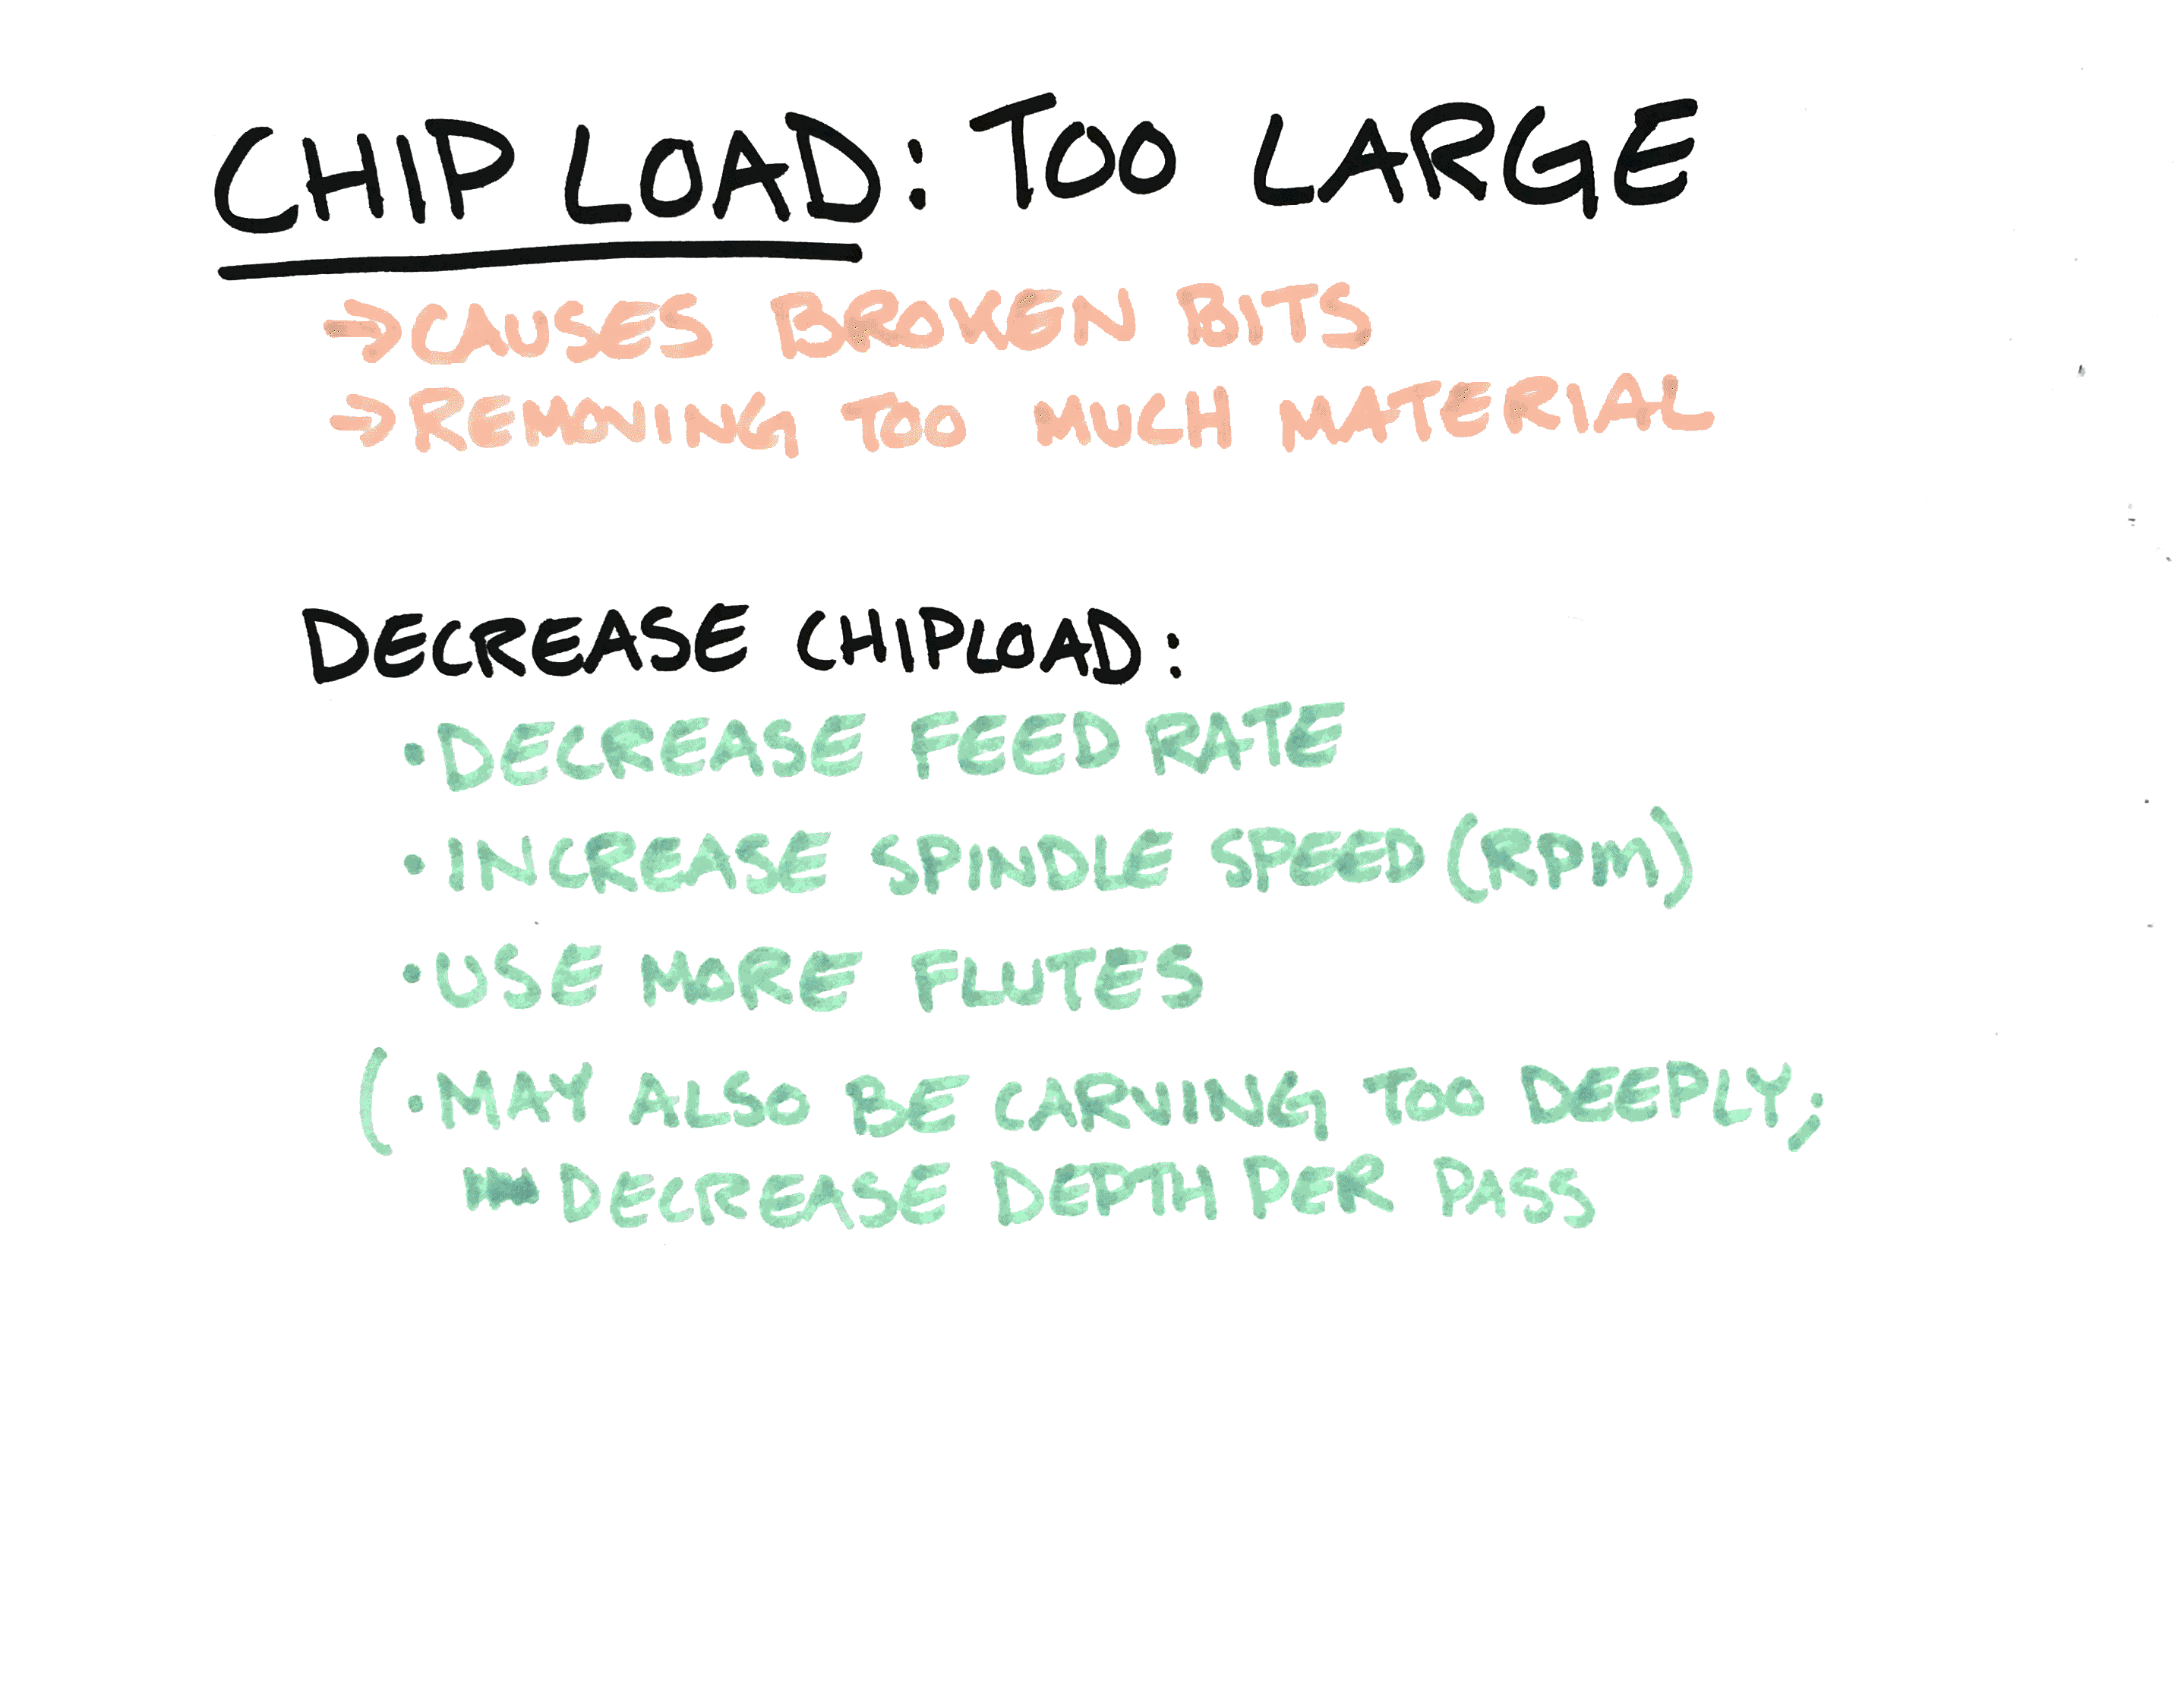
Larger chips will remove heat from near the cutting area quicker. Removing large chips is useful on materials where melting is a factor, such as acrylics, plastics, and metals. If your chips are too large, you risk breaking your bit because there is too much stress on the tool.

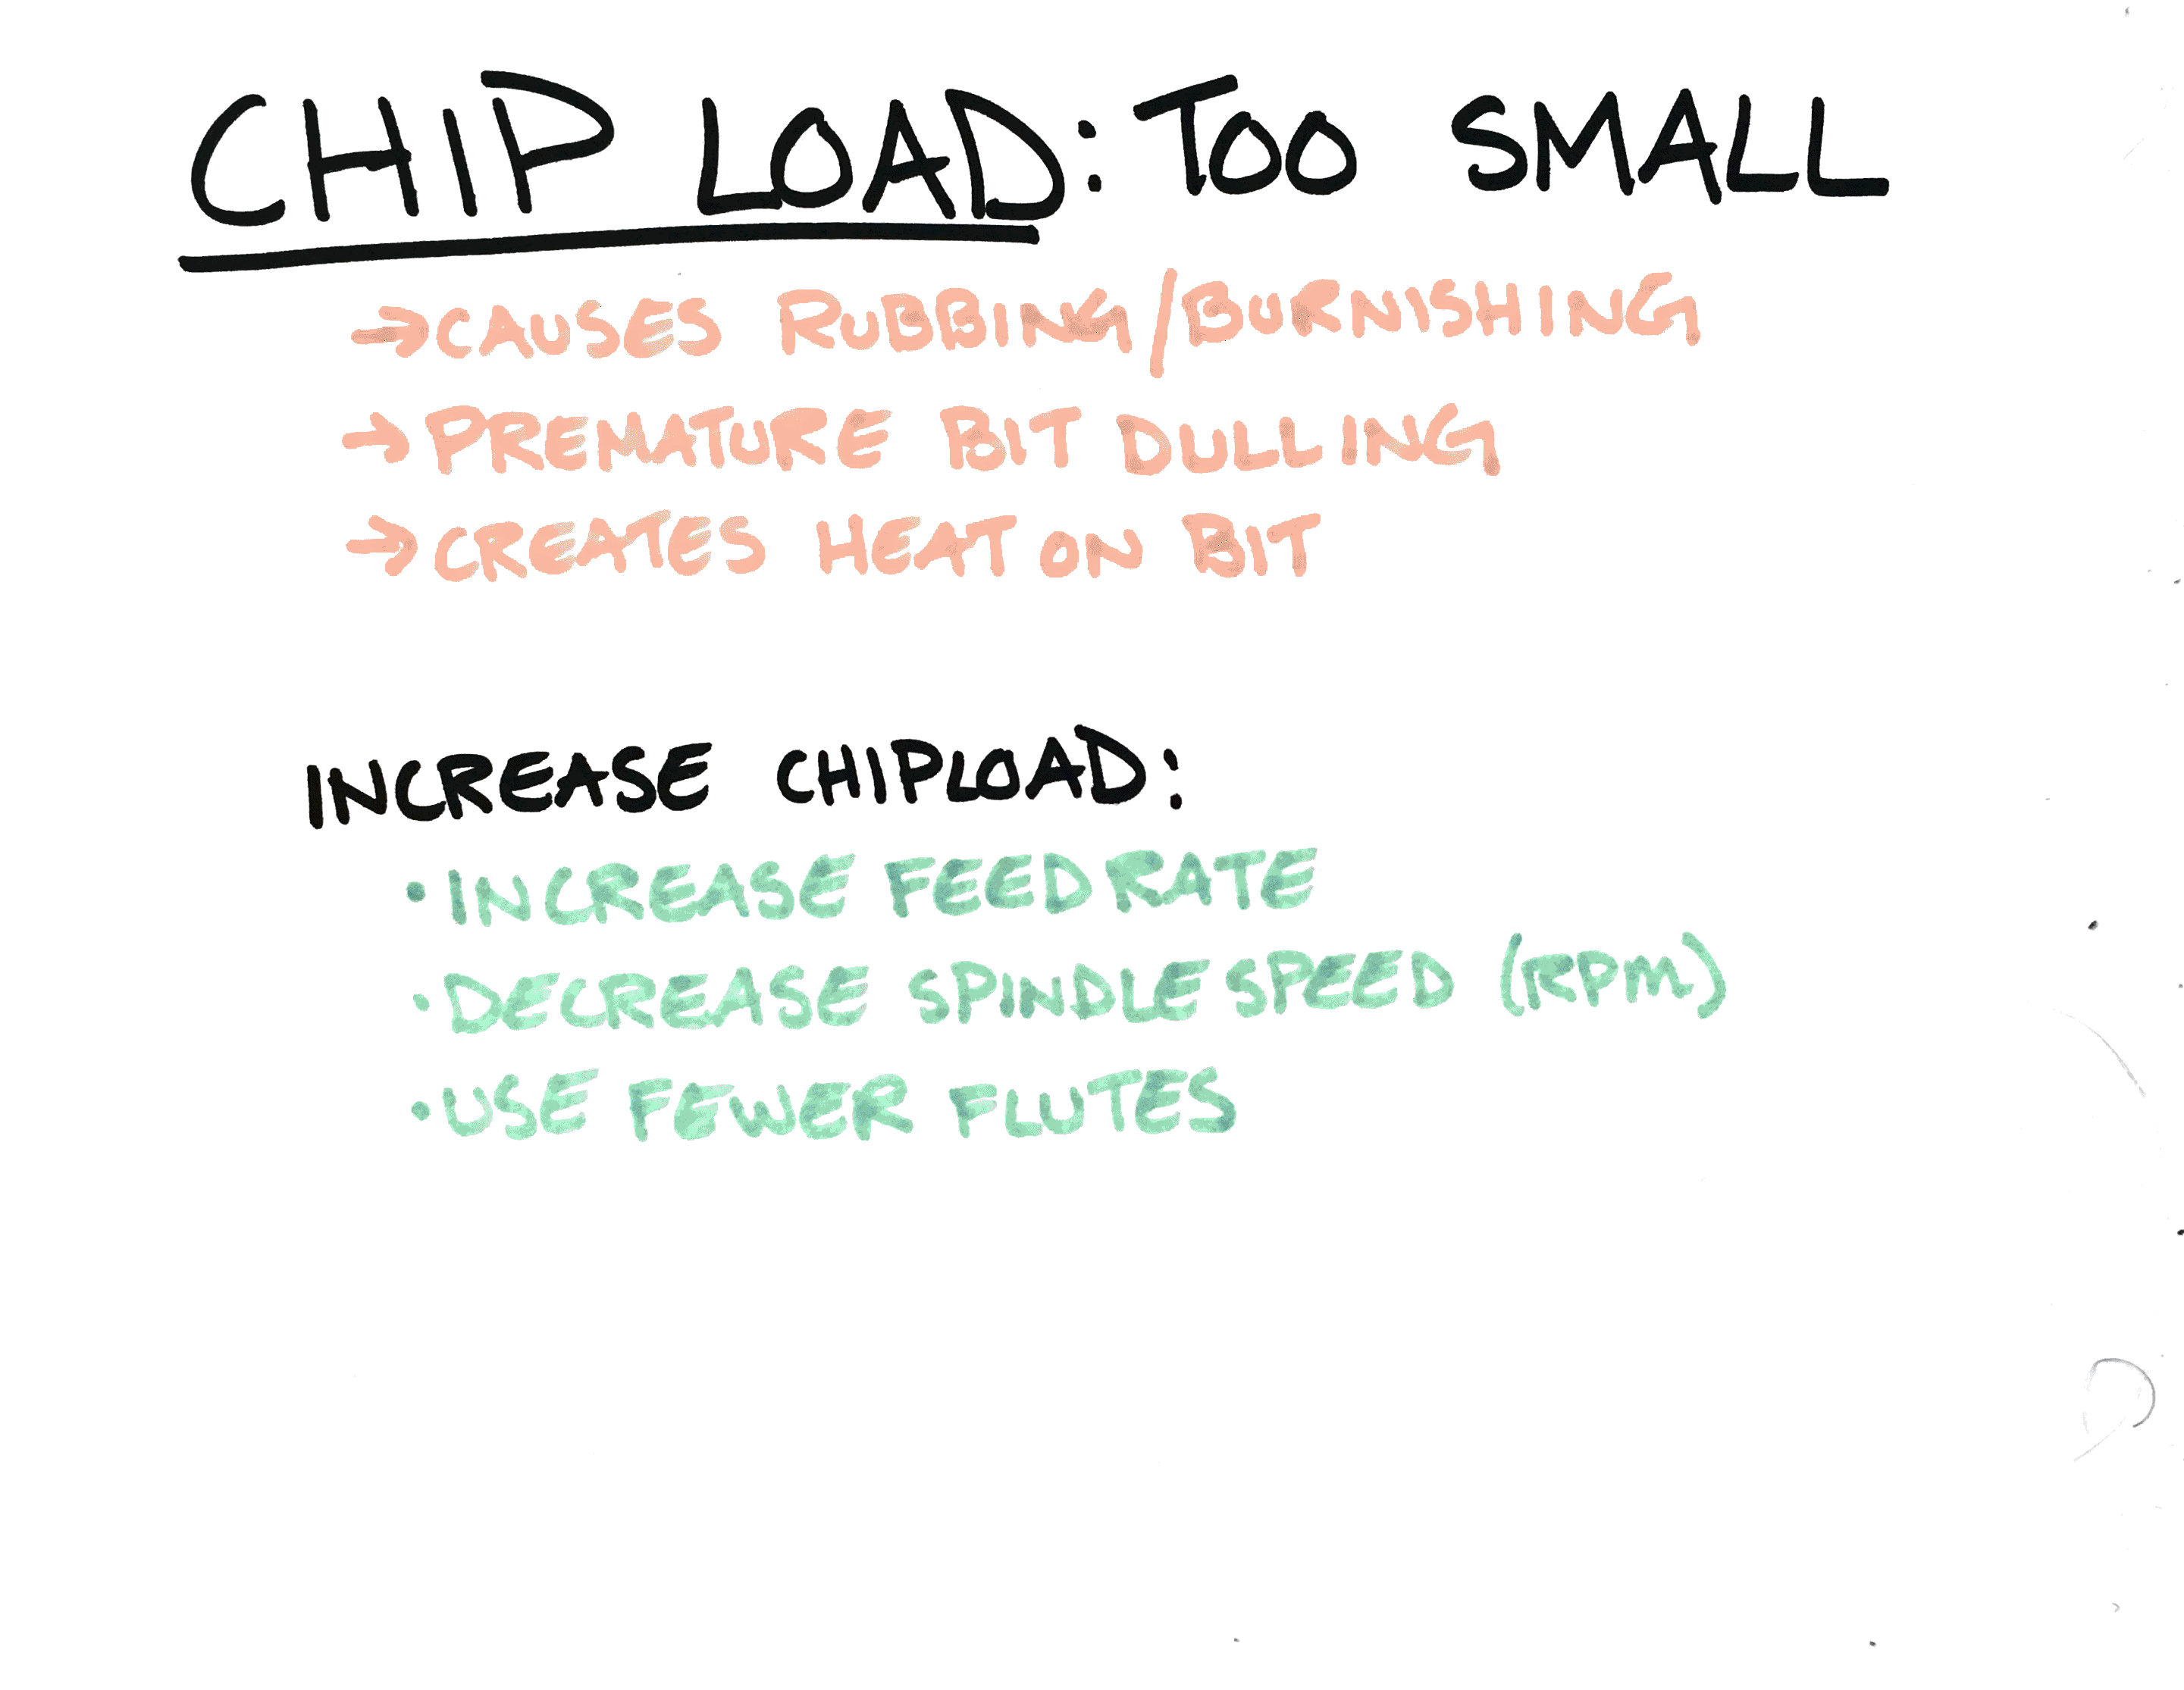
Smaller chips are easier for your machine to remove, meaning there is less stress on your bit when carving. Be careful you aren’t producing chips that are too small: the material’s chips should land on the materials’ surface or wasteboard, not float in the air like dust.
If your chips are too small, you will cause “rubbing” (also called “burnishing”). This is caused when the flutes of the bit cannot adequately remove your material and end up just rubbing against it. Additionally, heat is not being adequately removed from your bit if the chips are too small. The combination of these two scenarios means you will prematurely dull your bits and need to replace them.

What factors impact cut settings?
There are a number of factors that contribute to your cut settings for a given project.
Size and Type of Bit
The bits in Easel’s Bit Selection menu come with cut settings for some of the bits we sell on our site. Whether you’re using one bit or performing a two-stage carve, these bits use cut settings we have tested at Inventables for your selected machine type and material type. If you don’t know the cut settings for your bit, we suggest using the recommended settings in Easel.
If your bit is not in the bit menu and you know the correct cut settings, you can add in custom cut settings. Often times, the best resource for a particular bit’s cut settings is from your bit manufacturer. Many bit manufacturers can provide you with the correct feed rate, depth per pass, and spindle speed for a particular bit.
Whenever possible, we provide the manufacturer product code in the Technical Specs of a given bit. You can use this information to track down cut settings from the product manufacturer.
If you are using a bit not purchased from Inventables, your bit’s manufacturer is the best resource for cut settings. Many bit manufacturers can provide the correct feed rate, depth per pass, and spindle speed for a particular bit based on the material you’re carving.
Keep in mind that bits with a smaller cutting diameter (such as engraving bits or bits with less than a 1/8" cutting diameter) will require more conservative settings. This is to prevent the fragile tips of these bits from breaking off during your carve.
Hardness of material
Cut settings are also determined by your material. Different materials have different carving qualities and hardnesses. Easel’s recommended cut settings update when you select a new material from Easel’s material drop-down menu.
If your material isn’t listed in the Material drop-down menu in Easel, select a material with similar hardness qualities. You can reference a chart like this one for wood hardnesses. Feed rate override allows you to make adjustments to the machine’s speed once you’re carving, but using a comparable hardness for your material selection can help you get started.
Project Design Detail and Desired Accuracy
Generally speaking, conservative feed rates are recommended for projects with intricate details. Slowing down your machine’s feed rate can help maintain toolpath accuracy, hence minimizing material tearout on the edge of the carving path.
Clamping
A securely-clamped piece of material can handle more aggressive feeds and speeds because the bit is less likely to react to resistance caused by the material. If your material is not clamped securely on all sides, it is more prone to movement during a carve. This can result in broken bits, the machine carving off-path, and other carving errors. In extreme cases of an aggressive feed rate and very poor clamping, the material may fly off the machine.
There are various ways to clamp your material to your wasteboard. The most secure way is to mount your material directly to the waste board by screwing it to the surface of your waste board. You can do this by drilling holes into your material at the correct intervals so you can screw bolts through the material and into the threaded inserts. Keep in mind that this method is generally only useful if you are not going to use the full piece of material for your project since it requires you to drill holes through your material in order to mount it to your waste board.
For projects where you are using the full material piece (or enough of the material piece that you don’t want to drill holes through it), clamping is the best method for securing your material to the wasteboard. The threaded inserts on your machine’s waste board are designed to accept clamping screws so you can clamp materials of all different sizes and thicknesses.
In other cases, such as using very thin materials, double-sided tape is a reliable way to keep your material secured to the wasteboard. Using a combination of clamps and double-sided tape is one of the most reliable ways to keep materials secure.
How do I calculate the right cut settings for my bit?
The bits in Easel’s Bit Selection menu come with cut settings for bits we sell on our site. Whether you’re using one bit or performing a two-stage carve, these bits use cut settings we have tested at Inventables for your selected machine type and material type. Feed rate override allows you to make adjustments to the machine’s speed once you’re carving, but this can help you get started.
As mentioned above, the best place to get information about cut settings for a given bit is from the bit manufacturer. This is the quickest and easiest way to obtain this information for a bit.
It may not always be possible to obtain this information from your bit’s manufacturer. In this case, you can use the following equation:
Feed Rate = Spindle Speed * Chip Load * Number of flutes
You can manipulate this equation to calculate for unknown variables, if necessary. For example:
Chip Load = Feed Rate / (Spindle Speed * Number of Flutes)
You should also consider the hardness of your material and the intricacy of your design, as mentioned above.
Our forum is an excellent place to learn more about calculating feeds and speeds for a specific bit and material pairing. It is also a helpful resource for specialty bit recommendations or suggestions about which bits to use for certain project types.
