I’m working on a couple designs for a friend’s kids. I’m going to try my hand at edge lit night light type stuff. I have my designs (as of now) and i’m a little curious about them. I input 20 degree bit with a .02 tip. One design shows a long carve time (3 hours) and the other looks good on time, but I can’t be sure if it will actually cut the outline since it’s only a depth of .01". I can’t really tell in the preview. kind of confusing to me as I haven’t done an engraving this shallow or even worked with acrylic as of yet. I did do a lot of research on past posts on here, but couldn’t find an exact solution or reasoning to what I was seeing.
I’m not 100% clear on what you want to achieve, but 3 hours is excessive for this. Your feedrate seems fine though. I bet you are losing a lot of time because of a small stepover value and a small bit tip. i.e. lots of movements to cover the whole name. Makes sense the Carson one would be the longer one bc the name is much larger.
The outline will be OK if your wasteboard is perfectly level, but why not go a tad deeper? That way you have some more depth leeway.
From what I’ve been reading on here, .01" seems like a good depth. I do need to check my bed to make sure it’s completely level first. Is there another depth that could work with a 20 degree bit?
I know that you only need to skim the surface to create a slight texture to absorb the light form the LEDs
Both names are filled in but Carson’s seems to take a long time. And for some reason, I don’t have very good luck with switching bits, so I don’t want to use an end mill then go to the detailing with the v-bit
If your bed is .01" off from level you won’t have tool engagement anymore. If you take 0.02 or 0.03 for example you have doubled/tripled your margin for error. Since your tip is very sharp, extra depth won’t result in excessive added width.
I’m not saying 0.01 won’t work, but why not minimize risk?
Also, because your tip is very sharp, stepover is very small, which I explained already. Then the long running times are making sense… There’s no ideal method here, there’s always a tradeoff. Usually between cutting time and finish quality.
You could reduce the Carson font, or do outlines, or practice your tool changes anyway.
Try it in wood first.
do it in 2 separate carves. The first is your etching and the second to cut out the design. then you can do a separate depth for the cut out
I absolutely agree with that. I don’t know how off my bed is, never skimmed it after assembling the machine. I just didn’t want to loose details in such a small carving and I didn’t want risk messing up the end graphic from the LED hitting the design.
I get why there would be a long carve time if I were to infill the designs, but I’m not, so it’s a little confusing to me. Maybe I’m doing the wrong cut type on those designs?
I might do that if I were to cut out a profile for these. Didn’t think much about that yet, just focused on the design. Good idea though, thanks.
So I started these last night. Glad it was brought up to increase the carve depth because the tops were barely touched by the bit. Re-homed the bit and ran it again with an additional .01" depth. the princess one looked great and cleaned up very easily. But the dinosaur one is killing me. I’m using an o-ring puller (tiny ice-pick tool) to clean out the melted acrylic. The carve itself looks good once clean, but I still have some more to get out of the grooves later today. I’m curious why it would have a built up of melted shavings. I kept my Dewalt at the first setting, kept the feed and speeds as I listed above. Any ideas?
melting = heat = friction
to reduce friction you can:
- lower your spindle RPM
- go faster
- pick a bit with less flutes
- replace maybe dulling bit with a new one
- …
i have my router set at the lowest possible setting, running at 90 ipm, and it’s a brand new 20 deg. v-bit
Cast or extruded acrylic?
Cast, 1/4" thick
Don’t get me wrong, once the carving is cleaned out, it looks great, but it’s a pain to clean out the shavings. they don’t fully bond back to the original piece, but they put up a fight when trying to scrape them out. Just didn’t know if anyone else has to clean their acrylic carvings or if i need to adjust something on the next ones.
Airflow is the key. I have this thing:
It is hooked up to a separate regulator that is mounted to the CNC table so I can control the air pressure from the CNC table. I normally run it between 15-20 PSI. It runs the entire time I am cutting any material that isn’t wood.
Yes it makes a huge mess. In my shop, it is not a big deal.
I have cut both cast and extruded acrylic with zero issues. I used the 3.175mm 2 flute bit. Dewalt 611. Feed - 2000 mm/min
Speed - 1
Depth - .25mm
Here is an edge lit cast acrylic cut:
And here is a back lit extruded acrylic cut. For this one, each color is cut .25mm deeper than the previous color. Darkest colors were cut first then lighter colors ending with white.
The key is the air. You have to get the chips out of there right away or they will melt and gum up the bit. I ran an airhose through the drag chains and I have the loc-line mounted right to spindle mount. Then the nozzle itself is positioned to blow right where the bit is cutting.
Good tip. I’m going to have to keep that in mind for the next ones.
Well, I finally finished these things yesterday. Been WAY too hot in the garage the last month or so.
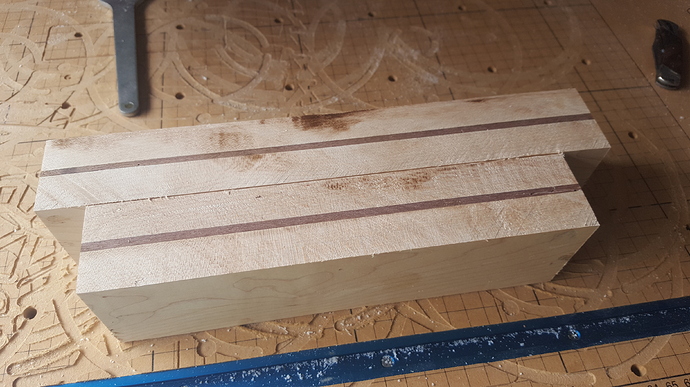
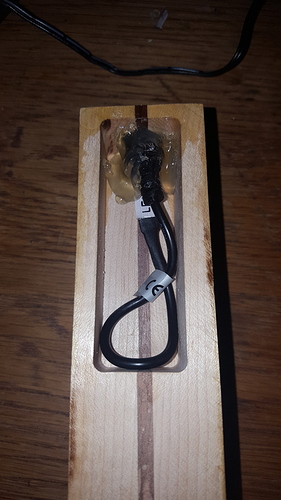
Anywho, I don’t know what changed, but I fiddled with the settings and got both down to about 3 minutes to carve. Here’s a few pics of how it all went. Ended up making one for my girlfriend’s son at the last minute. I used a 1/32" bit for his, came out super clean. The other two were with a 20 deg. V-bit
Very nice.
Thanks. Sorry the pictures were out of order, I just selected the ones I wanted and ran with it.
Where did you get your led kits at?
I got a spool of LED from amazon, as well as the connectors and power supply. Really easy, you just cut them to length, clamp on the wire connector (no soldering needed) and plug it in.


![20180701_234158[1]](http://discuss-assets.s3.dualstack.us-east-1.amazonaws.com/optimized/3X/1/4/148ec9460341379b2d87d286761c3e4309d215c8_2_690x388.jpg)
![20180711_223413[1]](http://discuss-assets.s3.dualstack.us-east-1.amazonaws.com/optimized/3X/a/5/a5bd30962d1a2780eb56e9b7d82ce6221b13f6e2_2_690x388.jpg)


