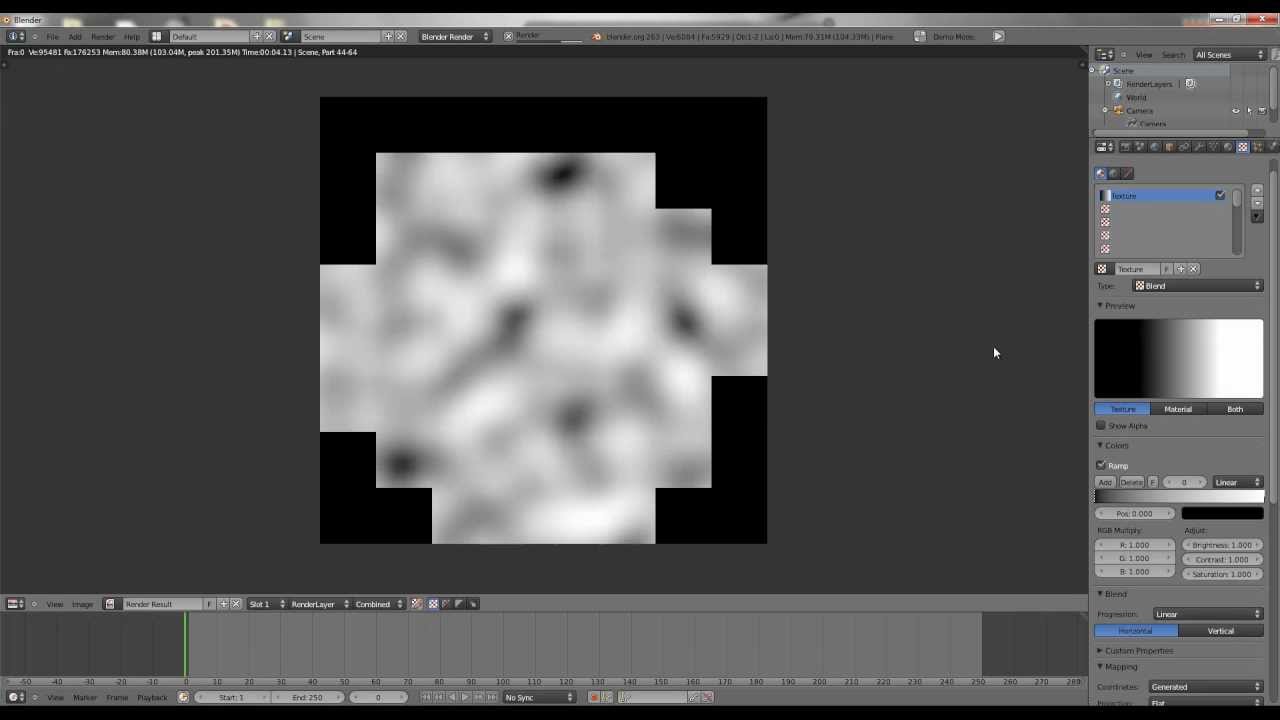
How to create this type of image for 3D Carving
Basically you need to
-
Open your image in a graphic program such as coreldraw, photoshop or something similar
-
Convert your image to grayscale
-
Finally invert your image and you will be all set
Brian
@BrianSaban not even close
thats a 3d model saved as a depth-map, aka height-map
3d (depth map) grayscale images - #17 by JeremySimmons
tutorial on making with blender, free 3d software
I make all my 3D images in gimp. Here’s a youtube video that I made a long time ago.
There’s samples of what I’ve done on my web site: www.cncproductionwork.com
@AlanMalmstrom I am getting a “this domain is for sale” message
second that.
You’re correct, but that would be for 3d printing (additive) and such. A cnc milling program, for example, Easel reads the depth by shades of grey and doesn’t need a full converted depth map (I could be wrong). But my way should work fine in that aspect, I’ll give it a test in aspire and double check it.
@BrianSaban The OP didn’t specify Easel.
I put in my old web site by mistake. I’ve fixed the link.
True but the process i listed works on all cnc programs, I just tried it in Aspire and it worked fine. You can even export it as a 3d .stl model file. It just seems Blender or Zbrush would be overkill for 3d carving. Give it a try, you’ll see what I mean
Here is a quick vvv.stl (9.4 MB)
of a random photo I just made in aspire using the workflow i posted above, and the z depth can be adjusted smaller or larger.
I use Zbrush to do that
Thanks to all.
sorry Brian thats not it
Jovem.poderia me.auxiliar como fazer este trabalho,. Email madsonsnp@gmail.com
Hi Brian,
I’m not sure I’m hearing right, this is unbelievable, I’ve been seeking for a long time to s how to convert photo to 3d, somay I ask this method here will develop something that I can take into vcarve pro and develops tool paths for cnc, or will i need a aspire ?ty ahead of time I’m praying
Gday Brian,
What do you save it as in PS?
cheers
Trevor
I know this post is very old. I just cannot find any real information on creating heightmap grayscale images using zbrush other than exporting the displacement map. That does not work unless I were to use it for details on lower poly models for rendering with uv maps. It is always square and distorted without any real way of scaling accurately.
What are you doing to create the output yourself? I know aspire can do this but, it would be nice to be able to generate these from zbrush directly.
I will reply to my own post since I figured this out and it is stupid simple. Instead of attempting to unwrap and export a depth map from zbrush, resulting in a export that will not be the right aspect ratio. Just go to the alpha pallet and generate an alpha from the 3d model on screen.
First, turn on whatever subtools you want to be included in the alpha.
Orient the subtool in the direction that you want to have your height map.
Press “from mesh” and the result will be loaded into your alpha.
export by clicking on export on the top of the alpha area.
I tested this by importing into aspire and creating a component from the imported bitmap. Resize the z scale to the height you want. It works, stl will generate more accurate output if you have undercuts in your sculpt. Although, you cannot access those unless you have a rotary axis with a strong enough hold on it that the edges are not going to create too much force and possibly rotate the axis during cutting.
You could get better edges by playing with the draft angle in aspire to deal with the straight edges generated by the heightmap.


