Here is a quick run down of my X-Carve 500 build. I used OnShape.com for a lot of the parts. You can get a free membership and download all the parts in .stl or .dwg or .dxf. Just do a search for “X-carve” and my models will show up.
Mods:
- reversed and flipped y-axis drag chain (to reduce space)
- flipped x-axis drag chain (to reduce space)
- encased all wires in Techflex (even the DeWalt DW611 power cable)
- used Molex connectors on x-axis and z-axis
- replaced front and back with wider extrusions (25" long)
- added two more extrustions under the waste board (for stiffness)
- panel plugs for XYZ cables (http://www.amazon.com/gp/product/B00G9KMKJ4?psc=1&redirect=true&ref_=oh_aui_detailpage_o04_s00)
- added a power plug (removed the board off the power supply)
- added an E-Stop (http://www.amazon.com/gp/product/B00548585A?psc=1&redirect=true&ref_=oh_aui_detailpage_o08_s00)
- USB extender (which was too long) (http://www.amazon.com/gp/product/B00FSYBKPM?psc=1&redirect=true&ref_=oh_aui_detailpage_o08_s00)
- added a solid state relay to drive the DeWalt (http://www.amazon.com/gp/product/B00HUBZO7Q?psc=1&redirect=true&ref_=oh_aui_detailpage_o01_s00)
3D prints:
Here is my Thingiverse link (Thingiverse - Digital Designs for Physical Objects)
- z-axis knob (Z Axis knob for X-Carve CNC by iliketomakestuff - Thingiverse)
- x-axis mounts (Drag Chain Mounts - Inventables X-Carve by stevenholland - Thingiverse)
- y-axis mount (X-Carve reverse drag link bracket by menerso - Thingiverse)
- hold down (CNC Clamp by vishnubob - Thingiverse)
- hold down knob (Customizable Thumb Knob - Metric by Harrison - Thingiverse)
- DeWalt fan diverter/knife holder (DeWalt 611 Air Diffuser ver 3 by menerso - Thingiverse)
- power supply mounts (Power Supply Bracket by menerso - Thingiverse)
- controller drag chain mounts (X-Carve Drag Chain Mounts (controller) by menerso - Thingiverse)
- solid state relay cover (SSR Solid State Relay cover with clips by mtbox - Thingiverse)
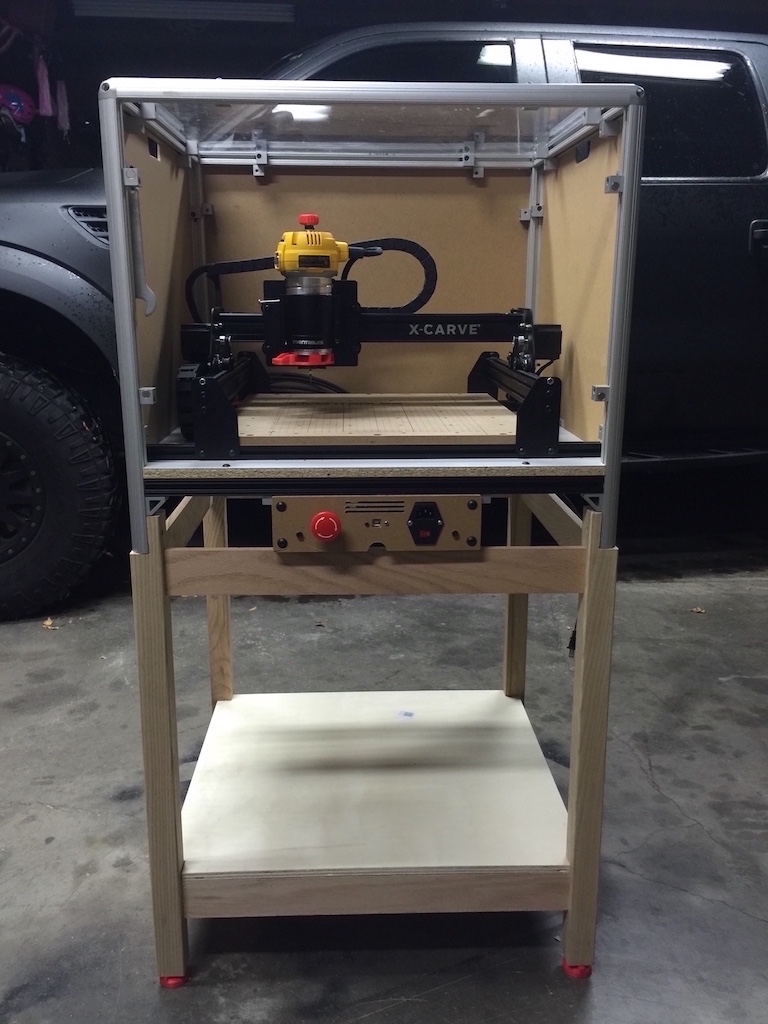
Cabinet:
• I used some 8020inc 1010 rounded t-slot extrutions that I had left over from a photobooth I build and tore down. The dimensions are 26"w x 24"d x 23"h.
• The sides are 1/4" MDP with hand holes cut out of the two sides on top.
• The top and frond are 1/4" acrylic sheets.
• The front is held on by 1/2" magnets (a finger hole at the top)
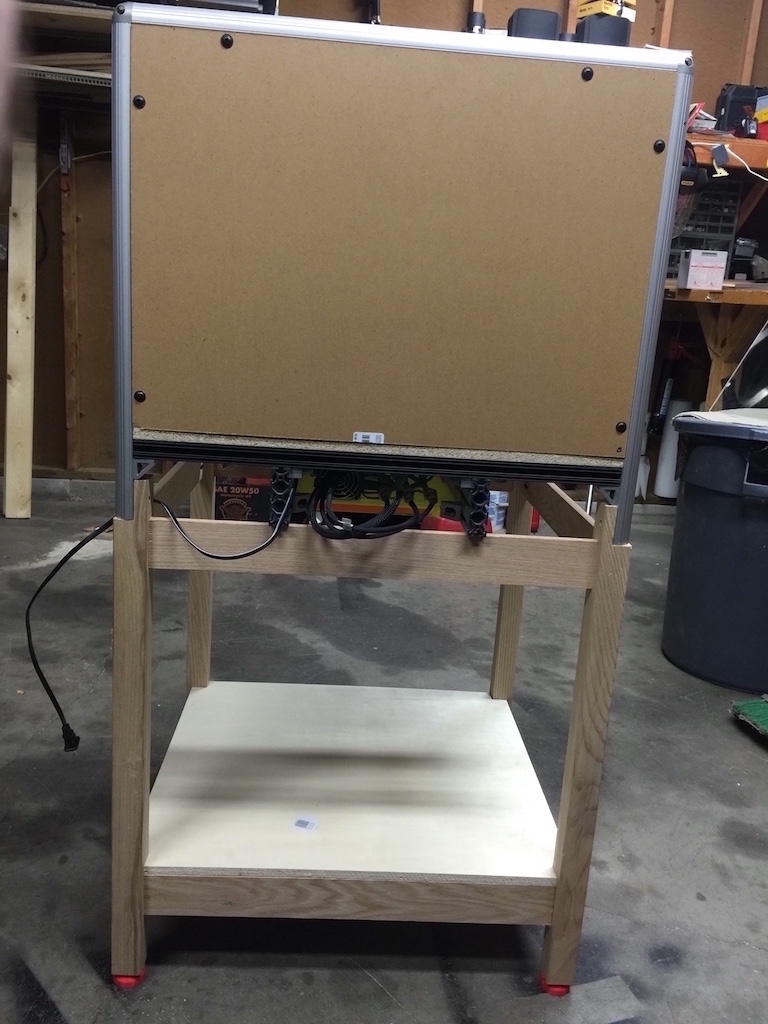
• The bottom has 2 - 1030 extrusions 24" long that hold the controller components. The controller can be slid out to access all the components just by removing the 4 screws that mount to the extrusions.
• I routed the X Y Z and power cables though the back of the cabinet to the back of the controller underneath. I those cables in back and the power and USB in the front because the back cables I felt I wouldn’t mess with very much, but the power and usb would be used all the time.
• I had some 8020 panel mounts so I used them to mount the MDF and acrylic.
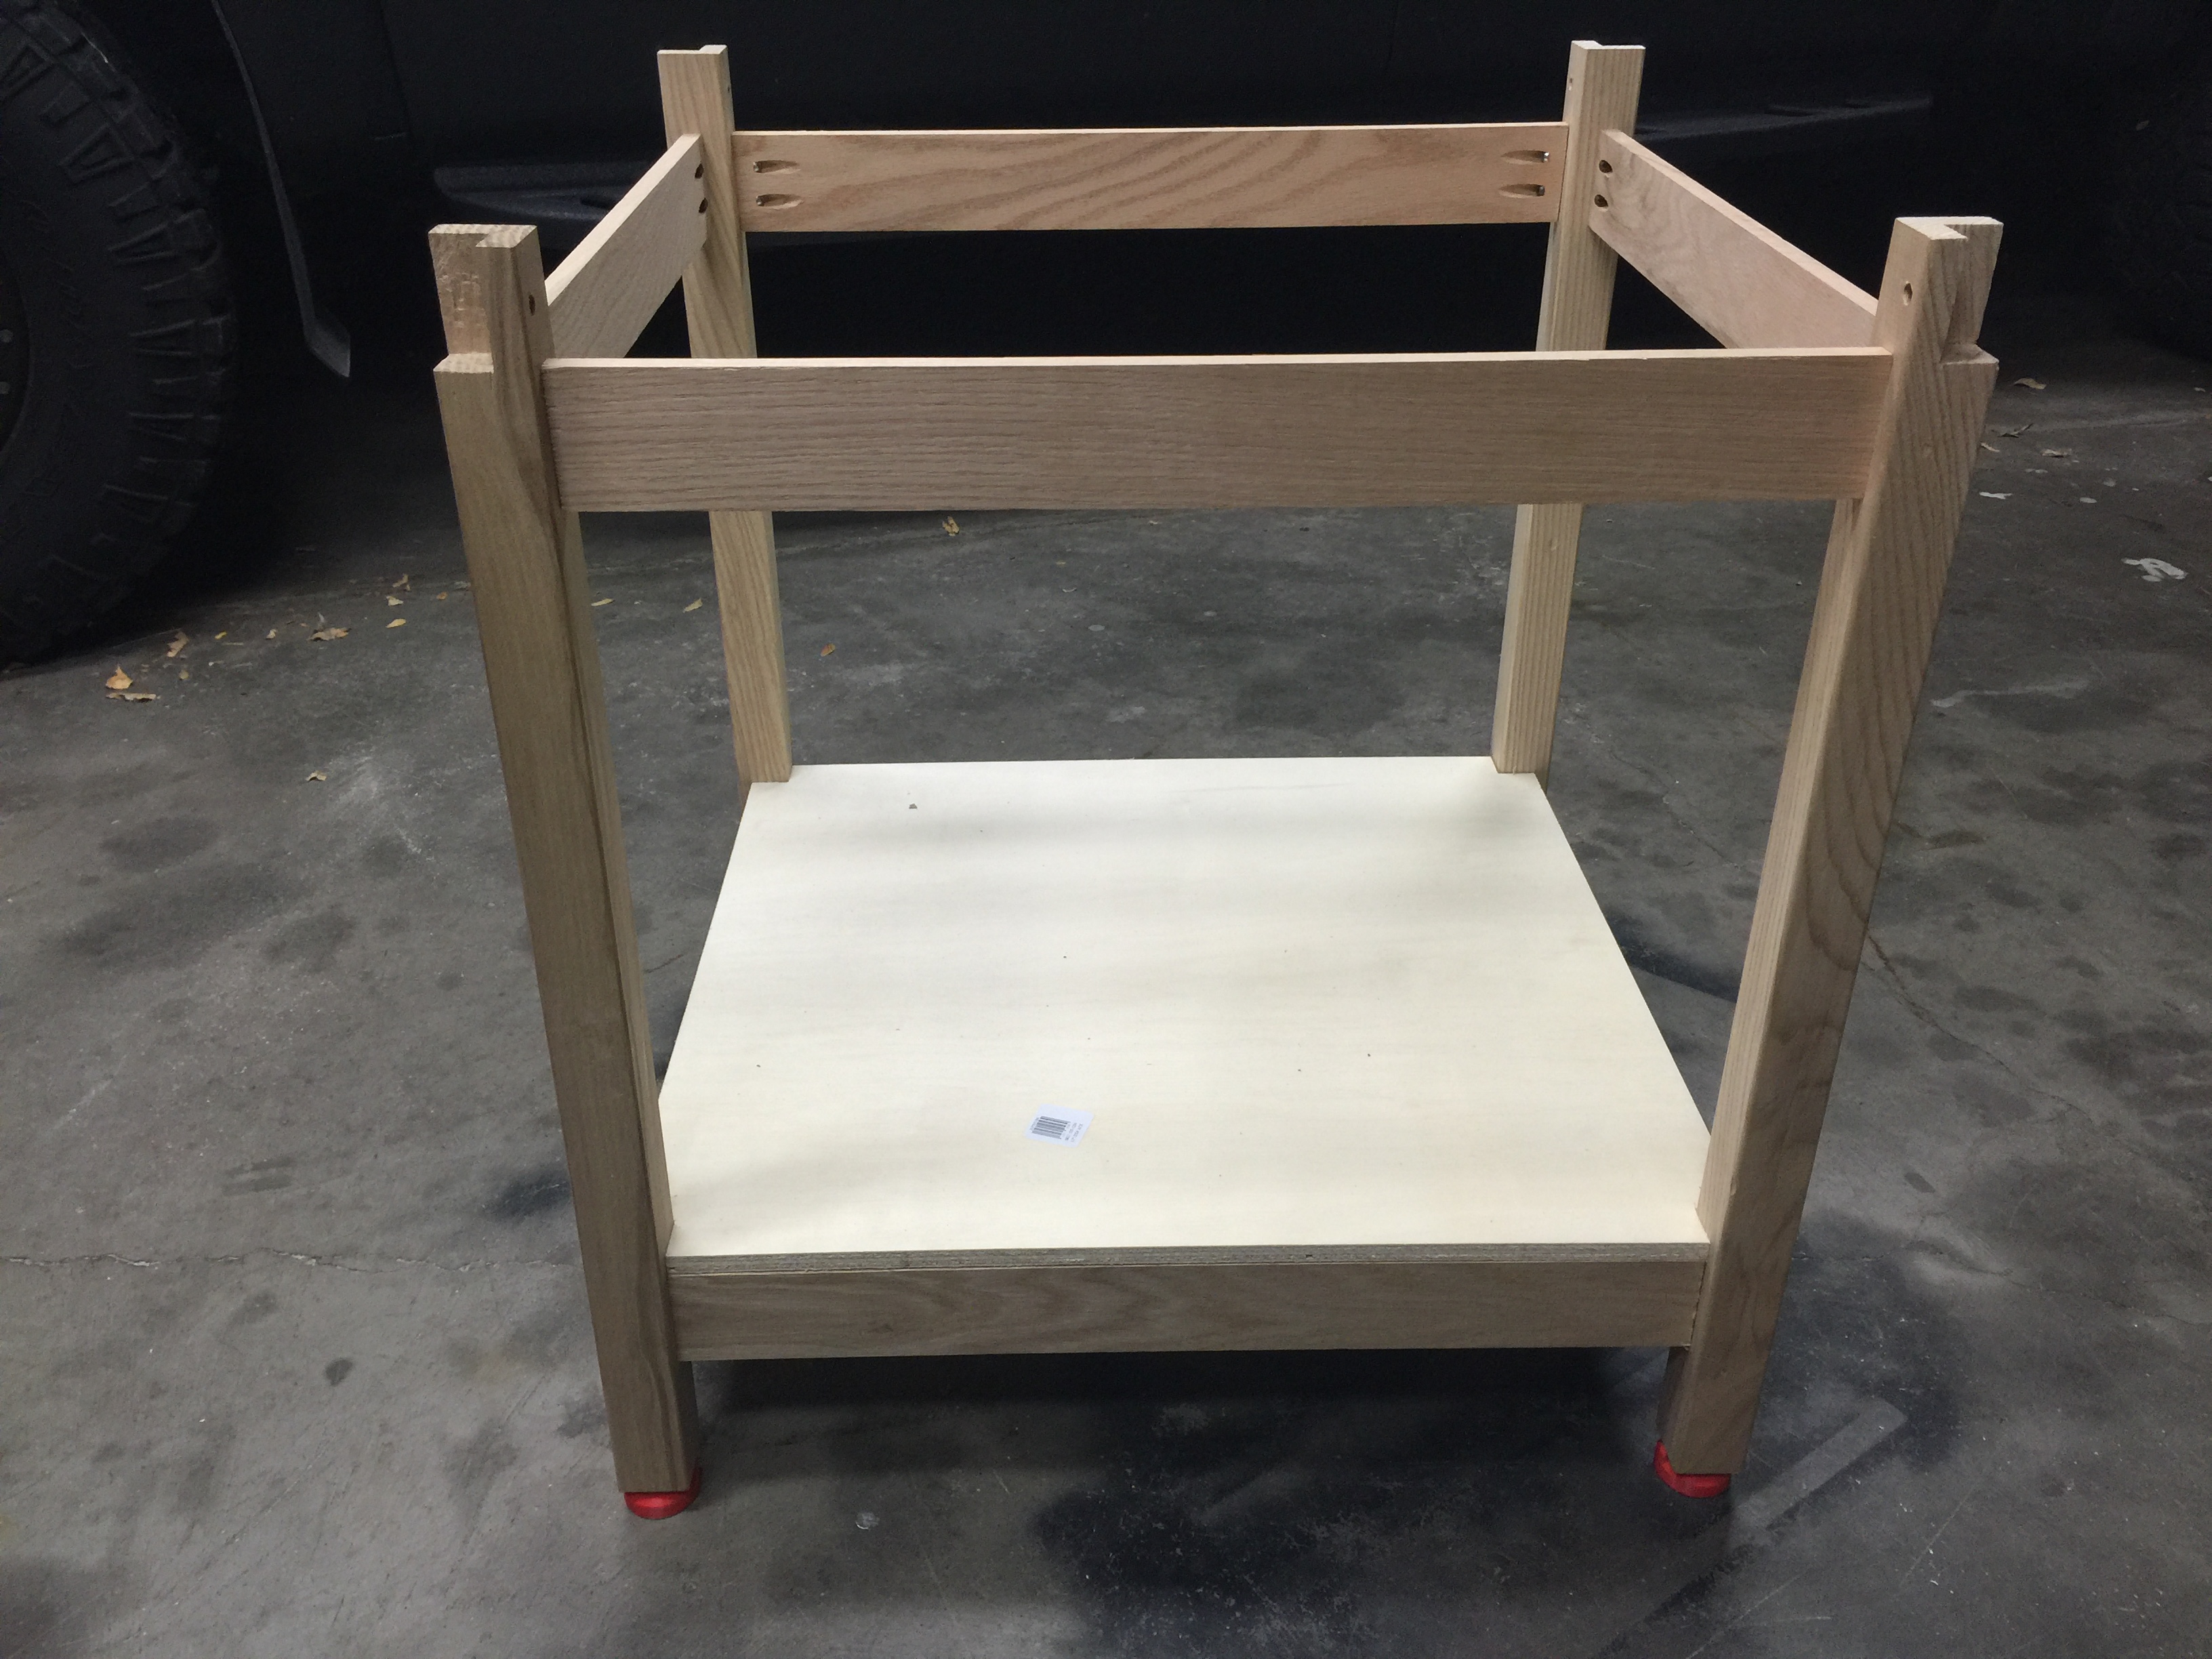
• The base 1/2 melonine is mounted to the frame and the X-Carve is mounted to the melonine. I did this so I could carry it around.
Still Need Todo:
• replace front controller plate with aluminum one (currently I quickly cut a 1/4" MDF one)
• waiting for Inventables to start shipping their power supply board (https://www.inventables.com/technologies/power-supply-interface-pcb). I f’d mine up and I need it for hooking up the Solid State Relay.
• hook up a vacuum through the back of the cabinet. I am working on making a mini cyclone vacuum using two Vacmaster vacuums. They are $20 at Menards and I will use one as a vacuum and gut the second one for the wasbasket.
Pictures:


If you see anythign that looks like something someone else did, you are probably right. Nothing is new here… just reworked what other people did. I give you all full credit for all the good stuff of this build and I take all the blame for the crappy stuff.
Update 11-30-15:
I added a solid state relay to control the DeWalt 611 turning on and off. Below is a diagram of my wiring if you want to use it for reference. This was after I fried my stepper board.
I used an a free online circuit drawing app from Digikey, it worked sweet… http://www.digikey.com/schemeit/
I also included some updated pictures with the relay and the PCB on the power supply. I ended up cutting the PCB in half since I didn’t need the power inlet port.