Ok been working all day on a new mount for the spindle.
I have decided to 3d print one. Since I have an expensive type 3d printer I thought I would put it to good use.
I took the original mount from the grab cad and then created a new profile. Then I extruded it and added fastener holes for the large plate for mounting. 
This thing will be beefy but light as its made out of plastic. Should work well as I hear one other person used theirs to make one.
did you try moving the engrave to a different area of the wasteboard? then you can ensure that it eliminates the hardware and confirms its software?
just a thought
Yes I did. I had to slow down the feed and that did the trick.
1 Like
Ok, here is an update to my system.
I have 3d printed a new mount for the spindle and everything is working.
I have also created a new box with 2 24v relays for motor control the 2nd relay can be used for vacuum or something else.
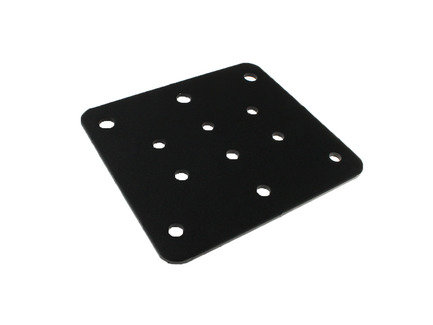
I mounted to the small mount plate instead of the large silver one. The large silver one was too long and I had to redo my 3d print job to accommodate. I also have to move the spindle down a bit. I was test fitting it in the images.
Just finished getting the system calibrated as far as the perpendicular alignment.
This image shows ripples as the spindle was off by about 1.5mm.
I re-ran the Gcode after adjustment.
This image shows nearly no ripples and I cannot feel any. you can see them if you look at it in the light at an angle.
This is the bottom surfacing tool I used.
2 Likes
I will be upgrading my system to use a better linear rail but I think I will hold off till I get a whole new system that is beefier and larger. For now this will do what I want.
I am just glad I have it doing very smooth surfacing so I can work on those cool projects.
Some stuff I did while working with dialing in the system.
This is 50mm x 50mm
1 Like


