Hi there, my first post here, I think…
It’s been at least 18 months since i bought my 1000x1000 X-Carve, just before the pandemic started, that’s why didin’t do so many things on it. And that’s why it’s been laying on the floor.
There is two or three issues in carving depths and the stiffness of the Z carriage, but none of them of importance to the jobs I make, so they didn’t bother me.
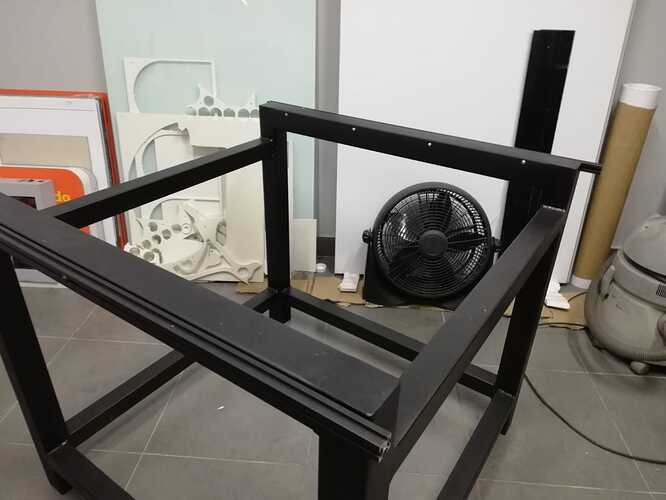
Did a stand with square metal tubes, then i thought of a central command for all components with which to turn each of them on and off from a single place. Used common electrical switchs and sockets (then I realized that by accident they can be pressed, so it will be better to change for switches of industrial machines, those buttons with lights).
Two things that annoyed me about the X-controller connections were the USB plug in the front, the only cable out of place, and the power switch in the back in the middle of all the other cables. So I solved the USB thing by making some holes in the back cover to move the connector there. The power on thing was solved with the central control.
Here making some connections (self explaining with the color cables)
First switch turns on X-controler and enable the second switch for the DeWalt, witch can’t be turned on without turning on the controller. The third switch turns on the vacuum cleaner, which it is independent of the others (have to put some labels on the switches).
Watch this video of the functions
When everything was working, it was the turn of the poor wasteboard, mine made locally for shipping costs. It is fixed directly to the stand to facilitate its replacement, only by removing 4 screws. At first I wanted to do the original clamping system, but then I decided that it was more comfortable to just fasten the materials with screws, anyway the problem of the depth of the carving bit would damage the whole wasteboard, so the next wasteboard will not have all the holes.
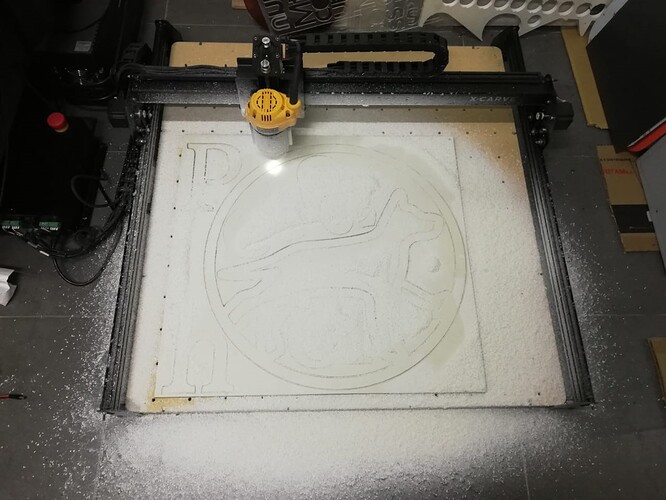
At this point it was time to adjust the squares, levels and gaps to compensate for the natural differences of the handcrafted base. Did a carve of 1 mm. depth directly into the wasteboard, of the 750x750 mm. of working area, found the X axis out of square because of the two Y motors system, easy to solve. Here I realized that we have in fact 790x810 mm. of real working area. Then the right and back side where deeper, even though all measurements were fine, now the right side of the gantry are uppermost of the left side to compensate.
Last, I put some black acrylic remains on the sides, but they did not keep very good so they will be replaced later.
So I did a test, and the result was very well, more than acceptable. Some sanding and ready to paint. (I use most of expanded PVC, acrylic, MDF, I’ve also already routed ACM)
Here you can see the marks on the wasteboard, but this is a small cut, I will try bigger things this week.
That’s all. ![]()


