I don’t usually end up being a heavy contributor, so for all the guys ( & ladies ) before me that posted up logs I usually like to leave a build up of what I’ve done to add to the conversation. Hopefully someone sees something I did and it helps them decide which avenue to take or help inspire a different mod/method of attacking this project.
As I go along and finish little projects I’ll update this thread with pictures to show my progress and what has helped or been a complete waste of time. Before I even received my X-Carve I wanted to attack the dust collection side of things. So this was a quick solution I came up with → X-Carve Spindle Dust Nozzle by devTitan - Thingiverse which I never ended up using because I now have a DWP611 spindle and believe I have a better method of mounting a dust boot similar to one posted here on the forum that mounts under the X carriage.
The power box and arduino will be mounted on the underside of the table either on a slide out tray or possible just screwed to the bottom of the deck with an additional fan to help keep things cool. I have some relays on the way to handle the auto-on for the spindle. As you can see one of the latest pieces I’ve added are the dust barriers for the rails which still need to be drilled and mounted to the Y rails.
On the list to do:
- Finish up all electronics
- Calibrate and get some test cuts going
- Cut out some additional bracing for the Y to work area extrusions as a first project
- Design and mount 3D printed a dust boot & mount vacuum to table with accessory hose for spot cleanups
- Anchor machine to table
- Add a slide out tray for laptop infront of X-Carve
- Add material storage slots on side of table for precut stock
- And eventually create a suspended box to cover the entire machine to contain dust & hopefully some noise since this is currently inside a back room near the living room.
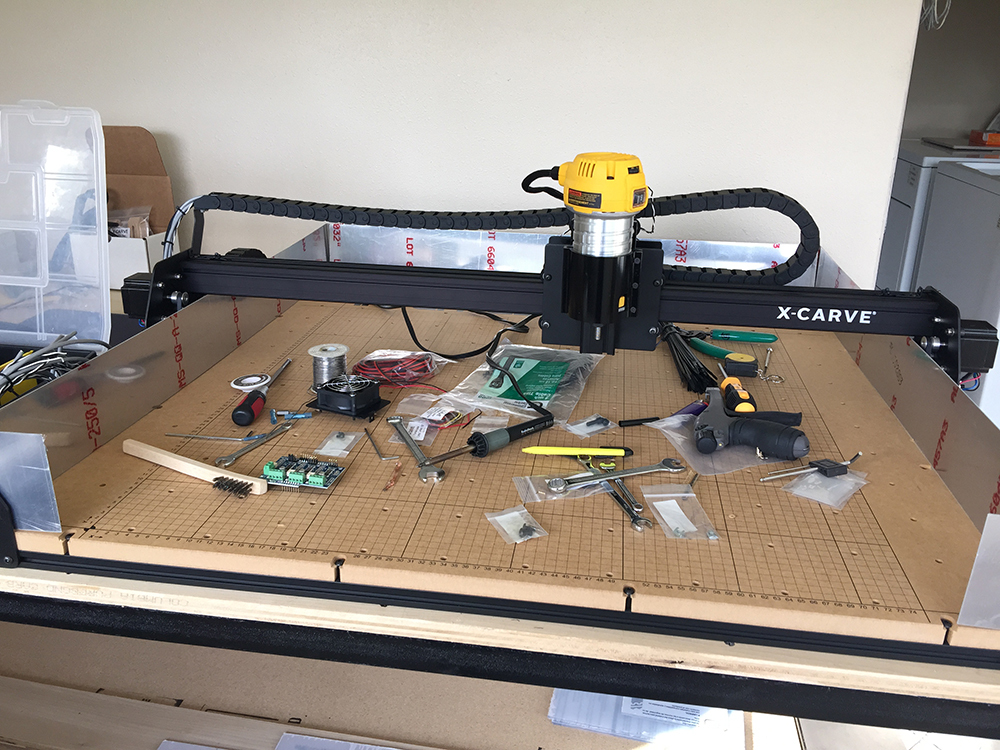
Pictures of assembly:
First day!


-
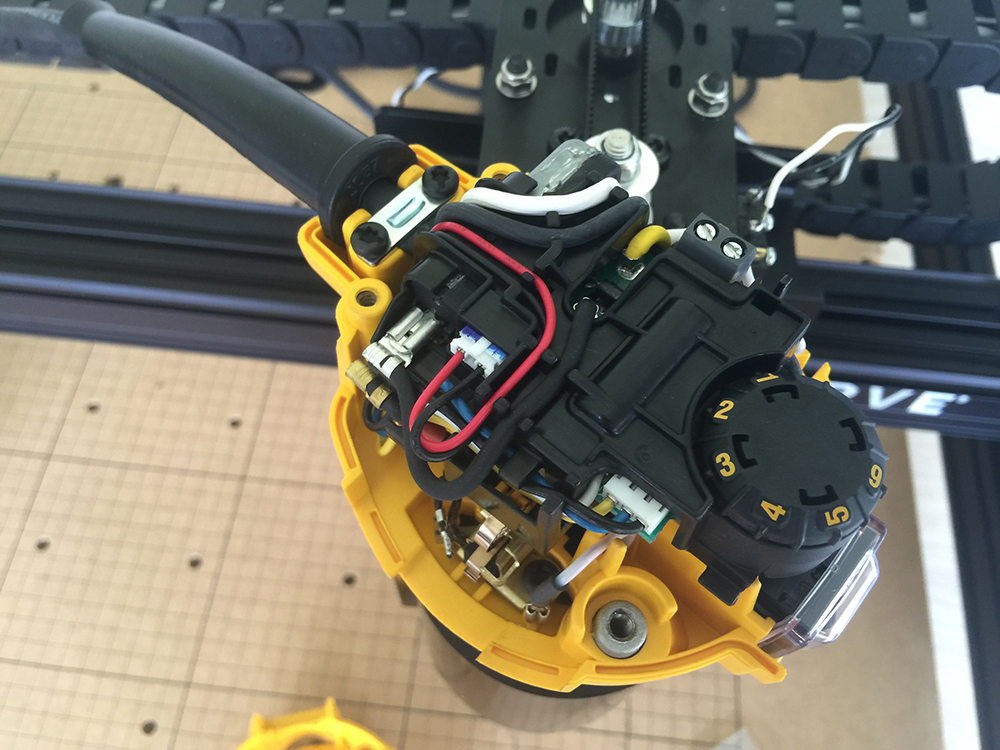
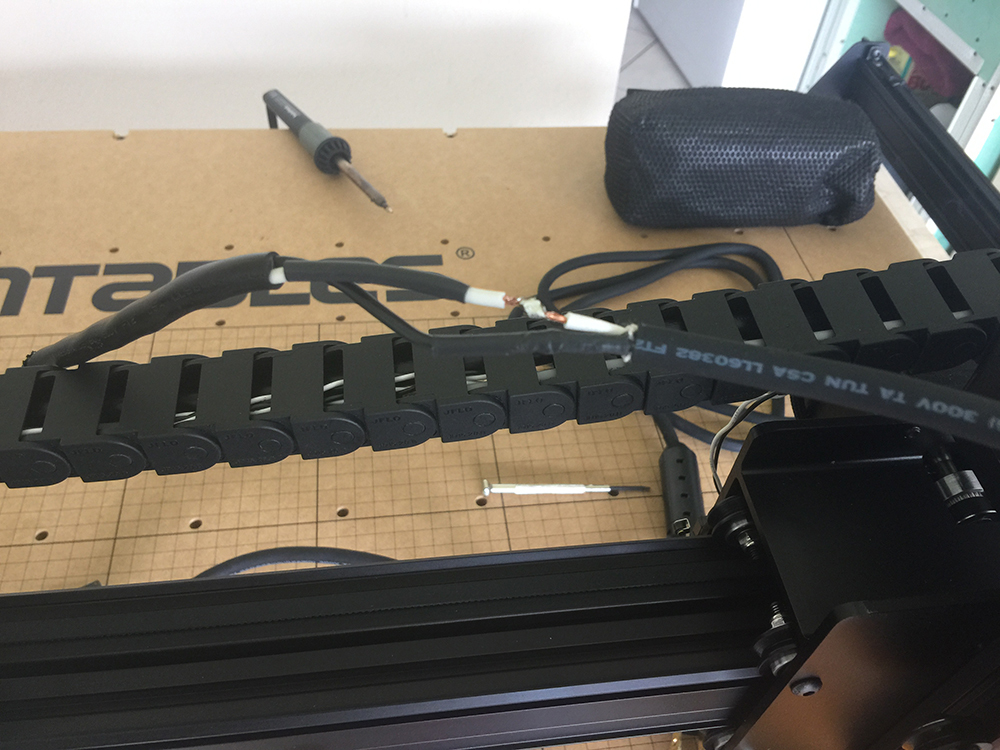
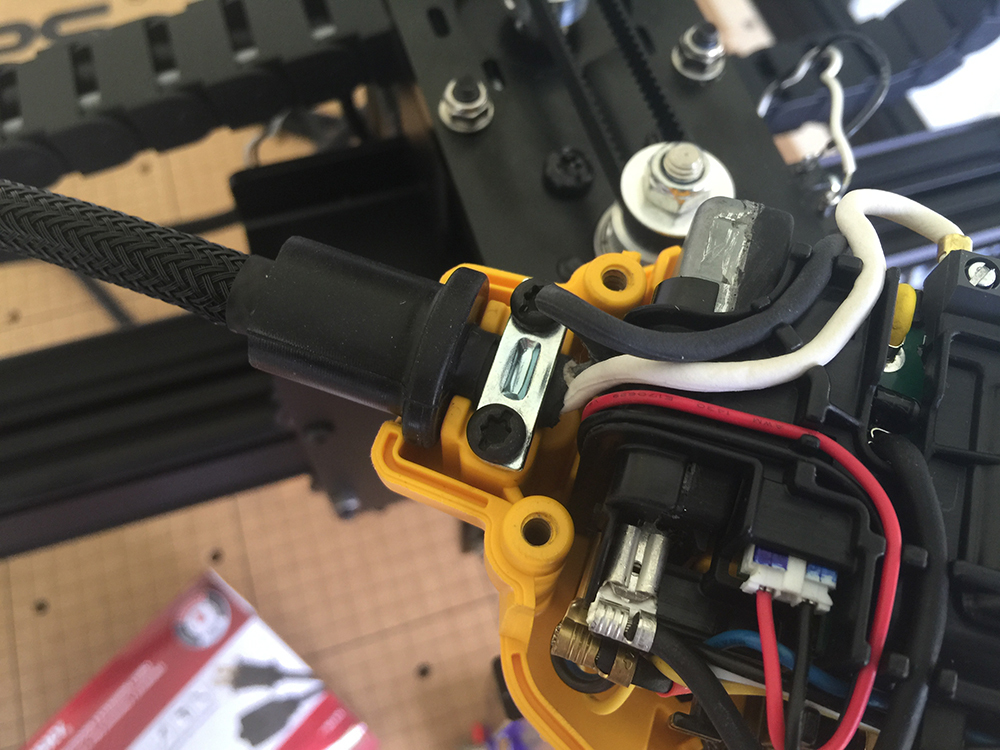
Next I wanted to mount the DWP611 so I oriented it how I needed it to mount for the wiring to easily transition into the chain guard. The original cord wouldnt be long enough to extend to the underside of the table and also easily thread through the chain guard, so I snipped it up near the router and soldered it to the new extension cord I ran routed through the chain guard. With some heat shrink and a little sleeving you wouldn’t know the cable had been touched. I still want to add a clamp off the Z motor screw to hold the cable and prevent rubbing while it works.
-
I also get picky and didn’t like that long rubber protector so I cut it down a little with a razor to make it look less goofy.

-
Here you can see the notch I cut for the button access due to the placement of the router to avoid contact with the Z motor plate up top. I have about a 1/16" spacing between the back of the router and that plate right now. I could use longer bolts/spacers to push it out but I’ll wait to make the call on that until I have it running.

-
And here is the test fit for the work area dust walls. I’ll be bolting these to the Y carriage using post assembly nuts and joining the back wall with pop rivets. I’ll paint it black after the final test fit so it all looks nice. The front wall will be a piece of lexan I happen to have. This fit at exactly 4" height for me with just enough space for the X extrusions to move freely.