in a Flickr set: will add to this as I go…
https://www.flickr.com/photos/soaringhorse/albums/72157666706288115
so first cut complete:
using the easel primer which looks like this:
https://www.flickr.com/photos/soaringhorse/26354361115/in/datetaken/
Bottom line: works, but not without minor issues.
As you can see in the photo, the last M in the cut is misaligned, not sure why just that one letter is out…
Also, the circles are not entirely round. again, unclear why or why not.
so some minor tuning to do.
A few notes on the build, for the help of others…
a) this is a nit, but it would be good for the guys who make the part labels and the guys who make the instructions to spend a day together lining them up so they always say the same thing. There are at least 4 different ways too refer to nylon lock nuts in there: nylock, hex nut, etc. confusing when you are new and scared.
b) the parts are bundled and shipped by system: motors, wiring, limit switches, etc, but the instructions are not: subsets of items from different subsystems are installed in each ‘step’. it might be interesting to consider packaging the parts by instruction step and not by subsystem, so when you rip open the pack, you don’t then have to put half of it back into the bag for ‘later’ when the step is done and the table is still covered in parts
c) the limit switch thing really upset me. I screwed up the soldering getting the headers onto the board, then there was a requirement to use crimpers to get the connector onto the wires. who has crimpers? I don’t, so then you are using pliers to kludge it, which is a real PITA. bottom line, now they don’t work, I don’t know why, and they feel like a burden.
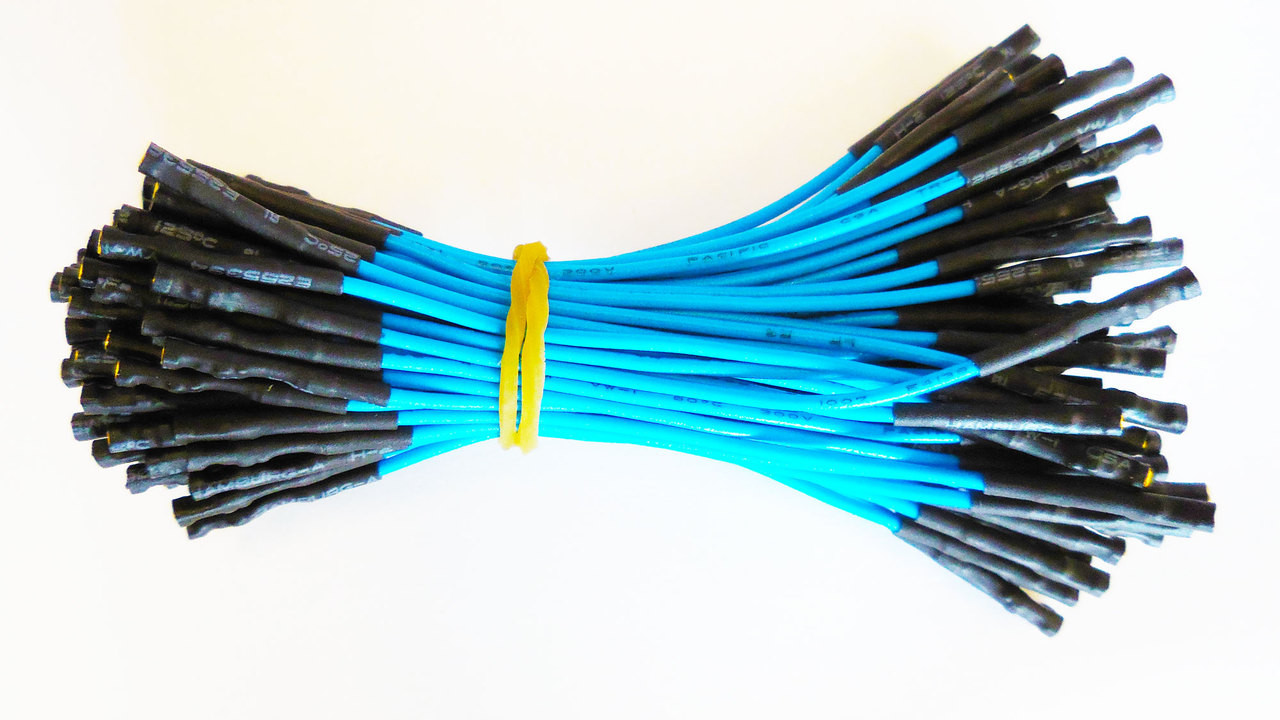
as an alternate to limit switches, these schmartboard female jumpers can be cut and end soldered onto the limit switch wires and then manually pushed onto the headers, eliminating the need for a crimped connector.

Schmartboard female jumpers
something to consider. when I get around to fixing the limits, this will be my first step.
c) the calibration step makes no sense, which you already know. I tried it by using universal GCode Sender but it was the first time turning it on, and I had the baud rate at 9600, not 115,200 so it would not communicate properly with the x-carve. I spent a long time googling, which just convinced me the whole thing was dead. that was not a good moment, but I realized I had not done the obvious thing and just skipped the step, so instead I turned on easel and went through the setup on THAT, but of course that was scary too as I was using an uncalibrated machine and I did not know if it would work or not.
what would be great would be calibration integrated in easel, as a setup step, where it would auto-shuttle things back/forth/up/down so you can adjust the pots. but you know that.
After easel worked communicating with the XC, I decided the UGS thing had to be PEBCAK so instead I googled some more and figured out the baud rate needed to be at 115,200, after which it worked, and used UGS to run a basic pot adjustment and eventually get it all sort of where it needs to be, but after the rest of the instructions were so great this portion was a bit disappointing as it looked like you had sort of skipped it.
d) setup without wasteboard. Why no instructions option specifically for this? I built my XC on top of a Kreg 44" steel table frame bought on Amazon. I topped the frame with 3 pieces of 3/4 x 15" x 45" MDF. The left and right piece are screwed to the frame. The middle piece came out, leaving a hole so I can mill items that are deeper than the z affords. The middle piece of XC frame I ran down the inner edge of the left hand MDF, I will get another one for the right hand.
to then mill the test, I cut another piece of MDF 44" x 20" and clamped that at each end, with the xc frame sandwiched between the pieces of MDF. really solid. looked like this:
https://www.flickr.com/photos/soaringhorse/26287533091/in/datetaken/
What would have really helped was a tutorial on how to assemble the XC without the wasteboard kit. I figured it out eventually, but given the number of us obviously doing our own wasteboard, seems reasonable to expect to see this as a breakout in the instructions.
These were my major thoughts on the setup.
all in all, I think the key is to take your time, carefully manage the parts you take out of the bags, so you only ever have on the table the ones you need, and not be in hurry. Remember, this is supposed to be fun…

