This is a super simple project, but I wanted to post it just because it provided such a great return on time invested.
I’ve been working on a project where I needed to cut some tongue and groove joints on my table saw. I very quickly found that the stock insert on my old contractor saw was not going to work. The board would easily slip down in the gap next to the blade:

With a nice cabinet saw making an insert is usually super easy, but the contractor saw is a pain because they’re designed for a thin metal insert:

Those little metal tabs only allow about 1/10" above them! I had tried making an insert for this saw by hand but was entirely unimpressed with the amount it ended up sagging (even when I laminated a couple boards together.) The other issue is that the saw blade itself would barely drop down below the table top, which means it would bump any raw insert thicker than about 1/8". So off to the CNC for some high-precision work:
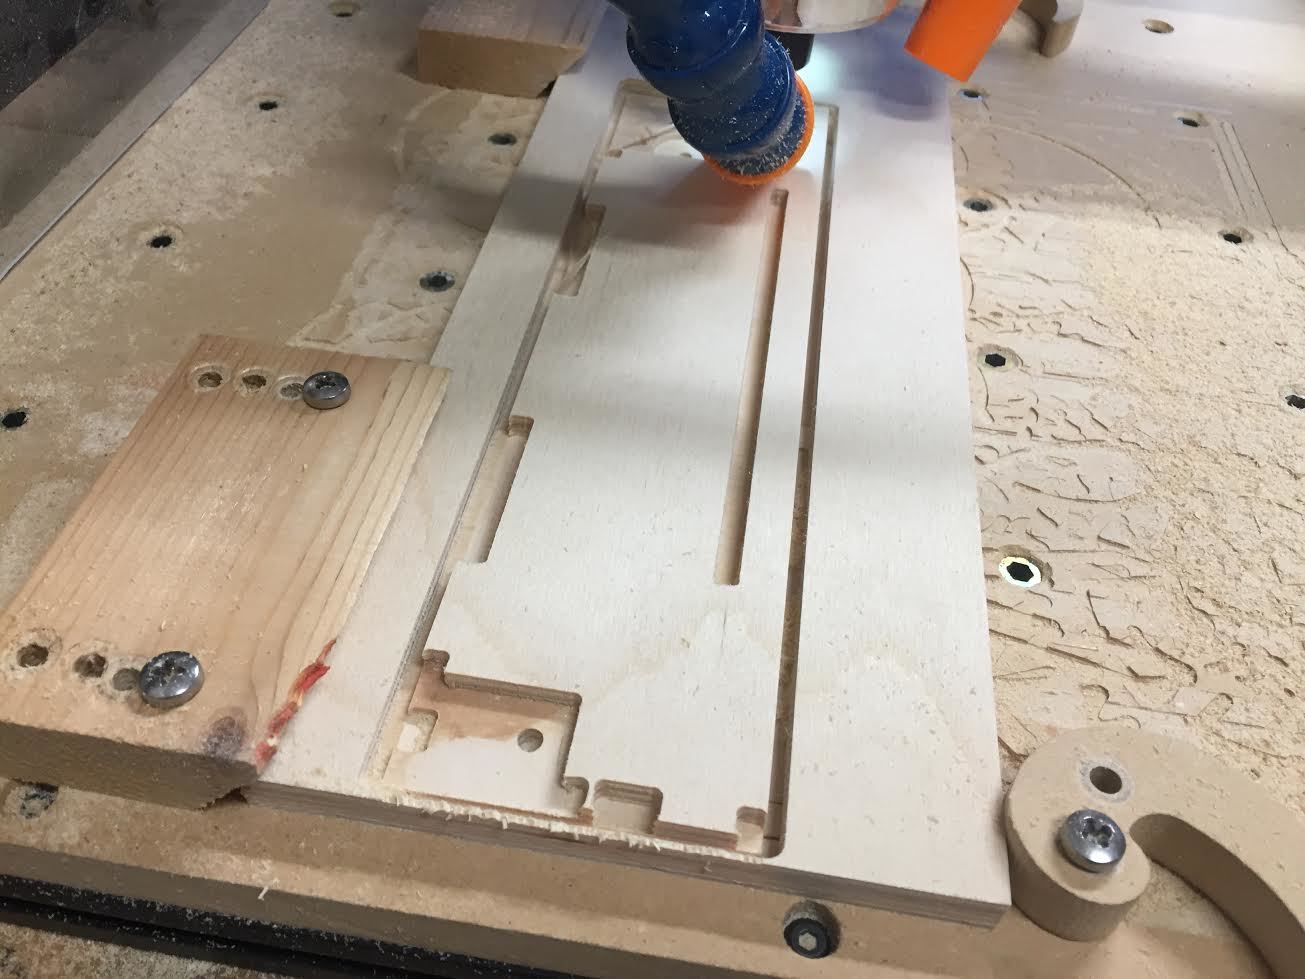
Notice the saw blade gap to allow me to put the insert in without hitting the lowered blade. It leaves about 1/8" for the saw to actually cut still, leaving the insert at zero clearance.

The only manual work ended up being on the drill press to sink the bolt heads down. The insert is super steady. My tongue and groove joints still have some ways to go before I’m happy with them, but at least now I can stop blaming the tool.
That’s the project file if anyone else happens to have a Craftsman 3HP 10" table saw, model no. 137.248840. Not that I’d particularly recommend this saw.
5 Likes
I did actually raise the blade through the wood on this insert. The tricky bit with this cheap saw though is that the blade only retracts about 1/8" below the top of the table. I wanted the insert to be thicker than that so that it wouldn’t flex, but I also had to make sure it wouldn’t interfere prior to the blade being raised. Hence the partial cut out of the blade area.
What about making one out of 1/8" aluminum?
Another way to get the blade to not interfere is to mount a smaller blade on the saw to do an initial cut, then switch back to the full size for a final cut.
I do like the thought of using the X carve, though. I think I will have to do that for my saw as well - it is an old beast and has a similar problem of not giving enough clearance to cut it’s own inserts.
I like what you’ve done. Using X-Carve to scratch the itches we all have(table saw insert for example), is very positive. Some use 3D printing, and others, things like X-Carve.
@ErikJenkins That would certainly be a nice upgrade. I don’t know if it could be truly zero tolerance though; I’m not sure I would trust my table saw to lift the blade through aluminum. It’d also be more expensive. I had this 3/8" baltic birch ply sitting around.
@ReubenEmmanuelBailey I was thinking that I didn’t have that option available, but actually thinking about it more my dado blades are quite a bit smaller. I suppose I could have put one blade from that set on it to get things started. Probably would have been about the same amount of work as the xcarve solution. Good option to have though.
@Phileoka Thanks. I’ve found that the xcarve is easily the most precise tool I own, so it can be handy in upgrading other tools.
1 Like
Need to make some zero clearance plates for my new Ridgid R4512 table saw. By chance anyone have a project file for the insert?
Is this close enough to start with?
Have you carved a zero clearance insert for the Grizzly yet Angus? I’d be interested if you did 


