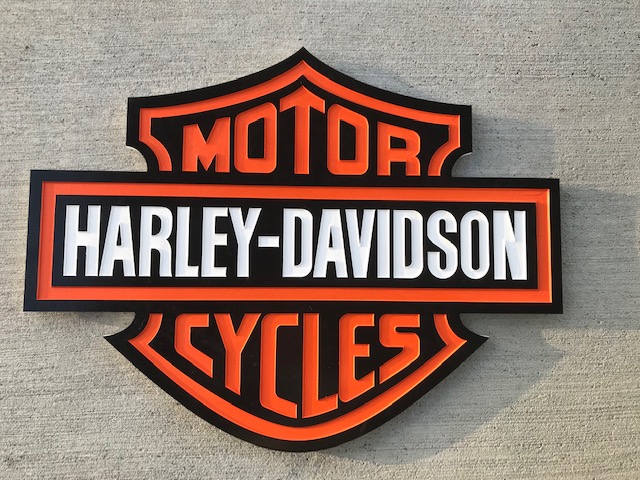
All amazing! Steve, any chance you could share your files for the Marine logos? My father is a retired Marine and I have tried to make him a sign, but the files I’ve downloaded aren’t very clean.
Back at it here are a few new ones, first couple f tries at Jason Dories Halftoner software. I will post a couple more tomorrow.

Awesome job Steve.


That looks great
Excellent work.
Is that MDF?
That looks tremendous. Great detail … you have your machine dialed in extremely well!
Having not read past book 2 or knowing the colors or whatever, I think taking a page from some of the mayan calendar threads could work. Really cool stuff that gives it an aged look … spray paint it a dark color, then sand the top, then dry brush with a bronze. That sort of thing. Some pics of examples in this thread …
looks good steve. I have that file ready to cut (one of these days). I spent a crap load of time setting the pieces to a few different depths.
YES it s MDF.
I also sent a couple of hours going through it setting it to fill and separating everything the way I wanted it, I left it all one depth though.
That’s what I plan on doing, the copper look at this point unless something else shows up that is when I get two flags done, I am in the middle of a 7’ distressed flag and a 37" at the moment.
You got some fantastic detail in there.
I always struggle with MDF breaking out on fine detail.
I can never get the “Island” to hold together in the letter “A” along with other fine details
Any words of advise?
Router was on #3
My depth was .1
I used a 1/8" straight 2 flute from inventables for the roughing (100ipm/100ipm/.1 depth)
For the detail pass I used a 60° 1/2" bit from Whiteside. (100ipm/100ipm/.1 depth)
It took 5-1/2 hrs to run the detail pass it estimated it at 1 hr 52 min, the roughing pass said 17 minutes it took just at 25 minutes to run.
This was the first time I ran an entire project as one pass, normally I run my my roughing in two passes detail in one pass. I set the depth of cut to .08 so it runs over the larger areas twice to clean it up. Lately on my detail passes on PVC I have been running it at .1 single pass.
I typically use .1 as my depth seems to work out good for my projects, unless a border or font can take more. I have found editing the depth in those areas can save a lot of time this way the tip of the v-bit isn’t trying to open up areas the roughing pass doesn’t get.
I have had areas chip out as well on pine and MDF, on the MDF I push the router speed up a little and it seems to help.
hope this helps! Steve
Thanks for the tips.
Your projects look fantastic.
Steve awesome work man!
This question is for Steve and those of you that have been in this business/hobby of CNCing for awhile. To be able to achieve the amount of detail that is in some of your work (which is amazing!) has it been mostly trial and error? Is it normal when trying a new design to go through several pieces before you get it right?
Unless I just do something completely wrong in building the file, no they come out just fine. Now I will clarify that I did have lessons learned along the way learning to make things come out a bit nicer and cleaner. I have had very few that I have had to re-cut.
This forum is awesome. I read every post every day whether I think its relevant to me or not. That and You Tube videos have been a great help. There are also several Facebook groups I follow.
I ordered mine April of last year got it assembled in May, until then I had zero CNC experience. I am in the printing industry and early on before computers we did everything the old way with reproduction cameras masking and film. So that has helped me tremendously with understanding how to make things come out the way I want. My career took me out of the graphic development side of the business as computers were coming on so as I understand it I never actually did the computer side of the work.
Now to master the Bezier tool in Ink Scape!
And thanks for the compliment!
A couple more projects, 37" flag and a 84" flag, On the big one I did the stars on the x-carve, everything else was carved with an angle grinder and cutting head.Purchased a 1" 90° bit off Amazon for the stars.


Looks awesome as usual


